
Looking for a resource on how to sell show tickets online with WordPress?
Selling tickets online can be hard. Online marketplaces lack customizability and they usually charge a ton of fees as commissions. Offline resellers at event venues are pretty much the same. So, using WordPress to sell show tickets online is a smart choice for your business.
WordPress offers user-friendly plugins and themes such as Easy Digital Downloads and it’s super easy to set up a professional ticketing system with zero technical knowledge. But how do you get started?
In this article, we’re going to show you step by step how to sell show tickets online with WordPress. The best part? You can complete the setup in 10 minutes or less!
Lad os dykke ned.
How to Sell Show Tickets Online Without Coding
The last thing you need to think about right before a major event is how to sell show tickets online. Of course, if you’re just getting started as an artist, then you HAVE to think about all that. And if you’re an agent looking to promote your artists, then selling tickets online makes a lot of sense.
You get full control over your promotion list. On top of that, you can also control the pricing based on demand. You can also save a lot by paying only a small transaction fees to process online payments.
PushEngage er det #1 push-notifikationsplugin i verden. Få det gratis!
If you follow along with this tutorial step by step, you’ll be able to sell show tickets online using a simple WordPress site.
Just follow along.
Step #1: Selecting the Right Events Plugin to Sell Show Tickets Online
Before we start selling event tickets on WordPress, you’ll need a WordPress site. If you don’t have one, you should check out our guide on how to create a WordPress site. WordPress gives you all the control you need to create beautiful pages to promote your event as well as the technical specs you need to sell tickets online.
What’s even better is that you don’t need any coding experience to use WordPress. You can install plugins to do most of the heavy lifting for you and start selling tickets in a matter of a few hours.
To sell event tickets on WordPress, we recommend using Sugar Calendar.
Sugar Calendar is a simple, easy to use events calendar plugin for WordPress. The best part about Sugar Calendar is how many different features it has. You can use Sugar Calendar for:
- Event management
- Event ticketing
- Recurring events
- Multi-day events
- Webinars
- Public screenings
- Parties
- Exhibitions
- Open Mic Nights
- Demonstrations
- Product launches
And more! The beauty of the plugin is that you can use it directly from the WordPress dashboard using the WordPress editor. Check out our Sugar Calendar review for a detailed breakdown of its features. When you’re done, let’s get started with selling tickets.
Step #2: Setting Up Sugar Calendar
You’ll need to install and activate the Sugar Calendar plugin. If you’re not sure how to do that, you should check out this article on how to install a WordPress plugin.
We recommend getting either a Professional or Ultimate license:
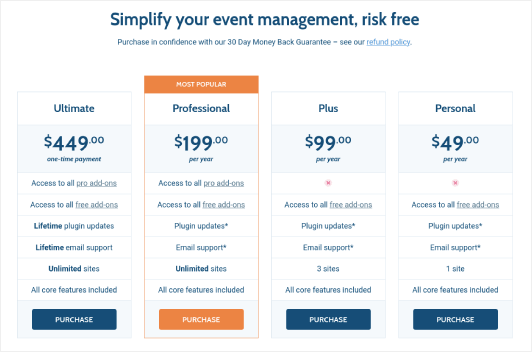
With a Professional or Ultimate license, you can get access to their Event Ticketing add-on that will make it easy to sell show tickets online with WordPress.
Then, go to your Sugar Calendar dashboard and head over to Your Licenses:
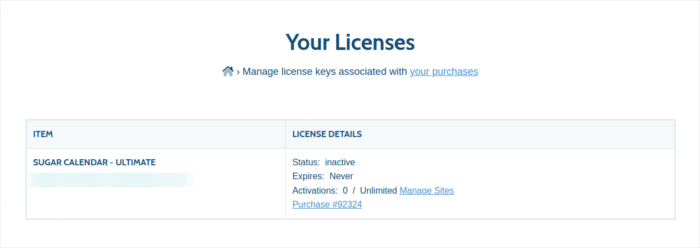
Copy your license key. Once that’s done, go to your WordPress dashboard and head over to Calendar » Settings » License:
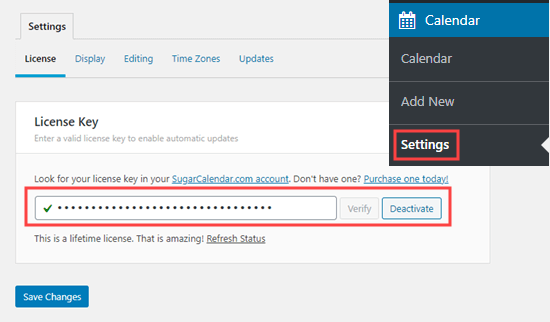
And paste in your license key. When you’re done, hit Save Changes.
Step #3: Adding a Event to Sell Show Tickets Online
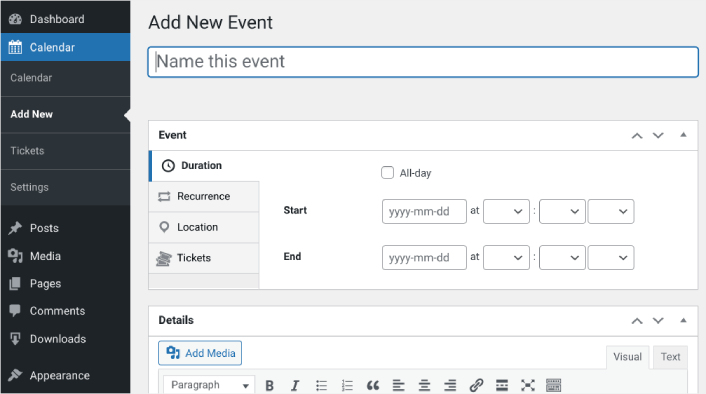
Let’s start by creating the event you want to sell tickets for inside your WordPress site. Go to Calendar » Add New. You can name the event, add a description, and configure the dates:
Next, navigate to the Tickets tab. Then click on Enable Ticket Sales:
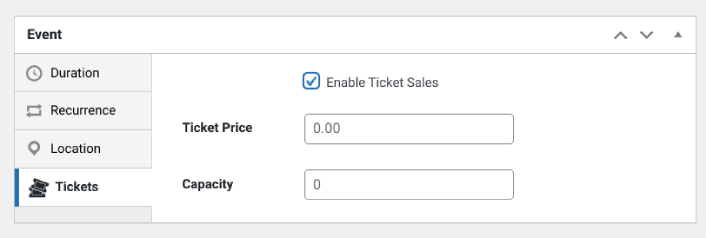
Then you can enter a ticket price and set the capacity, meaning the quantity of tickets available. If you want to sell unlimited tickets, you can leave this value at 0.
Step #3: Start to Sell Show Tickets Online with WordPress
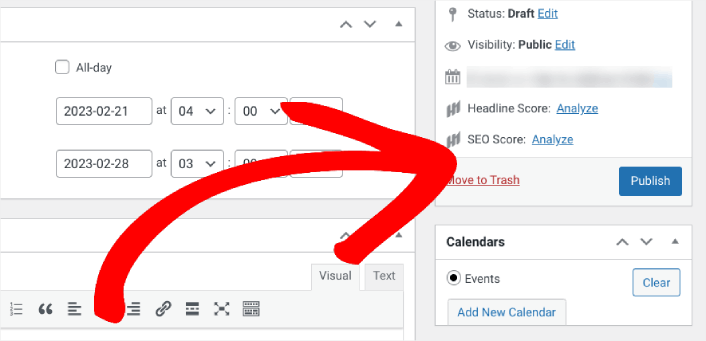
When you’re done configuring the event and enabling tickets, the only thing left to do is to start selling. In the right-hand settings panel under Calendar, select your calendar or click on Add New Calendar. Then click Publish:
Then you can preview the event to see how it looks on your WordPress site:
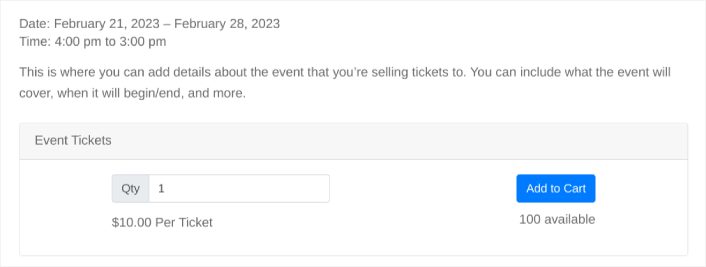
Congratulations! You can now sell show tickets on your WordPress site.
How to Sell Show Tickets Online Even Faster
Now that your event is up, it’s time to grow your sales fast.
En god måde at øge dit salg på er at oprette automatiserede push-notifikationskampagner. Push-notifikationer kan være et rigtig godt værktøj til at øge gentagen trafik, engagement og salg på dit websted. Hvis du er ny til push-notifikationskampagner, så tjek disse utrolige ressourcer, der vil hjælpe dig med at vokse meget hurtigere:
- 7 eksempler på push-notifikationsopt-ins med høj konvertering
- Sådan opsættes web push-notifikationer på dit websted
- Sådan konverterer du abonnenter til købere ved hjælp af web push-notifikationer
- Sådan tilføjer du et Web Notifications WordPress-plugin til dit websted
We recommend getting started with PushEngage for your push notification campaigns. PushEngage is the #1 push notification software in the world. So, your campaigns will be in safe hands and you can get super creative with your push notifications. Like this one:

Hvis du er seriøs omkring at vækste din virksomhed, bør du investere i PushEngage.


