
Looking for a simple tutorial to add WordPress Open Graph meta tags to your site?
Open Graph is how Facebook handles metadata when you share your post or page on Facebook posts. It’s how Facebook automatically fetches the featured image and meta description just from the URL.
But adding it manually to your site can be a real pain.
For one thing, you’ll have to learn how Open Graph structured data is written. Then, you’d have to insert it into your WordPress theme files. And that’s super risky. You’ll have to edit files that help your entire site run properly. A single line out of place could crash your entire site.
In this article, we’re going to add WordPress Open Graph meta tags the easy way with zero coding involved.
让我们开始吧。
Step #1: Install All in One SEO
All in One SEO is the #1 WordPress SEO plugin in the world. It’s the perfect plugin to add WordPress Open Graph meta tags to your site without any coding.

All in One SEO (AIOSEO) is one of the most acclaimed SEO plugins in the WordPress community. The original version was completely revamped to add a ton of new features and addons. So, if you used AIOSEO in the past you need to check out the plugin once again.
AIOSEO不仅功能强大,足以实施最新的SEO最佳实践,而且您还可以获得高级选项,开箱即用地解决特定的SEO问题。这包括:
- 面向本地受众的小型企业的本地SEO模块
- 在线商店的WooCommerce SEO
- WordPress编辑器内的SEO优化器
- 智能站点地图,可即时索引搜索引擎
- 一个Schema插件,可让您的内容在富摘要中排名
And a lot more! For a full list of All in One SEO’s features, check out our review of the plugin.
The first thing you need to do is install and activate the All in One SEO plugin. If you’re not sure how to do that, you should check out this guide on how to install WordPress plugins.
After you download and install the plugin, you get a Setup Wizard:
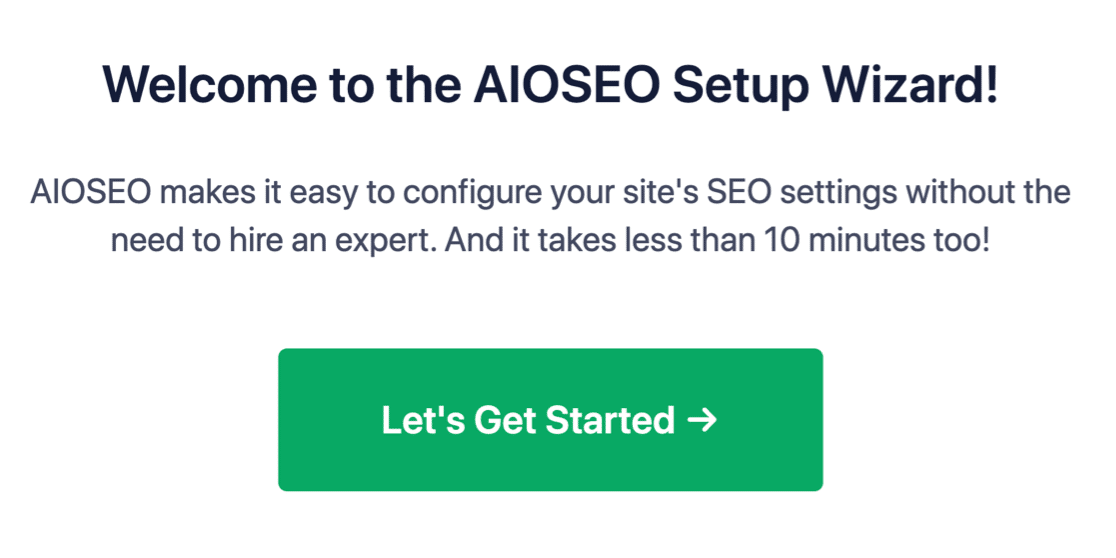
设置过程不到10分钟即可完成。
但是,如果您要从另一个SEO插件迁移怎么办?每个插件处理元数据的方式都不同。那么,您是否必须从头开始做所有事情?您以前的所有努力都白费了吗?
不!如果All in One SEO在设置向导期间检测到另一个SEO插件,它将为您复制基本设置:

设置结束时,设置向导会提示您停用旧的SEO插件。这样,就不会有插件冲突和错误:
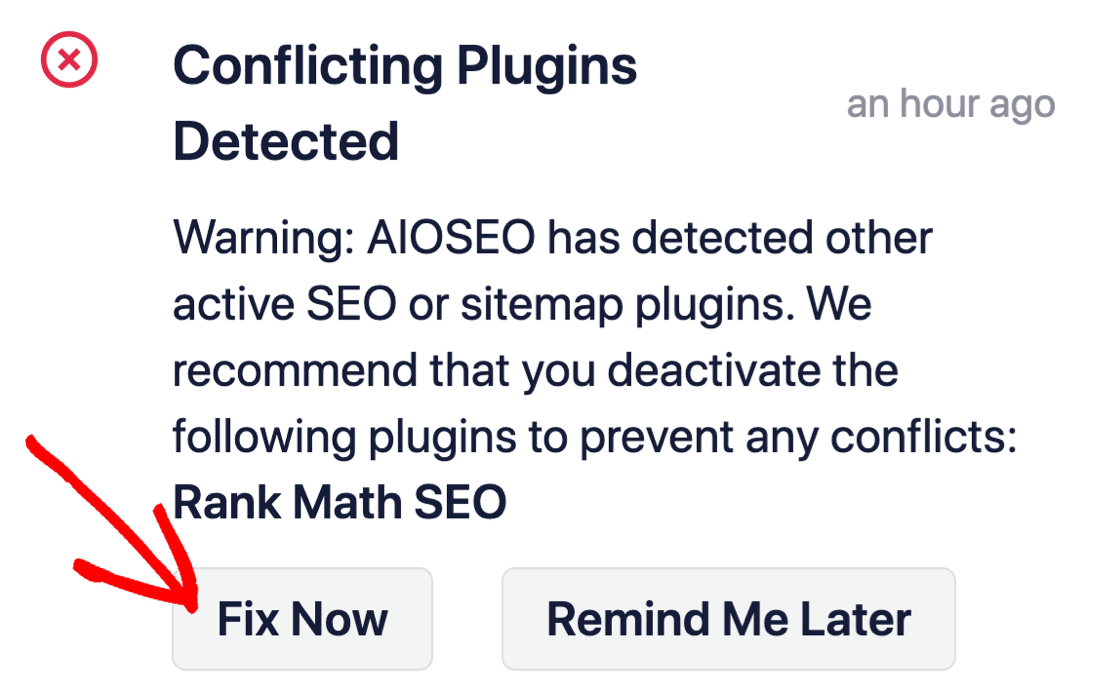
点击立即修复不会删除旧SEO插件中的设置。它只是停用该插件以防止冲突。
Step #2: Configure Social Media Settings
In your WordPress dashboard, go to All in One SEO » Social Networks » Social Profiles and add your social profiles to the site:
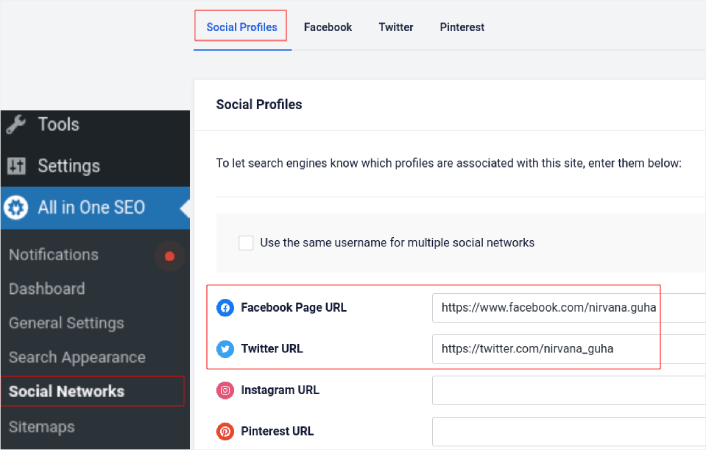
This step ensures that Search Engines such as Google and Bing know what social media profiles are associated with your site. At the same time, this helps you with your social media sharing settings as well. That’s up next.
Step #3: Edit Facebook General Settings
Go to All in One SEO » Social Networks and click on the Facebook tab. Here, you can configure your General Facebook Settings:
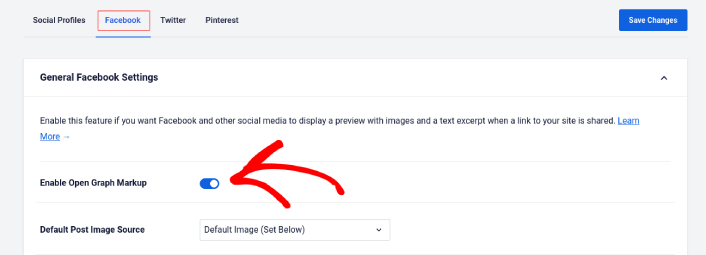
Toggle the Enable Open Graph Markup switch to activate it.
Here, you can set the Default Post Image Source and a Default Post Facebook Image:
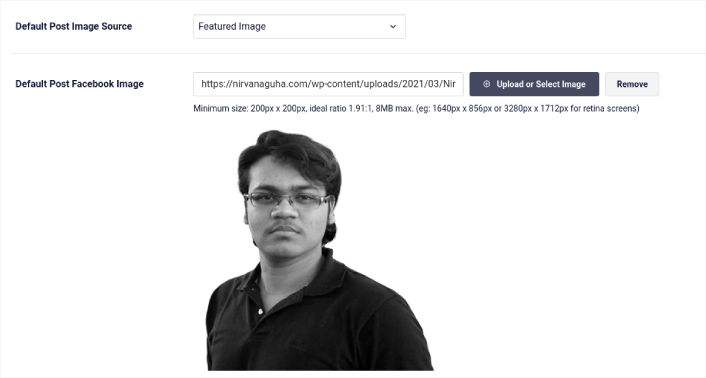
We recommend using the Featured Image option as the image source for your posts. But should check out the other options as well:

You can set the default Facebook image to be your logo or anything that represents your brand. Click on the Upload or Select Image button to change the default image. In our example, we’re using a personal brand. So, the default Facebook image is a photo of the author.
Once you’re done, hit the Save button.
And that’s it! You’re done. Once you save the changes, you can try sharing a post on your site to your Facebook page or profile.
What to do After You Add WordPress Open Graph Meta Tags
好了,各位,本次分享就到这里!
Next, you should start thinking of multiple ways to engage and convert the traffic you bring in from your social media accounts. A great way to do that is to use push notifications. Push notifications can be a powerful marketing tool to bring in traffic, engagement, and direct sales for your business.
If you’re not 100% convinced, you should check out these resources on how to effectively use push notifications:
我们建议使用PushEngage来创建您的推送通知广告系列。PushEngage是全球排名第一的推送通知软件。所以,如果您还没有,请立即开始使用PushEngage!


