注意:此项目没有可用的旧版文档,因此您看到的是当前文档。
Popup modals are the subscription prompts shoppers see on your storefront that ask them to allow push notifications. PushEngage gives you several opt-in styles you can turn on, style, and target to specific pages so you grow your subscriber list. This guide shows you how to enable and configure popup modals in the PushEngage Shopify app.
开始之前
- Install and connect PushEngage on your Shopify store so the opt-in can appear on your storefront.
- Decide which opt-in style fits your store and where you want it to appear.
- Know that some browsers, such as Safari, and single-step opt-ins behave differently, which is why PushEngage offers more than one style.
How Popup Modals Work
Each opt-in is a template you turn on and customize. You pick a style, edit its text and appearance, and set targeting rules that decide which pages show the prompt. You can enable more than one style for different situations, and a preview shows how each looks before you publish.
| Opt-in style | 最适合 |
|---|---|
| Sleek Opt-in Box | A clean, modern subscription box. |
| Safari 风格框 | A native browser-style prompt. |
| 铃铛放置条 | A bar with a notification bell to invite opt-ins. |
| 浮动条 | A slim bar that floats on the page. |
| Push Single Step Opt-in | A single step for visitors to opt in to campaigns. |
| Large Safari Style Box | A larger native-style prompt with more room for messaging. |
[Confirm: whether all styles are available on every plan, and whether any are Shopify-specific.]
Enable and Customize a Popup Modal
1. Go to Push Notification » Design.
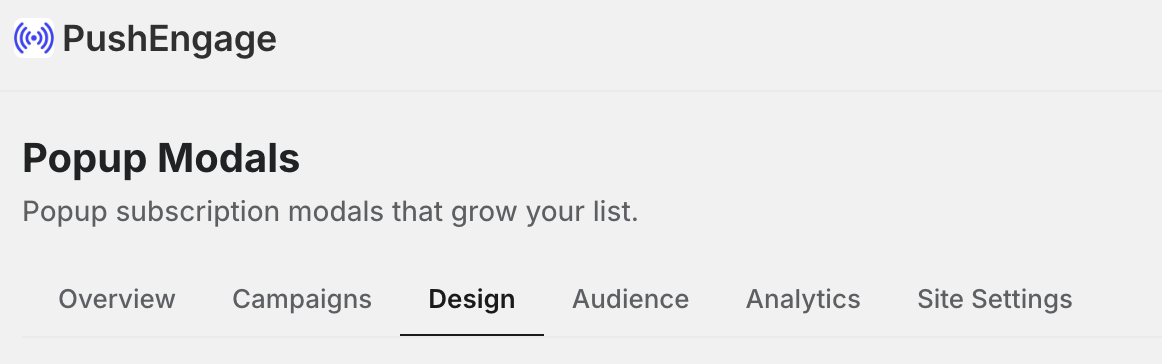
2. Now navigate to Popup Modals tab. Find the opt-in style you want and turn it on.
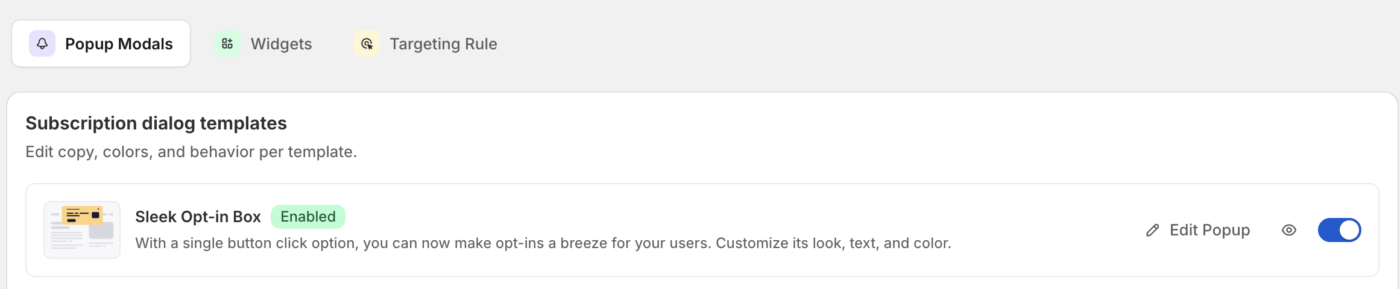
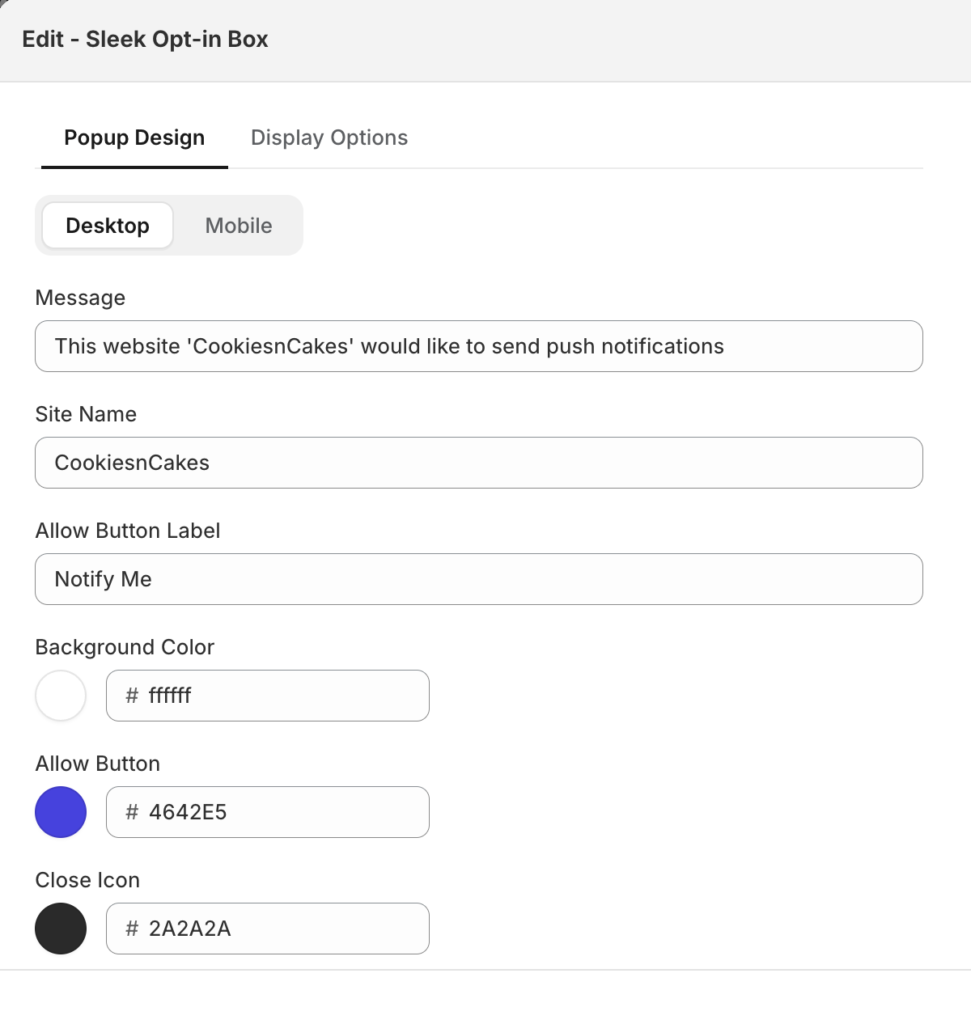
3. Open the style to edit its heading, message, and button text. Adjust the appearance and placement to match your storefront.
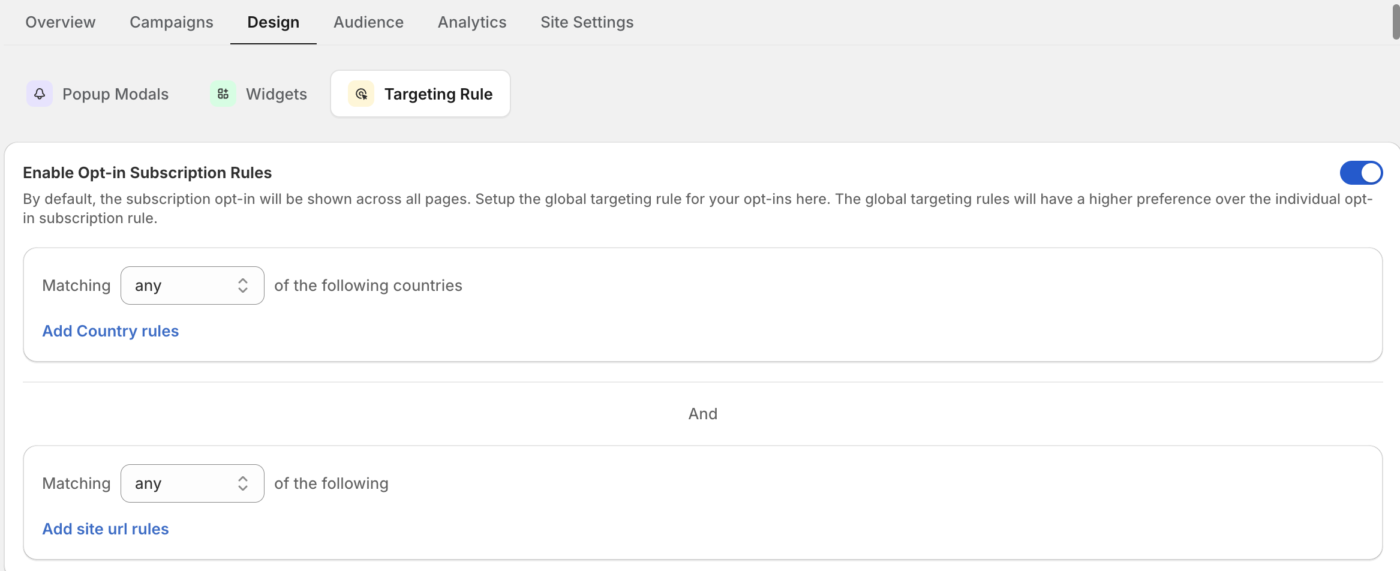
4. Set targeting rules to control which pages show the prompt.
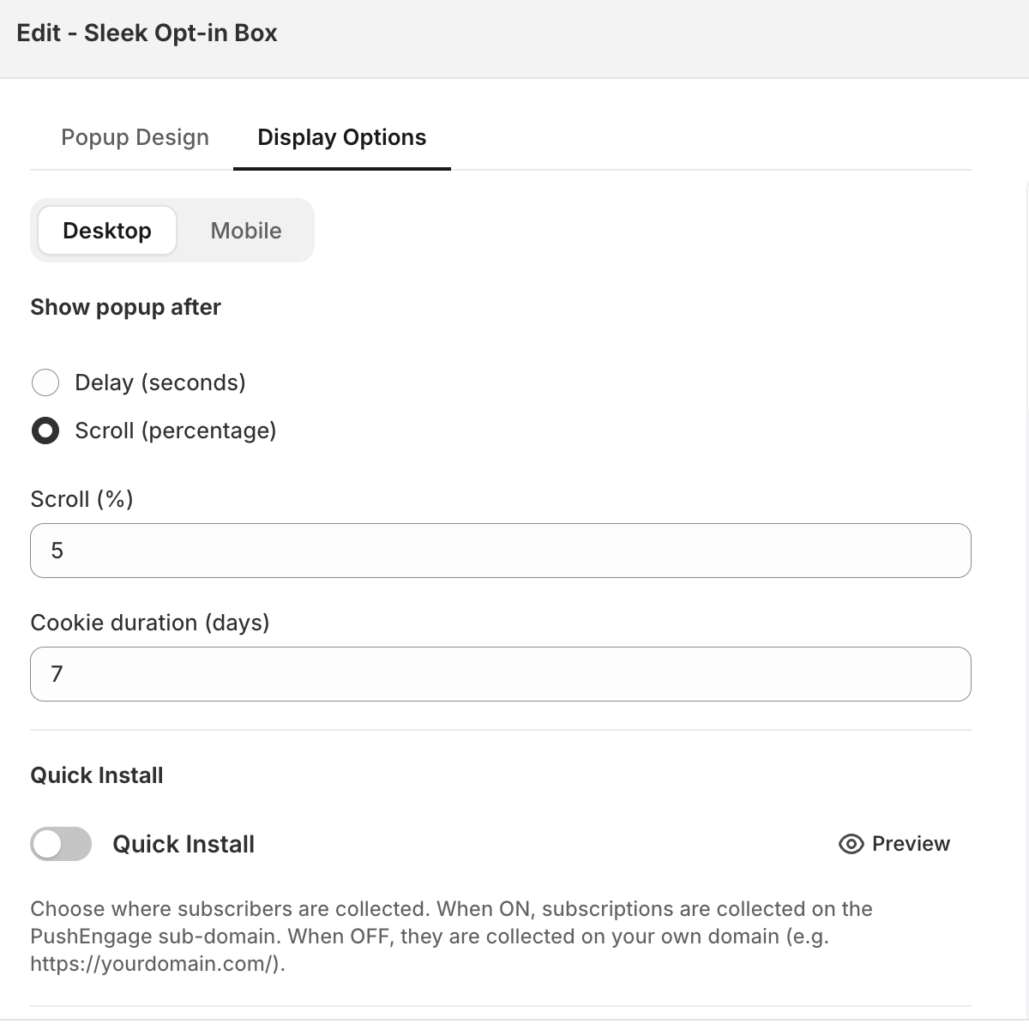
5. Save your changes to publish the opt-in.
Edit the content and appearance
Open a style to edit what it says and how it looks, including the heading, the subscription message, and the button labels. Use the preview to confirm the wording and layout before you publish.
Target the right pages
Use targeting rules to decide where the opt-in appears. Match by page URL using conditions like contains, starts with, ends with, and equals, so you can show the prompt on specific pages or exclude it from others. Combine rules to fine-tune where shoppers see the subscription prompt.
常见问题解答
Which opt-in style should I use?
Start with a clean, high-visibility style like the Sleek Opt-in Box or a Safari Style Box, which shoppers recognize as a subscription prompt. You can enable more than one style and use targeting rules so each appears in the right place.
Can I show the opt-in only on certain pages?
Yes. Use targeting rules to match by page URL with conditions like contains or starts with, so the prompt appears only where you want it and stays off pages like checkout.
Why is a shopper not seeing the opt-in?
Confirm the style is turned on, your targeting rules match the pages you expect, and the shopper has not already subscribed or blocked notifications in their browser. A shopper who previously dismissed or blocked the prompt may not see it again. If the subscriber is opening your website on Guest Mode/Incognito Mode of browser then they might not see the Opt-in.
如果您遇到任何问题,请随时通过单击此处联系我们。我们的支持团队将能够帮助您。


