
Looking for a simple guide on how to install a WordPress Square plugin and accept online payments on your site?
Square allows you to accept credit card payments on any site. Whether you’re running a service site, an eCommerce store, or a membership platform, you need to allow credit card payments on your WordPress site. And Square is one of the most popular payment gateways to add multiple payment options on your site.
Integrating a payment gateway to your site can be a real hassle if you have to code it from scratch. So, what do you do when you don’t know how to code? Are Square plugins even worth looking into?
Short answer: Yes. Using a Square plugin can help you start accepting payments in a matter of minutes without a single line of code.
In this article, we’re going to go show you how to install a WordPress Square plugin and start accepting payment with writing a single line of code. And we’ll do it in less than 10 minutes.
Kulağa hoş geliyor? Hadi dalalım.
Why Use a WordPress Square Plugin on Your Website?
Square allows credit card payments on your WordPress site. The best part is that the payment gateway allows multiple payment formats including recurring payments.
Kredi kartları en popüler ödeme yöntemlerinden biridir. Kredi kartı ödemelerini kabul etmeden sitenizden para kazanmayı planlıyorsanız, masada para bırakıyorsunuz demektir.
Kredi kartı ödemelerini kabul etmek dönüşüm oranınızı artıracaktır. Eğer bir e-ticaret sitesi çalıştırıyorsanız, bu sepeti terk etme oranlarınızı da azaltabilir.
Başlamadan önce, kredi kartı ödemelerini güvenli bir şekilde kabul edebilmeniz için web sitenizde HTTPS/SSL etkinleştirmeniz gerekecektir. Bunu nasıl yapacağınızdan emin değilseniz, WordPress siteniz için ücretsiz bir SSL sertifikası nasıl alınır konusundaki bu basit kılavuzu takip edebilirsiniz.
How to Add a WordPress Square Plugin to Online Stores
Now that we understand why you should be using a WordPress Square plugin and the benefits of using Square, it’s time to add Square payments to your site. There are multiple WordPress plugins to integrate Stripe into your site.
We recommend using WPForms to accept Square payments on WordPress.

WPForms is the most powerful drag-and-drop WordPress form builder. It’s super easy to build a fully custom form for your WordPress site in a few minutes using the plugin. WPForms can help you create any type of contact form, payment form, survey form, registration form, and newsletter optin form you can think of.
Pro sürümde işe yaradığı kanıtlanmış 300'den fazla şablonları var. Bu şablonları anında içe aktarabilir ve formu dakikalar içinde yayına alabilirsiniz. WPForms tamamen yeni başlayan dostudur. Herkes güçlü formlar oluşturmak için onu kullanabilir.
Eklenti yalnızca temel öğelerle birlikte gelir. Bu nedenle, formlarınızda daha fazla işlevselliğe ihtiyacınız varsa, her zaman bir eklenti yükleyebilirsiniz. Bu, eklentiyi hafif ve kullanımı kolay tutar.
WPForms ile şunları elde edersiniz:
- A Beginner-Friendly Form Builder
- Order Forms
- Çok Adımlı Formlar
- E-posta Pazarlama Entegrasyonları
- Koşullu Alan Mantığı
- Form Terk Etme Kampanyaları
- Form Açılış Sayfaları
- Açılır İletişim Formları
And more. The best part is that you can directly create WordPress payment forms that accept payments using Square. All you need is a Square account and the WPForms plugin to get started. Check out our WPForms review for more details or simply follow along.
Step #1: Install and Activate the WPForms Plugin
The first thing you need to do is install and activate the WPForms plugin. If you’ve never installed a WordPress plugin before, check out this guide on how to install a WordPress plugin.
Bir plan seçmek için WPForms'a giderek başlayın:

Eklentiyi kurduktan sonra, WPForms kontrol panelinize gidin ve eklentiyi indirin:
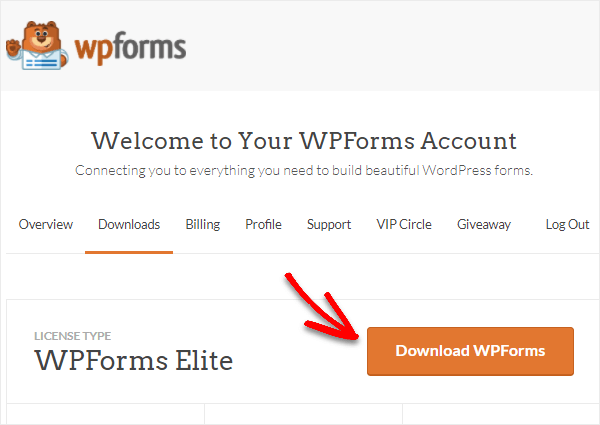
Ardından, zip dosyasını WordPress sitenize yükleyin ve başlamaya hazırsınız!
Step #2: Install and Activate the WPForms Square Addon
Head over to your WordPress dashboard and click WPForms » Addons:
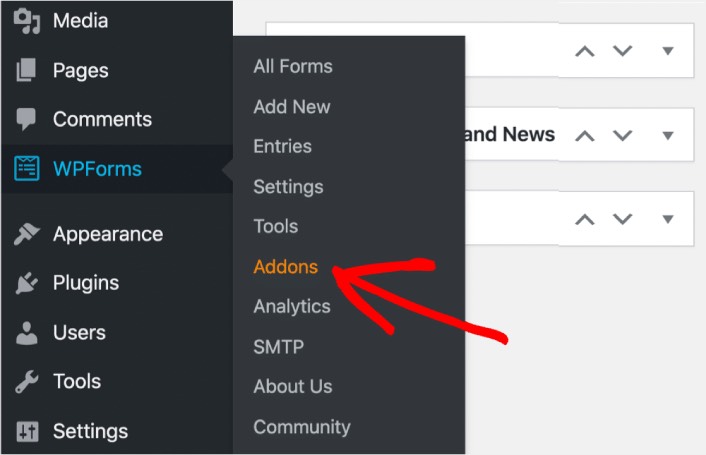
Scroll down to the Square addon and click on Install:

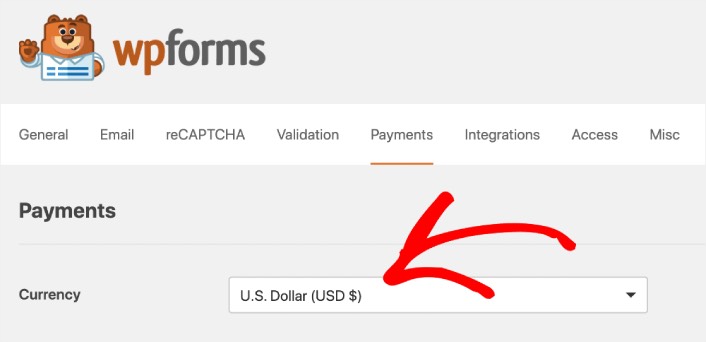
Once you’re done installing the addon, click on Activate. Next, we’re going to configure the payment settings. Go to your dashboard, click WPForms » Settings, then click the Payments tab. Under Currency, select your currency:
Next, we’re going to connect Square to WPForms.
Step #3: Connect Your Square Account to Your WordPress Site
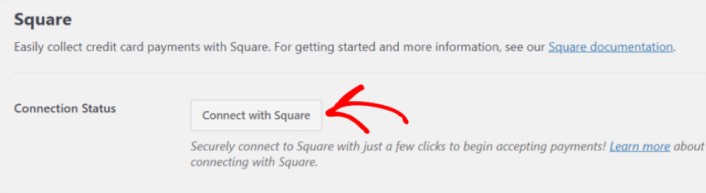
In the payment settings page, scroll down to the Square section and go to the Connection Status tab. Click the Connect with Square button:
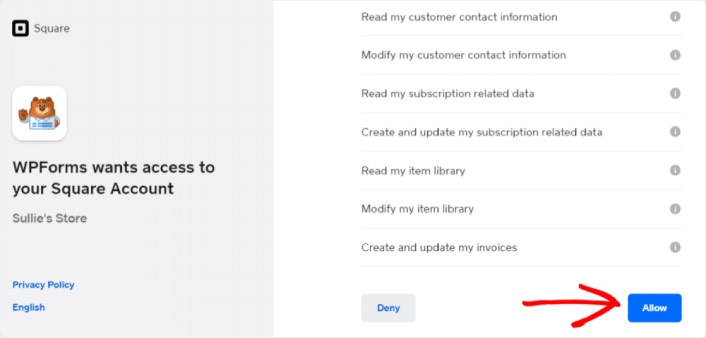
Sign in to your Square account and allow WPForms access to the specific information that it requests:
When it’s done, you will automatically get redirected back to the payment settings page and you should see the Connection Status as Active.

Step #4: Create a Square Payment Form
Now that WPForms is installed and activated, it’s time to create an order form. Head over to WPForms » Add New:

This will open the WPForms drag and drop form builder. To create a new form, give it a name and select your form template. To create an order form, we’re going to go ahead and select the Billing/Order Form template:

Next, you’ll want to modify what items are available to order. Scroll down to the Available Items section on the right that the template includes and click on it.
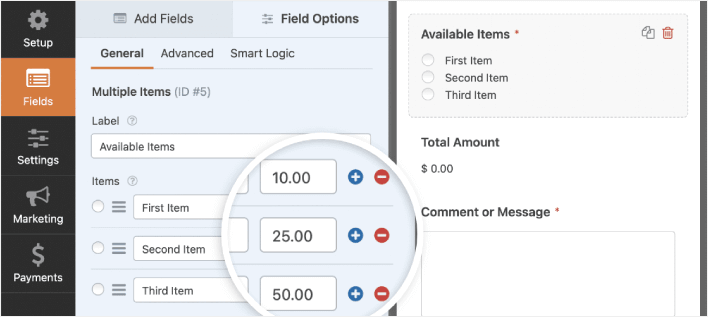
Bu, sol paneldeki Alan Seçeneklerini açacaktır. Burada alanı yeniden adlandırabilir, sipariş öğeleri ekleyebilir veya kaldırabilir ve fiyatları değiştirebilirsiniz. WordPress sipariş formunuzu özelleştirmeyi bitirdiğinizde, Kaydet'e tıklayın.
Ayrıca WordPress'te çok adımlı bir formun nasıl oluşturulacağına dair gönderimizdeki adımları izleyerek formların harika görünmesini sağlayabilirsiniz. Kullanıcı deneyimini iyileştirmenin ve sepeti terk etme oranlarını azaltmanın harika bir yoludur. Ancak bu eğitim için tek bir sayfayla devam edeceğiz.
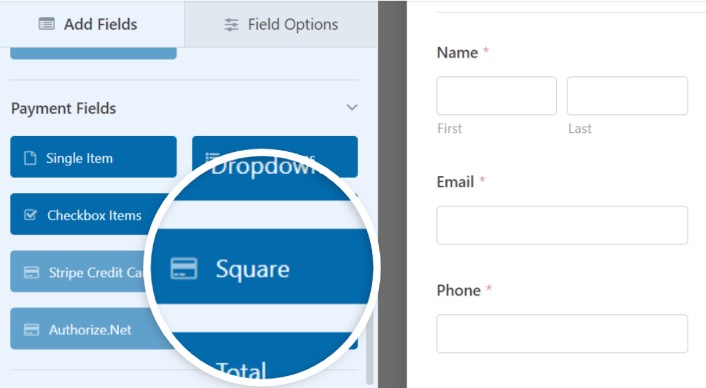
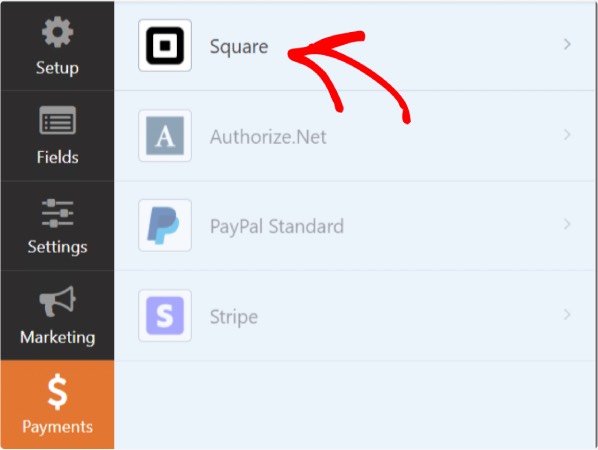
WPForms integrates with PayPal, Authorize.Net, Square, and Stripe for accepting credit card payments. We’ve already installed the Square addon. So, simply add a Square payment field:
As soon as you add the Square filed, you will see a popup message to enable the Square Payments.
Click on the OK button to close the pop-up.
Step #5: Enable Square Payments
In your WPForms dashboard, click on Payments » Square:
Simply toggle on the Enable Square Payment:

Fill in your payment details:
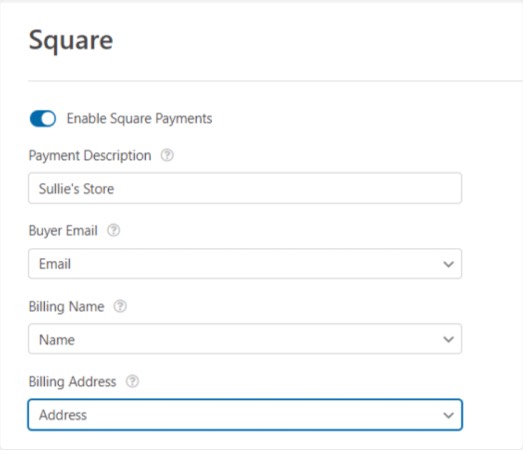
And you’re done! Don’t forget to hit Save.
Step #6: Configure Form Settings
Next, you’ll want to set up notifications and confirmations. Head over to Settings » Confirmations to configure confirmation settings:

Ardından, aynı menüde bildirim iletilerinizi yapılandırmak için Bildirimler'e gidin:

Varsayılan olarak, bildirimler WordPress yönetici e-postasına gönderilir. Bu nedenle, e-postaların Satış Direktörünüzün e-posta kimliği gibi başka bir yere gönderilmesini istiyorsanız, bunu buradan yapabilirsiniz.
What to do After Installing a WordPress Square Plugin
Bu kadar, millet!
Şimdiye kadar bir WordPress sipariş formu oluşturdunuz. Ardından, form terk etme oranlarınızı azaltmak için form terk etme takibini ayarlamalısınız.
Bundan sonra tek yapmanız gereken, formunuzun çalışmaya başlayıp dönüşüm sağlaması için sitenize trafik çekmektir. Bunu yapmanın basit bir yolu, anlık bildirimleri kullanmaya başlamaktır. Anlık bildirim göndermek, siteniz için tekrar eden trafik oluşturmanın harika bir yoludur. Eğer ilgilendiğiniz şey buysa, bu makalelere de göz atmalısınız:
- Anlık Bildirim Maliyeti: Gerçekten Ücretsiz mi? (Fiyat Analizi)
- WordPress Blogunuza Nasıl Daha Fazla Trafik Çekilir (9 Kolay Yol)
- Web Anlık Bildirim Opt-In Oranınızı Nasıl Artırırsınız (7 Yol)
- Sitenize Bir Web Bildirimleri WordPress Eklentisi Nasıl Eklenir
Anlık bildirimlerinizi göndermek için PushEngage'ı kullanmanızı öneririz. PushEngage, dünyadaki 1 numaralı anlık bildirim yazılımıdır. Bu nedenle, henüz yapmadıysanız, bugün PushEngage ile başlayın.


