Looking for a simple guide on how to install a WordPress Square plugin and accept online payments on your site?
Square allows you to accept credit card payments on any site. Whether you’re running a service site, an eCommerce store, or a membership platform, you need to allow credit card payments on your WordPress site. And Square is one of the most popular payment gateways to add multiple payment options on your site.
Integrating a payment gateway to your site can be a real hassle if you have to code it from scratch. So, what do you do when you don’t know how to code? Are Square plugins even worth looking into?
Short answer: Yes. Using a Square plugin can help you start accepting payments in a matter of minutes without a single line of code.
In this article, we’re going to go show you how to install a WordPress Square plugin and start accepting payment with writing a single line of code. And we’ll do it in less than 10 minutes.
Låter bra? Låt oss dyka in.
Why Use a WordPress Square Plugin on Your Website?
Square allows credit card payments on your WordPress site. The best part is that the payment gateway allows multiple payment formats including recurring payments.
Kreditkort är bland de mest populära betalningssätten. Om du planerar att tjäna pengar på din webbplats utan att acceptera kreditkortsbetalningar, går du miste om pengar.
Att acceptera kreditkortsbetalningar kommer att förbättra din konverteringsgrad. Om du driver en e-handelswebbplats kan detta minska din varukorgsavslutningsgrad också.
Innan du börjar måste du aktivera HTTPS/SSL på din webbplats så att du säkert kan acceptera kreditkortsbetalningar. Om du är osäker på hur du gör det kan du följa den här enkla guiden om hur du får ett gratis SSL-certifikat för din WordPress-webbplats.
How to Add a WordPress Square Plugin to Online Stores
Now that we understand why you should be using a WordPress Square plugin and the benefits of using Square, it’s time to add Square payments to your site. There are multiple WordPress plugins to integrate Stripe into your site.
We recommend using WPForms to accept Square payments on WordPress.

WPForms is the most powerful drag-and-drop WordPress form builder. It’s super easy to build a fully custom form for your WordPress site in a few minutes using the plugin. WPForms can help you create any type of contact form, payment form, survey form, registration form, and newsletter optin form you can think of.
They have over 300 templates in the Pro version that are proven to work. You can instantly import these templates and launch the form in minutes. WPForms is completely beginner-friendly. Anyone can use it to create powerful forms.
The plugin comes only with core essentials. So, if you need more functionality in your forms, you can always install an addon. This keeps the plugin lightweight and simple to use.
With WPForms, you get:
- A Beginner-Friendly Form Builder
- Beställningsformulär
- Formulär i flera steg
- Email Marketing Integrations
- Conditional Field Logic
- Kampanjer för övergivna formulär
- Landningssidor för formulär
- Popup Contact Forms
And more. The best part is that you can directly create WordPress payment forms that accept payments using Square. All you need is a Square account and the WPForms plugin to get started. Check out our WPForms review for more details or simply follow along.
Step #1: Install and Activate the WPForms Plugin
The first thing you need to do is install and activate the WPForms plugin. If you’ve never installed a WordPress plugin before, check out this guide on how to install a WordPress plugin.
Börja med att gå till WPForms och välj en plan:

När du har installerat pluginet, gå till din WPForms-instrumentpanel och ladda ner pluginet:
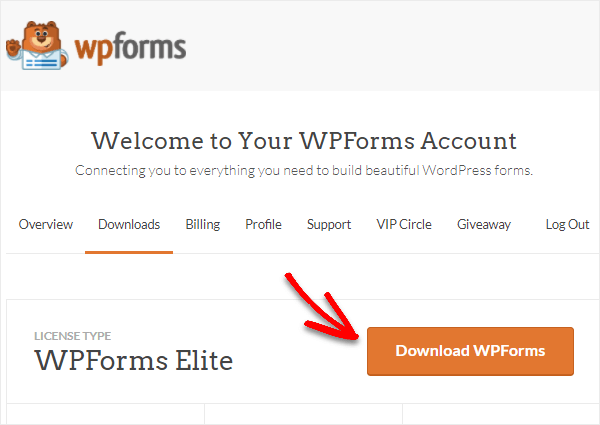
Ladda sedan upp zip-filen till din WordPress-webbplats så är du redo att börja!
Step #2: Install and Activate the WPForms Square Addon
Head over to your WordPress dashboard and click WPForms » Addons:
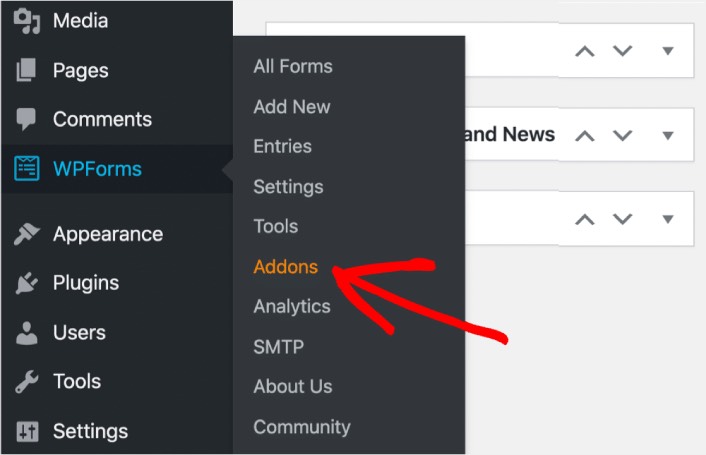
Scroll down to the Square addon and click on Install:

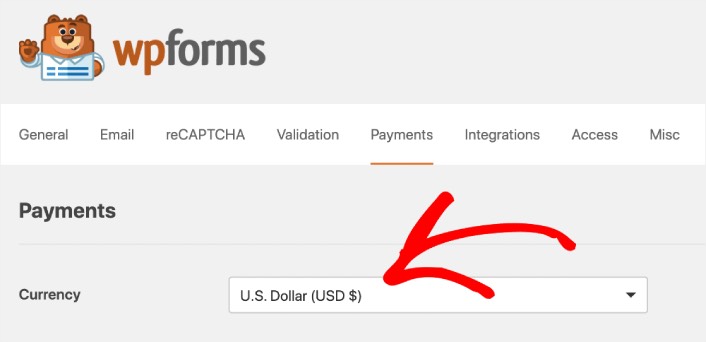
Once you’re done installing the addon, click on Activate. Next, we’re going to configure the payment settings. Go to your dashboard, click WPForms » Settings, then click the Payments tab. Under Currency, select your currency:
Next, we’re going to connect Square to WPForms.
Step #3: Connect Your Square Account to Your WordPress Site
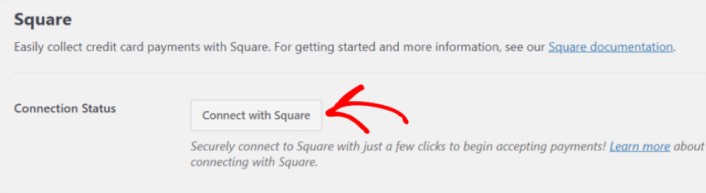
In the payment settings page, scroll down to the Square section and go to the Connection Status tab. Click the Connect with Square button:
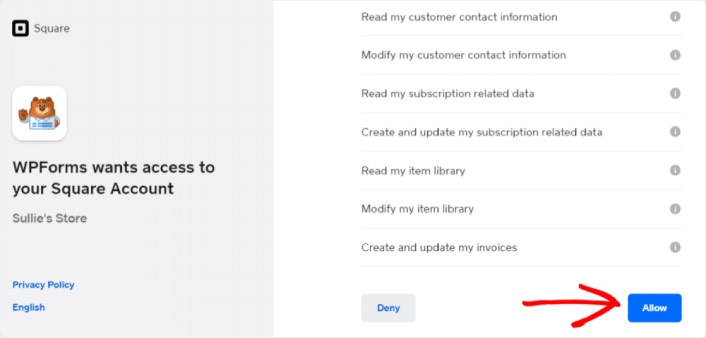
Sign in to your Square account and allow WPForms access to the specific information that it requests:
When it’s done, you will automatically get redirected back to the payment settings page and you should see the Connection Status as Active.

Step #4: Create a Square Payment Form
Now that WPForms is installed and activated, it’s time to create an order form. Head over to WPForms » Add New:

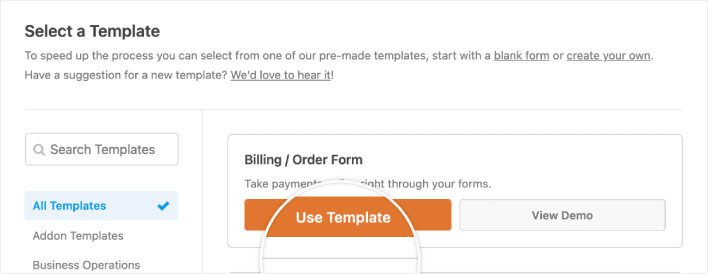
This will open the WPForms drag and drop form builder. To create a new form, give it a name and select your form template. To create an order form, we’re going to go ahead and select the Billing/Order Form template:
Next, you’ll want to modify what items are available to order. Scroll down to the Available Items section on the right that the template includes and click on it.
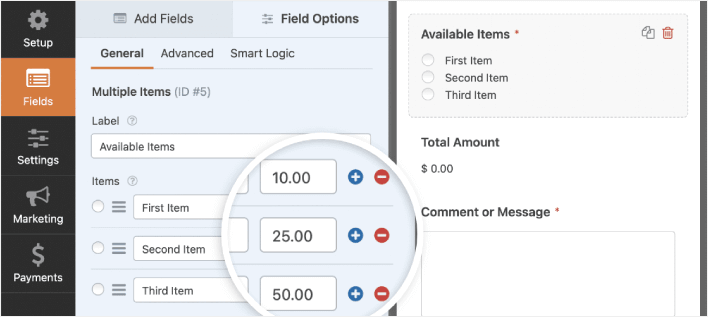
Detta öppnar fältalternativen i den vänstra panelen. Här kan du byta namn på fältet, lägga till eller ta bort beställningsartiklar och ändra priser. När du är klar med att anpassa ditt WordPress-beställningsformulär, klicka på Spara.
Du kan också få formulär att se bra ut genom att följa stegen i vårt inlägg om hur man skapar ett formulär i flera steg i WordPress. Det är ett utmärkt sätt att förbättra användarupplevelsen och minska antalet avbrutna kundvagnar. Men vi håller oss till en enda sida för den här handledningen.
WPForms integrates with PayPal, Authorize.Net, Square, and Stripe for accepting credit card payments. We’ve already installed the Square addon. So, simply add a Square payment field:
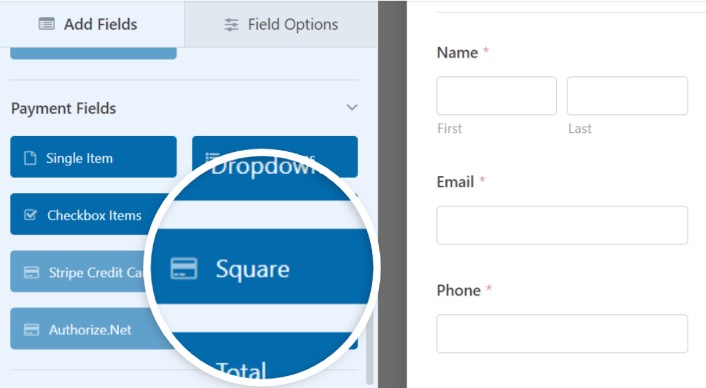
As soon as you add the Square filed, you will see a popup message to enable the Square Payments.
Click on the OK button to close the pop-up.
Step #5: Enable Square Payments
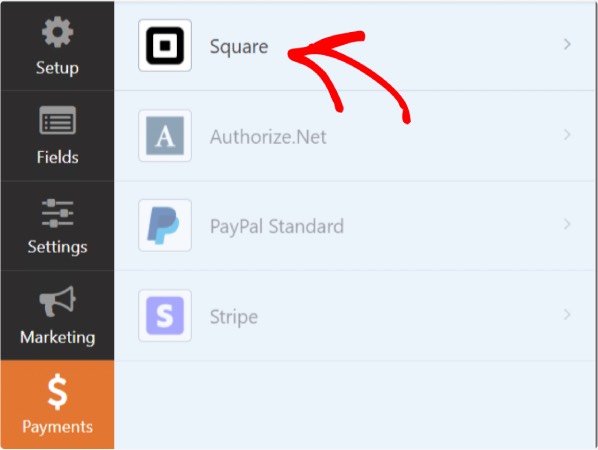
In your WPForms dashboard, click on Payments » Square:
Simply toggle on the Enable Square Payment:
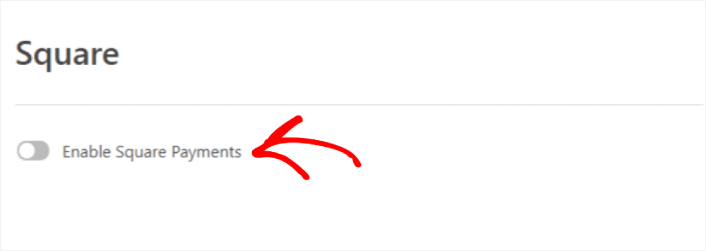
Fill in your payment details:
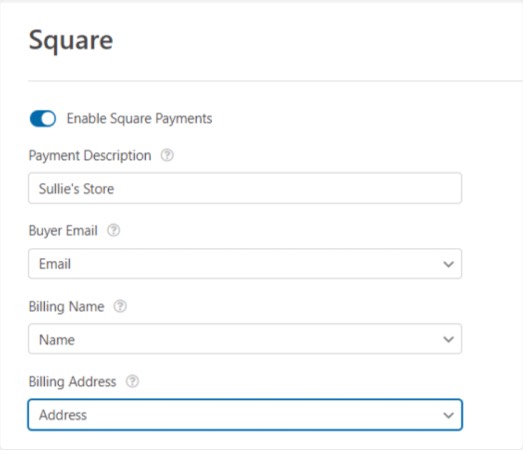
And you’re done! Don’t forget to hit Save.
Step #6: Configure Form Settings
Next, you’ll want to set up notifications and confirmations. Head over to Settings » Confirmations to configure confirmation settings:

Och sedan i samma meny, gå till Aviseringar för att konfigurera dina meddelanden:

Som standard skickas aviseringarna till WordPress admin-e-postadressen. Så om du vill att e-postmeddelandena ska skickas någon annanstans, till exempel till e-postadressen för din försäljningschef, kan du göra det här.
What to do After Installing a WordPress Square Plugin
Det var allt för den här gången, gott folk!
Nu har du skapat ett WordPress-beställningsformulär. Därefter bör du ställa in spårning av formuläravhopp för att minska dina formuläravhoppsfrekvenser.
Efter det är allt som återstår att generera trafik till din webbplats så att ditt formulär kan börja fungera och konvertera. Ett enkelt sätt att göra det är att börja använda push-aviseringar. Att skicka push-aviseringar är ett utmärkt sätt att generera återkommande trafik till din webbplats. Om det är något du är intresserad av bör du även titta på dessa artiklar:
- Kostnad för pushmeddelanden: Är det verkligen gratis? (Prisanalys)
- Hur du får mer trafik till din WordPress-blogg (9 enkla sätt)
- Hur du ökar din webbpush-notis opt-in-frekvens (7 sätt)
- Hur man lägger till ett WordPress-plugin för webbnotiser på din webbplats
Vi rekommenderar att använda PushEngage för att skicka dina pushmeddelanden. PushEngage är den främsta pushmeddelandemjukvaran i världen. Så om du inte redan har gjort det, kom igång med PushEngage idag.


