Remarque : Il n'y a pas de documentation héritée disponible pour cet élément, vous voyez donc la documentation actuelle.
Managing and sending web push campaigns directly through your WordPress dashboard is more efficient than navigating to the PushEngage dashboard. So, we have tried making this easier for you through our WordPress plugin. You can quickly go ahead and send out campaigns about your new blog posts, send out targeted campaigns, customize UTM parameters, and design the notification copy while drafting your posts.
In this article, you will learn how to send out web push campaigns using the Block Editor and never leave the WordPress dashboard.
Avant de commencer
You must enable Auto Push Settings in your WordPress dashboard to send push notifications using the Block Editor. Here is the guide that will help you enable the settings if not already enabled.
You can also send out segmented notifications, set UTM parameters for tracking analytics, or customize the content of the push campaign.
Creating Campaigns while Adding New Posts
You can navigate to the WordPress Dashboard. Click on Posts » Add New
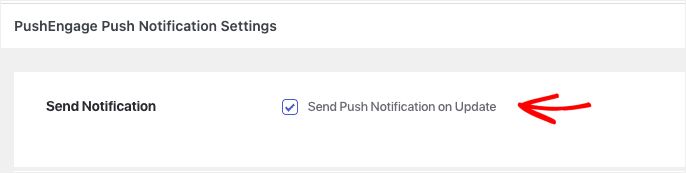
Once you have completed the draft of your new post. You can scroll to the bottom. The title of this section would be PushEngage Push Notifications Settings.
You must ensure that the Send Push Notification checkbox is checked if you want to send push notifications right after publishing.
Web Push Campaign Content
Here, you can add customized Notification titles and messages. The notification URL would be the landing page of the blog posts. This would be fetched automatically.
It gets fetched if you have enabled using a Featured image from a post as a Notification Large Image.
The notification image can be chosen as the website logo or the featured image post.
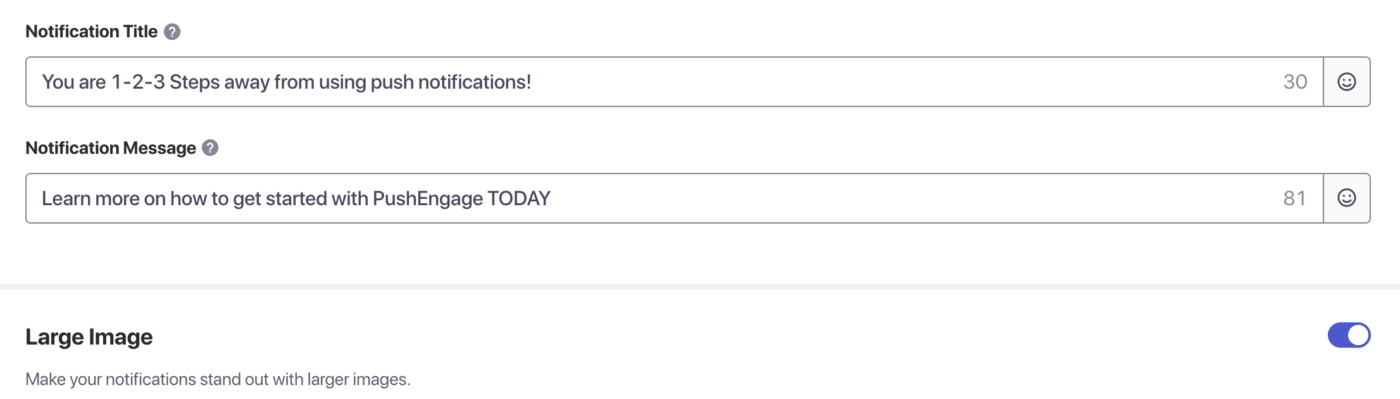
The Notification Title is the site name by default, and the message is the post title. However, you can customize both also add emojis or large image to make the campaign more attractive.
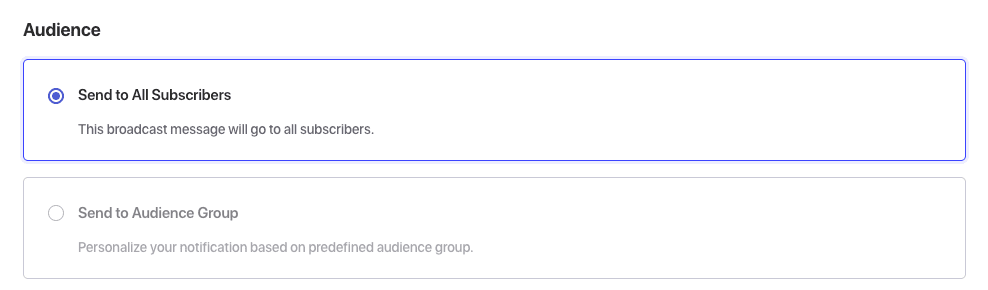
Selecting Audience for Campaign
You can send it to all your subscribers or already-created segments. You can send it to all subscribers or a custom Audience Group. You can combine various custom segments under the Audience.
Setting UTM Parameters
You can also customize the UTM parameters as it helps you understand the percentage of traffic driven to the website through web push notifications. This is an optional setting, and you can also add the default settings in the PushEngage Settings page to make it easier to publish new posts.
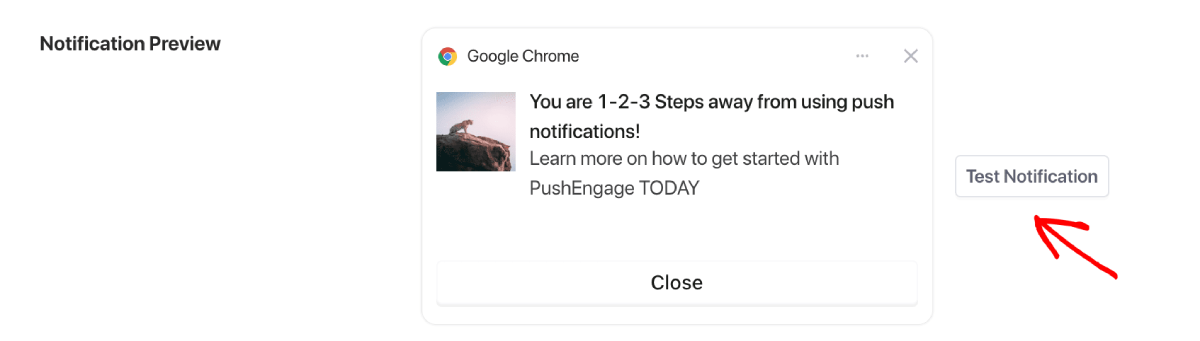
Test your Notification
You also have the ability to preview the campaign that you have created while drafting your post, and you can also test the notification. The test notification feature lets you see how the campaign design looks on your device and browser.
Double Check with the Pre-publish checklist
All the PushEngage Settings show up right before you are about to publish in the default WordPress Pre-publish checklist. You can revisit all the settings specially the campaign title, message and audience that it is assigned.
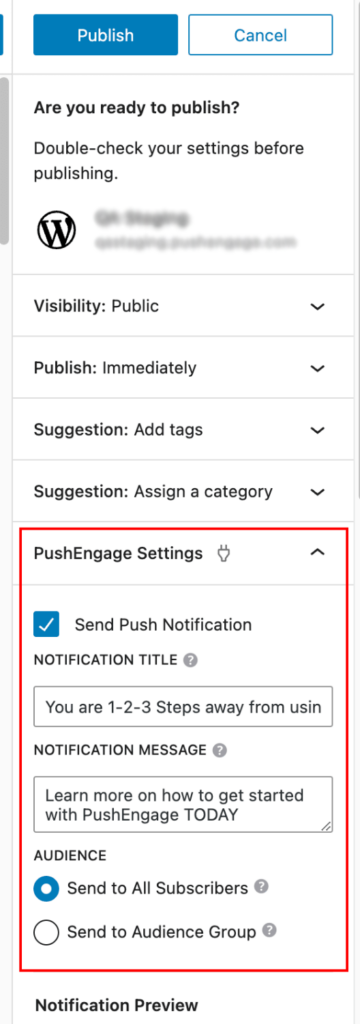
You can easily see the preview and make any changes if you are unsatisfied with the campaign. Once everything is verified, you can click the Publish/Schedule button to save the post or publish it immidiately.
That’s it. You have now successfully sent a campaign through a WordPress post editor.
Si vous rencontrez des problèmes, veuillez nous contacter en cliquant ici. Notre équipe de support sera en mesure de vous aider.


