تنبيه: لا تتوفر وثائق قديمة لهذا العنصر، لذا فإنك ترى الوثائق الحالية.
This guide will walk you through fetching WhatsApp Cloud API Details to enable the messaging for your customers. You can send out direct promotional emails, shipping status updates and more with PushEngage.
قبل البدء
This guide assumes you have the WhatsApp Business App created with Meta and you have generated the tokens that are required. If you don’t already have a Meta business account set up, you can create one and generate the necessary tokens by following this guide.
إضافة رقم هاتف وإنشاء رموز
You will need to connect to your Business Contact Number if you want to start sending the messages.
1. In the quickstart screen, click Start using the API button.
2. In the API setup section, you need to use the Test number option and click on Add phone number.
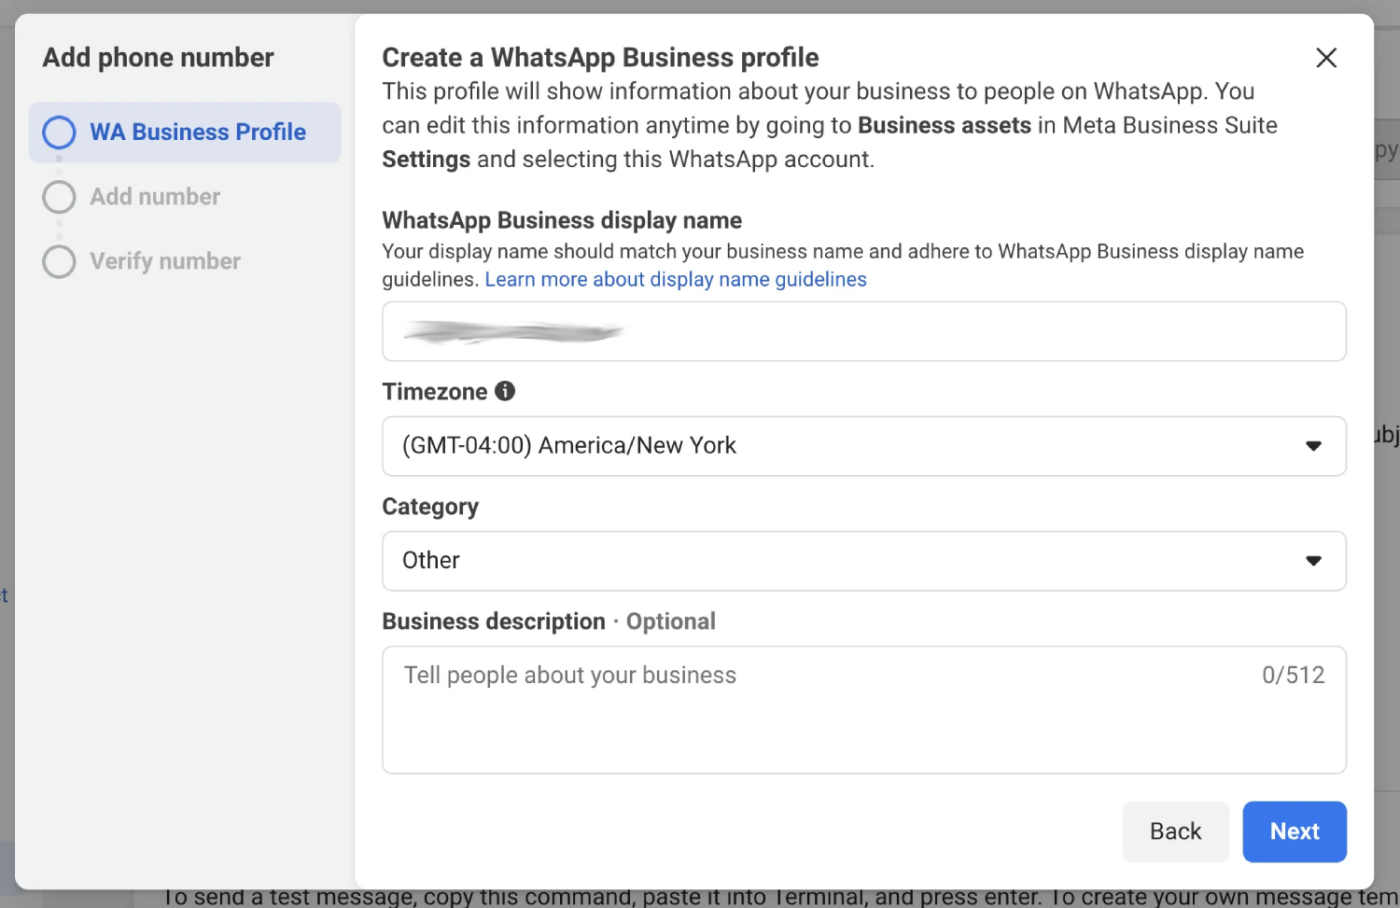
3. Now you can create a WhatsApp Business profile and click on the Next button.
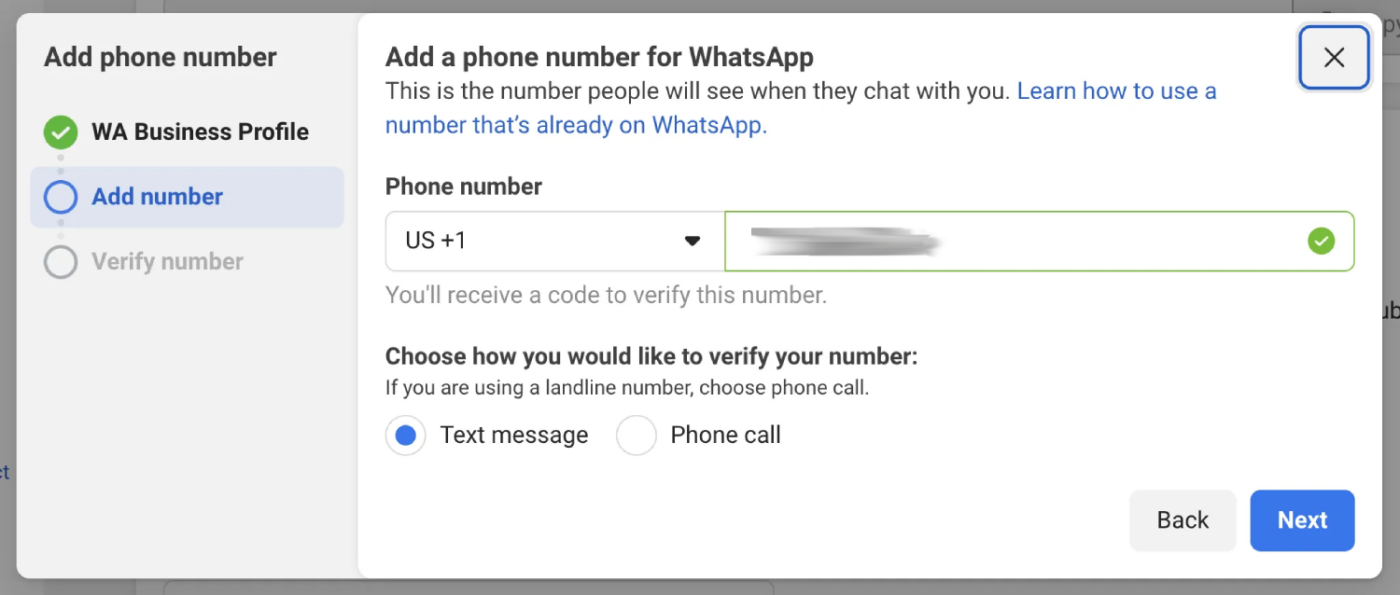
4. Next, you’ll provide a phone number for your WhatsApp Business. It’s important to use a number that isn’t currently active on any other WhatsApp account. If you’d prefer to use a number already linked to a WhatsApp account, you’ll first have to move that number over to your business account, which will require you to log in. Once you’ve entered the number, click ‘Next‘ so we can confirm it’s yours by sending you a text message or giving you a call.
5. Now you have to create a temporary access token initially. Click the button labeled ‘Generate access token.’ After you click it, a small modal will pop up on your screen. Just follow the instructions or steps that appear in that modal.
Note : This access token will be valid for 24 hrs only. We will be helping you with creating a permanent access token too.
إنشاء رمز وصول دائم
What we’ve done so far is a quick way to get WhatsApp up and running on your WordPress site. However, that access token we just created—the one from the previous step—is only temporary and will stop working after 24 hours.
When you’re ready to officially launch and use this integration long-term, you’ll need a permanent access token. To get this, Meta uses a feature called ‘System Users.’ So, the process involves adding a ‘System User’ to your Business Manager account. Once that’s set up, you’ll use the access token belonging to that System User, and that will give you the permanent connection you need.
Add System Users in Business Manager to create a permanent access token.
1. Go to Business Settings.
2. سترى الآن أدناه "المستخدمون"، انقر فوق "مستخدمو النظام". انقر فوق زر "إضافة".

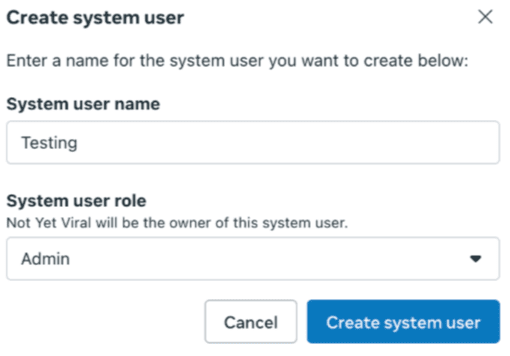
3. قم بتسمية مستخدم النظام واختر "مسؤول". ثم انقر فوق "إنشاء مستخدم النظام".
4. يمكنك النقر فوق "تعيين الأصول". في مربع الحوار الذي يظهر، حدد "التطبيقات > اسم تطبيقك > تحكم كامل".
5. يمكنك النقر فوق "إنشاء رمز" في أعلى الشاشة.
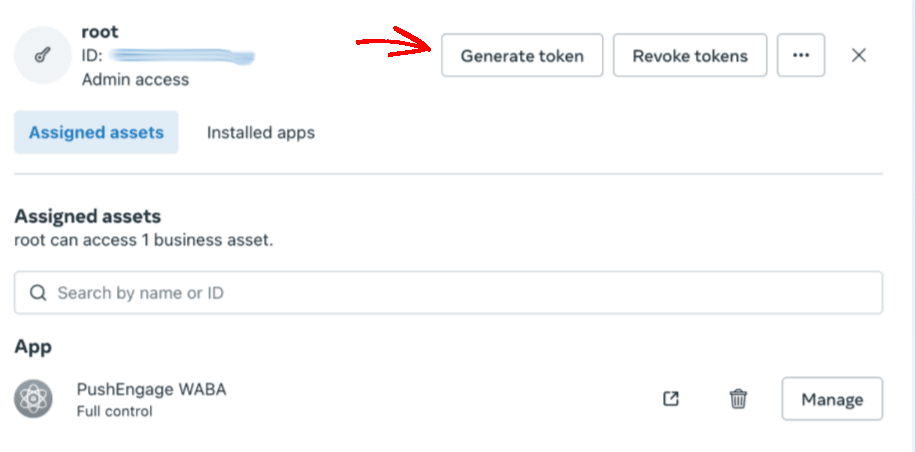
6. في النافذة المنبثقة التي تظهر، حدد تطبيقًا وفترة انتهاء صلاحية للرمز المميز والأذونات. يجب أن تكون الأذونات: "إدارة أعمال واتساب" و "مراسلة أعمال واتساب".
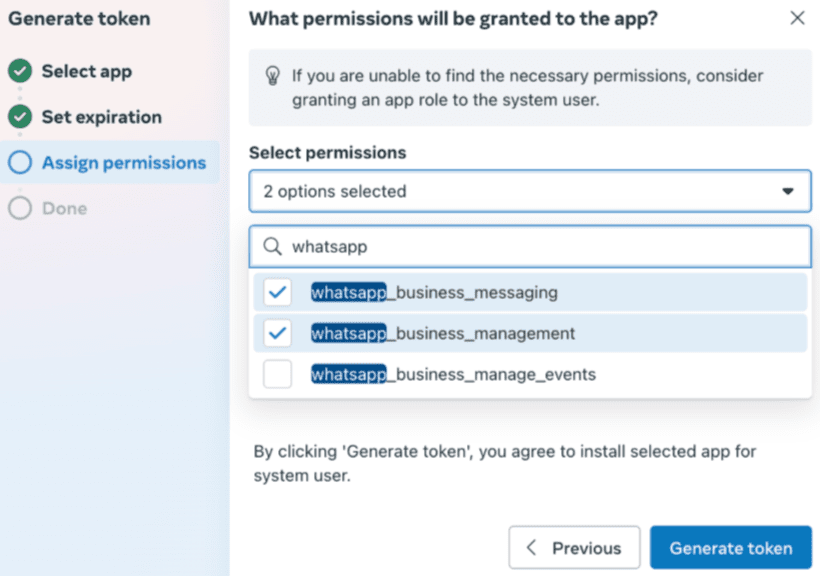
7. الآن انقر فوق "إنشاء رمز" & انسخه.
ربط PushEngage بتطبيق عملك
سيحتاج PushEngage إلى بعض المعلومات قبل أن نتمكن من مساعدتك في إرسال رسائل إلى عملائك.
يمكنك اتباع الخطوات أدناه لربط حساب PushEngage الخاص بك بتطبيق عملك
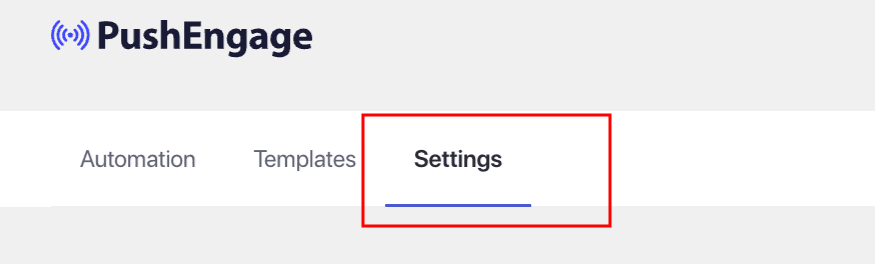
يمكنك الانتقال إلى PushEngage في المكونات الإضافية المدرجة، والنقر فوق WhatsApp والانتقال إلى علامة التبويب الإعدادات
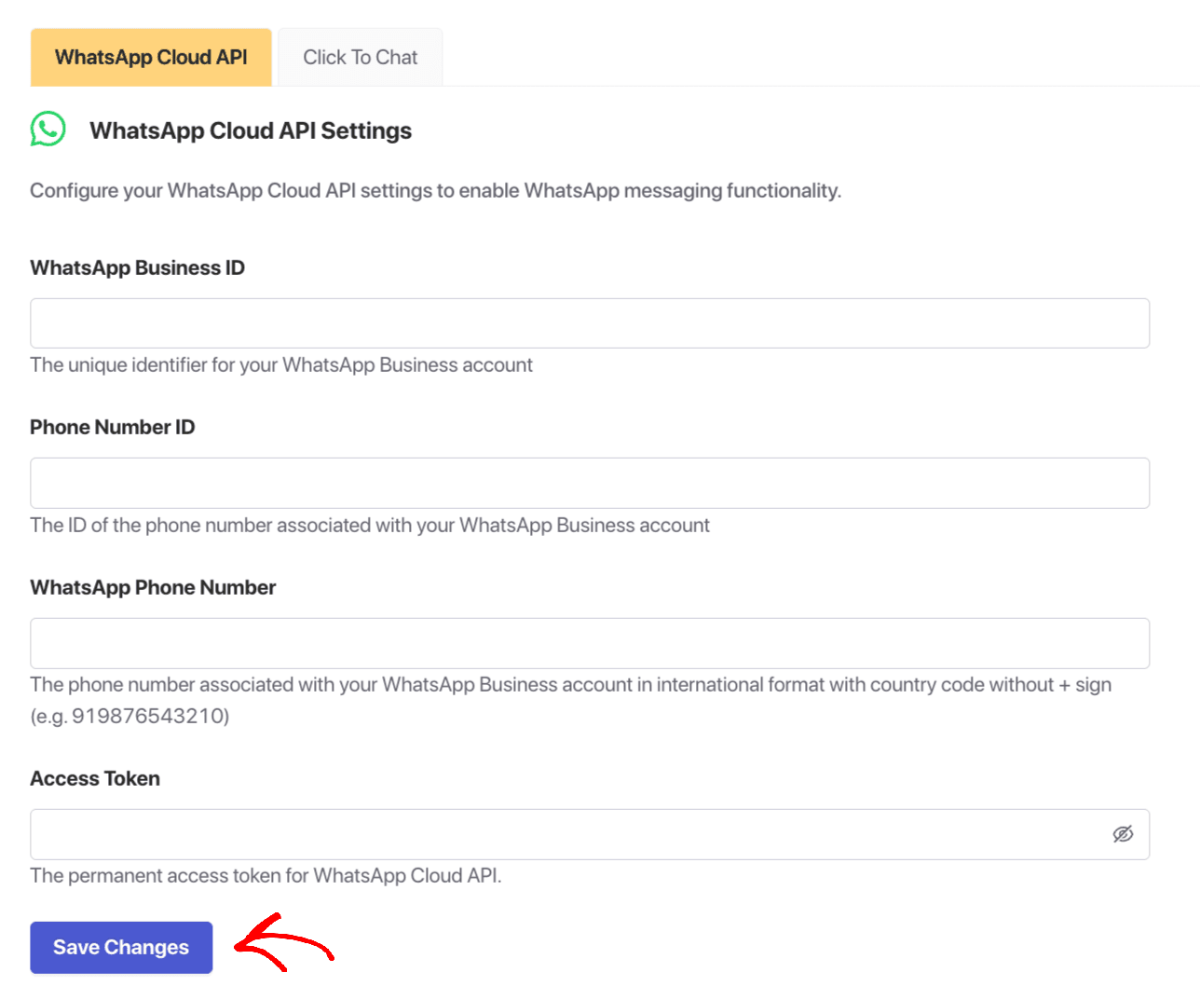
هنا، ستضيف تفاصيل إلى إعدادات واجهة برمجة تطبيقات WhatsApp السحابية. إليك الأشياء التي ستحتاجها –
- WhatsApp Business Account ID
- Phone Number ID
- WhatsApp Phone Number
- رمز وصول دائم
هذا كل شيء، لقد قمت بإنشاء حساب WhatsApp Business وربطته أيضًا بـ PushEngage. يمكنك الآن البدء في إرسال الحملات.
If in case you run into any issues, please feel free to contact us by clicking here. Our support team would be able to help you.


