Looking for a simple guide on how to install a WordPress Square plugin and accept online payments on your site?
Square allows you to accept credit card payments on any site. Whether you’re running a service site, an eCommerce store, or a membership platform, you need to allow credit card payments on your WordPress site. And Square is one of the most popular payment gateways to add multiple payment options on your site.
Integrating a payment gateway to your site can be a real hassle if you have to code it from scratch. So, what do you do when you don’t know how to code? Are Square plugins even worth looking into?
Short answer: Yes. Using a Square plugin can help you start accepting payments in a matter of minutes without a single line of code.
In this article, we’re going to go show you how to install a WordPress Square plugin and start accepting payment with writing a single line of code. And we’ll do it in less than 10 minutes.
听起来不错?让我们开始吧。
Why Use a WordPress Square Plugin on Your Website?
Square allows credit card payments on your WordPress site. The best part is that the payment gateway allows multiple payment formats including recurring payments.
信用卡是最受欢迎的支付方式之一。如果您打算在不接受信用卡支付的情况下将网站货币化,那么您将错失良机。
接受信用卡支付将提高您的转化率。如果您经营的是电子商务网站,这还可以降低您的购物车放弃率。
在开始之前,您需要在网站上启用 HTTPS/SSL,以便安全地接受信用卡支付。如果您不确定如何操作,可以按照此简单指南了解如何为您的 WordPress 网站获取免费 SSL 证书。
How to Add a WordPress Square Plugin to Online Stores
Now that we understand why you should be using a WordPress Square plugin and the benefits of using Square, it’s time to add Square payments to your site. There are multiple WordPress plugins to integrate Stripe into your site.
We recommend using WPForms to accept Square payments on WordPress.

WPForms is the most powerful drag-and-drop WordPress form builder. It’s super easy to build a fully custom form for your WordPress site in a few minutes using the plugin. WPForms can help you create any type of contact form, payment form, survey form, registration form, and newsletter optin form you can think of.
在Pro版本中,他们有超过300个经过验证的模板。您可以立即导入这些模板并在几分钟内启动表单。WPForms完全对初学者友好。任何人都可以使用它来创建强大的表单。
该插件仅包含核心必需功能。因此,如果您需要在表单中添加更多功能,可以随时安装插件。这使得插件轻量级且易于使用。
使用WPForms,您将获得:
- A Beginner-Friendly Form Builder
- Order Forms
- 多步骤表单
- 电子邮件营销集成
- 条件字段逻辑
- 表单放弃营销活动
- 表单登陆页面
- 弹出式联系表单
And more. The best part is that you can directly create WordPress payment forms that accept payments using Square. All you need is a Square account and the WPForms plugin to get started. Check out our WPForms review for more details or simply follow along.
Step #1: Install and Activate the WPForms Plugin
The first thing you need to do is install and activate the WPForms plugin. If you’ve never installed a WordPress plugin before, check out this guide on how to install a WordPress plugin.
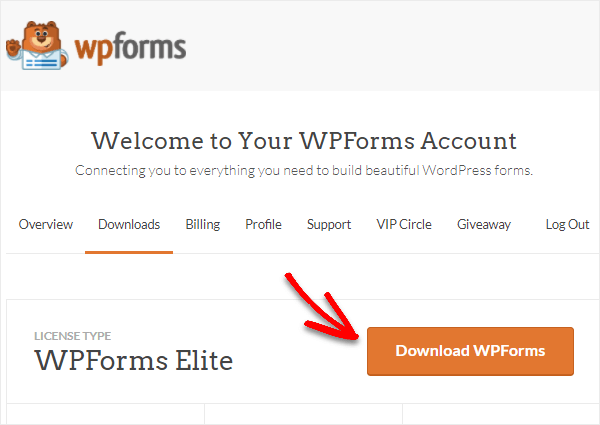
首先,前往 WPForms 并选择一个计划:

安装插件后,转到您的 WPForms 控制面板并下载插件:
然后,将 zip 文件上传到您的 WordPress 网站,您就可以开始使用了!
Step #2: Install and Activate the WPForms Square Addon
Head over to your WordPress dashboard and click WPForms » Addons:
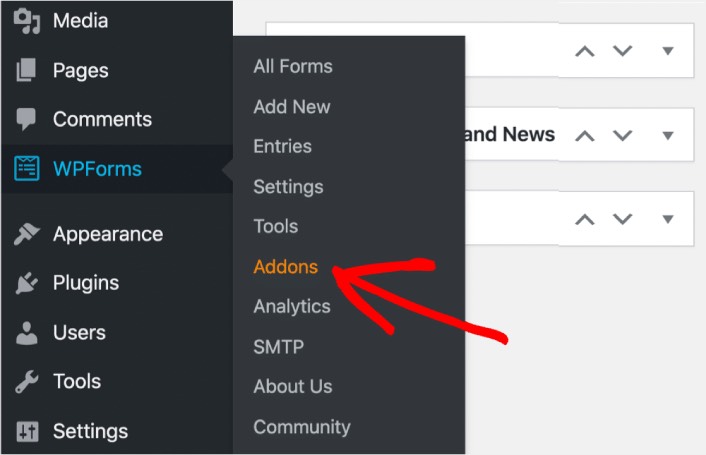
Scroll down to the Square addon and click on Install:

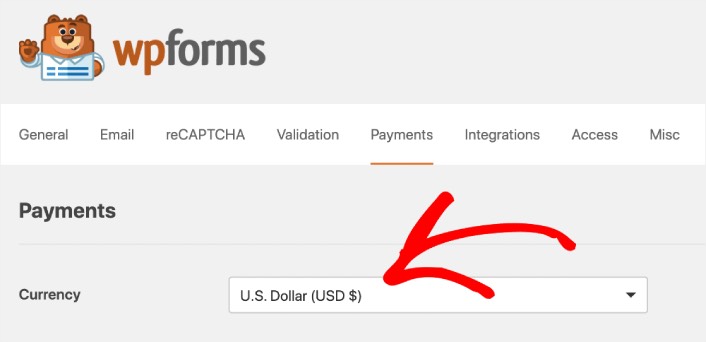
Once you’re done installing the addon, click on Activate. Next, we’re going to configure the payment settings. Go to your dashboard, click WPForms » Settings, then click the Payments tab. Under Currency, select your currency:
Next, we’re going to connect Square to WPForms.
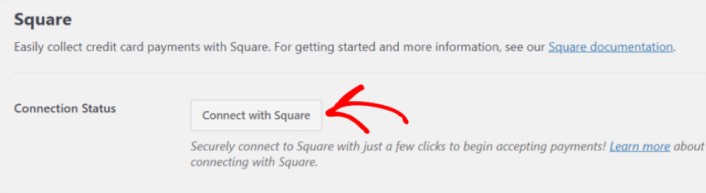
Step #3: Connect Your Square Account to Your WordPress Site
In the payment settings page, scroll down to the Square section and go to the Connection Status tab. Click the Connect with Square button:
Sign in to your Square account and allow WPForms access to the specific information that it requests:
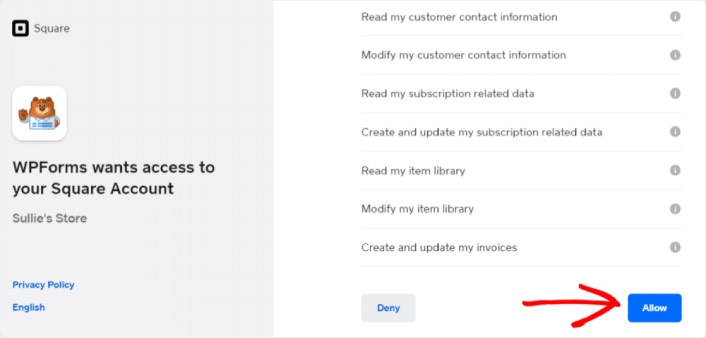
When it’s done, you will automatically get redirected back to the payment settings page and you should see the Connection Status as Active.

Step #4: Create a Square Payment Form
Now that WPForms is installed and activated, it’s time to create an order form. Head over to WPForms » Add New:

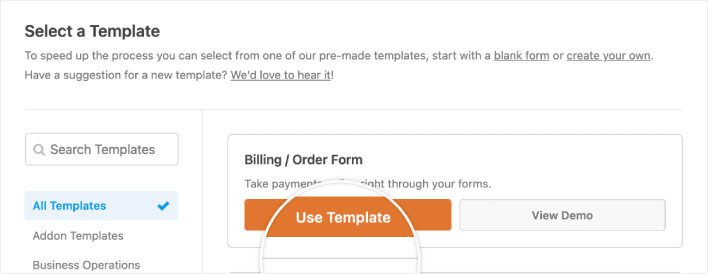
This will open the WPForms drag and drop form builder. To create a new form, give it a name and select your form template. To create an order form, we’re going to go ahead and select the Billing/Order Form template:
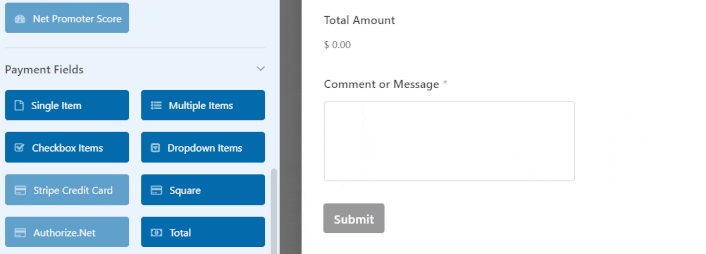
Next, you’ll want to modify what items are available to order. Scroll down to the Available Items section on the right that the template includes and click on it.
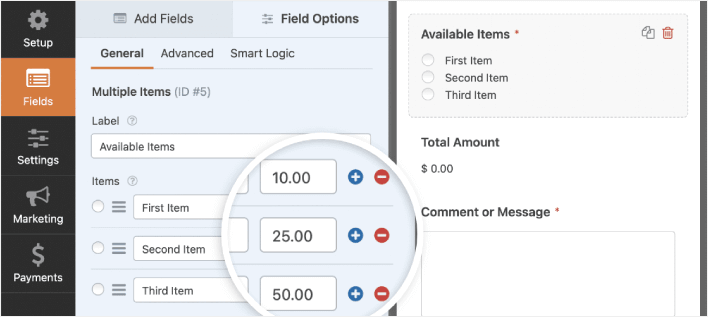
这将打开左侧面板中的字段选项。在这里,您可以重命名字段、添加或删除订购项目以及更改价格。完成 WordPress 订单表单的自定义后,单击 保存。
您还可以通过遵循我们关于如何在 WordPress 中创建多步表单的帖子的步骤来使表单看起来很棒。这是改善用户体验和降低购物车放弃率的好方法。但在此教程中,我们将坚持使用单页表单。
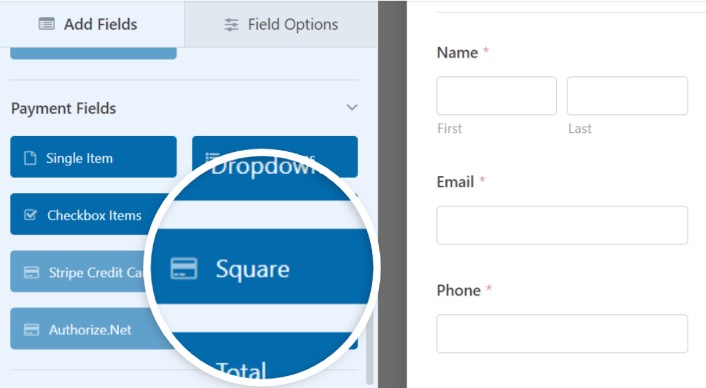
WPForms integrates with PayPal, Authorize.Net, Square, and Stripe for accepting credit card payments. We’ve already installed the Square addon. So, simply add a Square payment field:
As soon as you add the Square filed, you will see a popup message to enable the Square Payments.
Click on the OK button to close the pop-up.
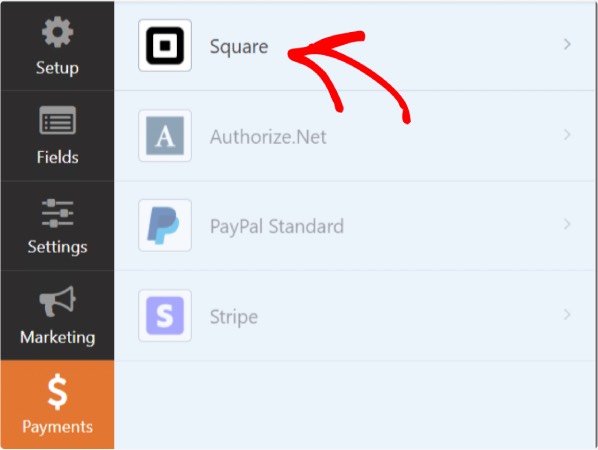
Step #5: Enable Square Payments
In your WPForms dashboard, click on Payments » Square:
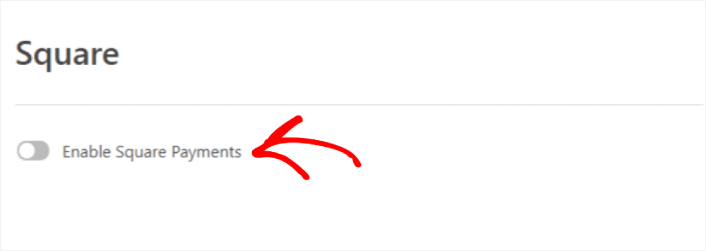
Simply toggle on the Enable Square Payment:
Fill in your payment details:
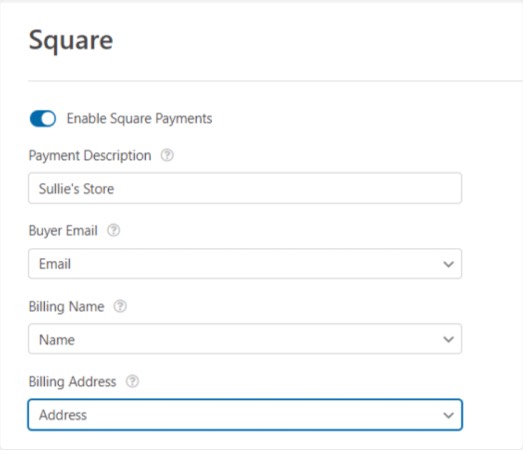
And you’re done! Don’t forget to hit Save.
Step #6: Configure Form Settings
Next, you’ll want to set up notifications and confirmations. Head over to Settings » Confirmations to configure confirmation settings:

然后在同一菜单中,转到 通知 以配置您的通知消息:

默认情况下,通知会发送到 WordPress 管理员电子邮件。因此,如果您希望将电子邮件发送到其他地方,例如您的销售主管的电子邮件 ID,您可以在此处进行设置。
What to do After Installing a WordPress Square Plugin
好了,各位,本次分享就到这里!
现在,您已经创建了一个 WordPress 订单表单。接下来,您应该设置 表单放弃跟踪 以降低您的表单放弃率。
之后,剩下要做的就是为您的网站产生流量,以便您的表单能够开始工作并开始转化。一种简单的方法是开始使用推送通知。发送推送通知是为您的网站产生重复流量的好方法。如果您对此感兴趣,也应该查看这些文章:
我们建议使用PushEngage发送推送通知。PushEngage是全球排名第一的推送通知软件。因此,如果您还没有,请立即开始使用PushEngage。


