
Looking for a quick guide to add local business Schema in WordPress?
If you’re running a brick and mortar business and marketing on search engines to get more footfalls to your store, then local business Schema is going to be super helpful for you. But, how do you do it?
Isn’t Schema a lot of code snippets? Do you need to write code to add Schema to your site? Should you hire a developer?
The short answer is: No!
You can simply install a WordPress plugin to add local business Schema. And in this article, we’re going to show you how.
让我们开始吧。
Step #1: Select a Local Business Schema WordPress Plugin
Before you can add local business Schema to your WordPress site, you need to pick a WordPress plugin. We recommend using All In One SEO.

All in One SEO (AIOSEO) 是WordPress社区中最受好评的SEO插件之一。原始版本已完全改版,增加了大量新功能和附加组件。因此,如果您过去使用过AIOSEO,则需要再次查看该插件。
AIOSEO不仅拥有足够强大的SEO功能来实施最新的SEO最佳实践,还提供了高级SEO设置,可直接解决特定的SEO问题。这包括:
- 面向本地受众的小型企业的本地SEO模块
- 在线商店的WooCommerce SEO
- WordPress编辑器内的SEO优化器
- 智能站点地图,可即时索引搜索引擎
- 一个Schema插件,可让您的内容在富摘要中排名
以及更多!
简而言之: All in One SEO 使您能够正确设置WordPress SEO,而无需聘请专家。如果超过300万的All in One SEO客户(包括我们)可以证明,AIOSEO是满足所有SEO需求的绝佳搜索引擎优化软件。
它非常适合博主和小型企业主,因为它能帮助您处理 SEO 问题,而无需聘请专业人士。
Remember: You can only integrate the Google Search Console with All in One SEO. If you need more detailed website analytics, you should consider installing the MonsterInsights plugin to install Google Analytics to your WordPress site.
Step #2: Add Location Schema (Single Location Business)
Once you’ve installed AIOSEO, go to the AIOSEO menu » Local SEO. This will open a page where you can input your location and business information.
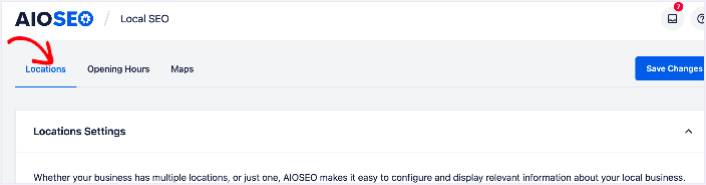
Next, you need to select whether your business is in one location or many.
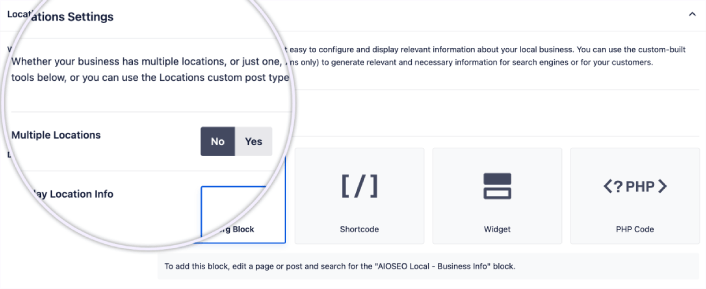
If yours is a single-location business, leave the Multiple Locations toggle set to No.
You can also choose whether you want your location information to be displayed as a:
- Gutenberg Block
- Shortcode
- 窗口小部件
- PHP code
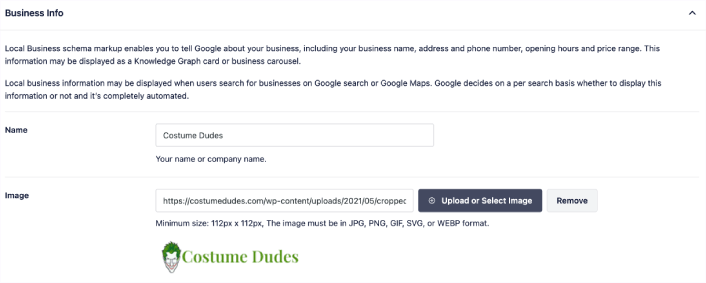
Then, add other business information like name, logo (image), business type, and address.
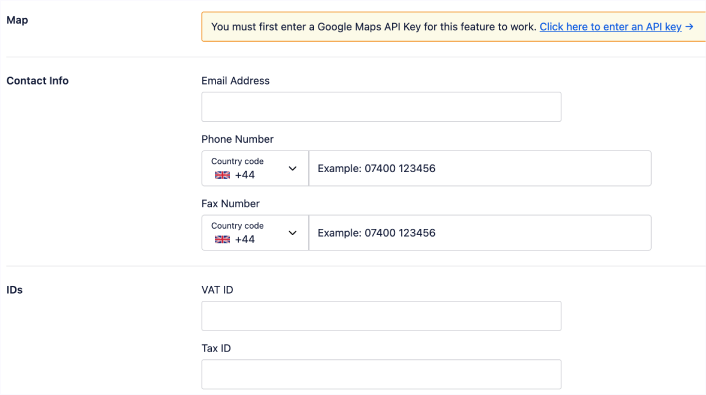
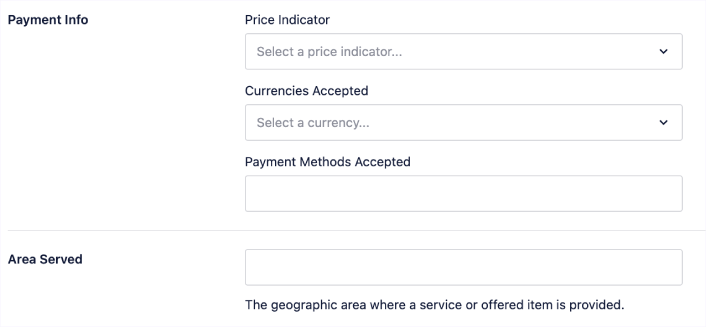
You can also add other information like a map of your location (more on this in a moment), contact information, VAT and Tax IDs, payment information, and the areas you serve.
You can also add your payment info under Payment Info and showcase your store locations under Areas Served.
When you’re done, go ahead and hit the Save Changes button.
Step #3: Add Opening Hours
The next step to adding Local Business schema is to add your business hours. Go to the AIOSEO menu » Local SEO » Opening Hours. This will open a window where you can add your opening hours.
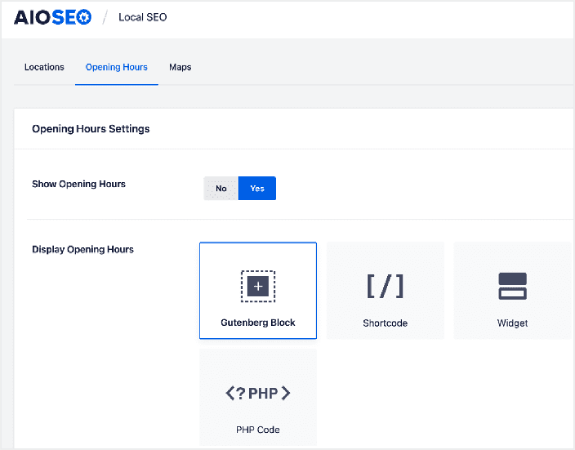
Set the Show Opening Hours toggle to Yes, and you can get options for displaying your opening hours.
If your business is open 24 hours, you can set the toggle to Open 24/7, and that’s it. You’ve added business hours to your Local Business schema.
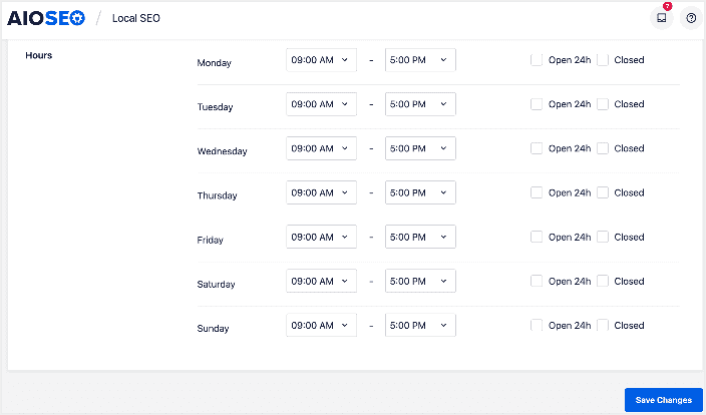
Once you’re done, click Save Changes, and your operating hours will be set.
Step #4: Add Google Maps
The final step to setting your Local Business schema is adding Google Maps, so you can visually display your location. To do that, go to the AIOSEO menu » Local SEO » Maps.
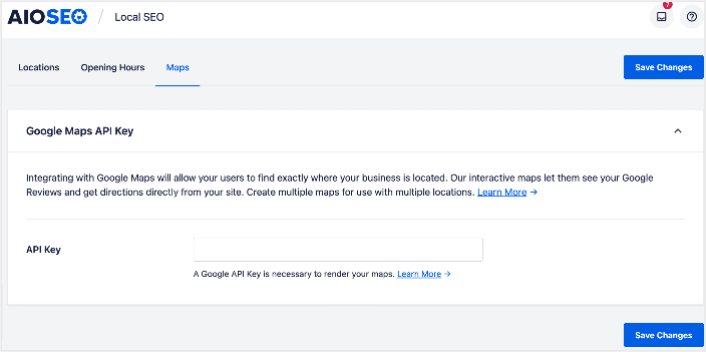
You’ll have to add a Google Maps API key in the API Key field for search engines to render your map.
Once done, click Save Changes.
And that’s it!
What to do After Adding Local Business Schema in WordPress
Adding local business schema is only one part of the puzzle. Our top recommendation is to use All in One SEO to optimize your website content. The right tools can help you with getting repeat traffic, engagement, and sales. For that, we recommend using push campaigns.
推送通知可以成为发展业务的强大营销工具。不信?查看这些精彩资源:
我们建议使用PushEngage来创建您的推送通知广告系列。PushEngage是全球排名第一的推送通知软件。所以,如果您还没有,请立即开始使用PushEngage!


