
Looking for a tutorial on how to create an expense approval form in WordPress?
An expense approval form is a superb tool to streamline and monitor company expenditures. But, you might wonder, how do you craft one? Is it worth designing an expense form from the ground up?
The straightforward scoop? Probably not. You can whip up a WordPress expense approval form with a form plugin in significantly less time than starting from zero. And if you’re no tech whiz, leaning on a plugin is will likely be much kinder on your wallet too.
But hold on! The plugin universe is vast. So, which one should you choose?
In this article, we’re going to show you step by step how to create your own expense approval form in WordPress. The best part? You’ll be done in 10 minutes and you don’t need to write a single line of code.
让我们开始吧。
Why You Need an Expense Approval Form in WordPress
Incorporating an expense approval form into your WordPress website streamlines the way you manage, monitor, and authorize company expenditures. It becomes an essential tool for maintaining financial discipline and transparency in your organization.
PushEngage是全球排名第一的推送通知插件。免费获取!
Through a clear format like, “What’s the purpose of this expense?” or “Attach your expense receipt here”, you can maintain a consistent record of every penny spent. Expense forms can categorize expenses based on their nature like travel, supplies, or entertainment, ensuring clarity in documentation.
Often, expense approval forms also allow a section for notes or clarifications. This section provides valuable context to approvers, making sure there are no ambiguities when it’s decision time.
By routinely processing expenses through this system, you’re creating a clear financial trail. This periodic review ensures that expenses align with company policies and budgets. Plus, it’s a quick way to spot any irregularities or misuse.
The insights you gather can lead to tangible policy improvements. Over time, you might spot patterns – maybe your team frequently overspends in one area or there are recurrent unjustified expenses. This can guide policy updates or staff training.
To integrate an expense approval form into your WordPress platform, you can use specific plugins or incorporate forms from external finance tools. Ensure your form is straightforward, intuitive, and easily accessible to those who need it.
In essence, expense approval forms in WordPress help synchronize company spending with financial guidelines, ensuring budget adherence and fiscal responsibility.
How to Create an Expense Approval Form in WordPress
Now that you know why you should be creating your expense approval form, it’s time to start building one for your site. To create your expense approval form, we’re going to use a super popular form builder plugin for WordPress called WPForms.
让我们开始吧。
第1步:创建新的WordPress表单
您需要做的第一件事是安装并激活WPForms。

WPForms是全球排名第一的WordPress表单构建器插件。如果您不确定如何安装WPForms,您应该查看这篇关于如何安装WordPress插件的分步指南。
然后,前往您的WPForms仪表板,然后转到 下载 以获取您的插件:
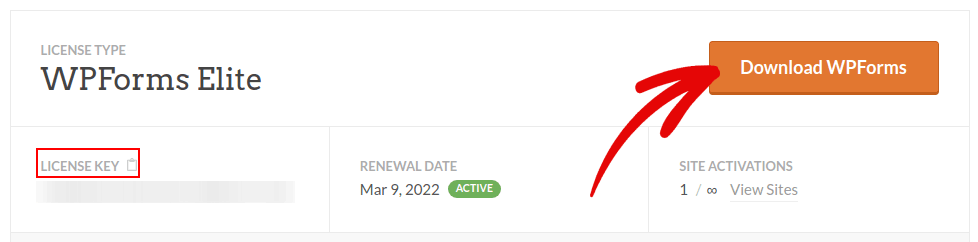
接下来,在您的网站上安装并激活该插件。并在同一选项卡中复制您的许可证密钥。
最后,转到您的WordPress仪表板,然后前往WPForms » 设置,然后粘贴您的许可证密钥:
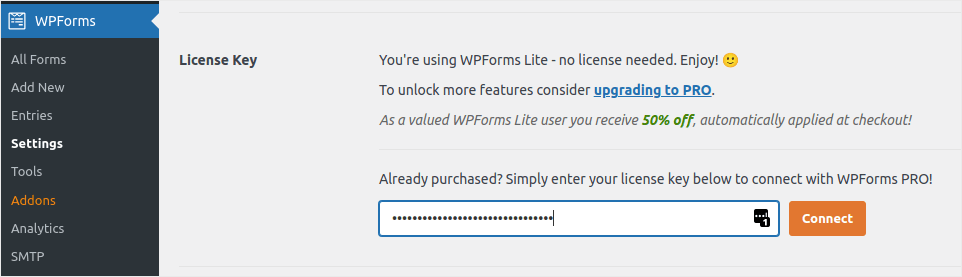
完成后,单击连接。
Step #2: Add the Right WPForms Addons
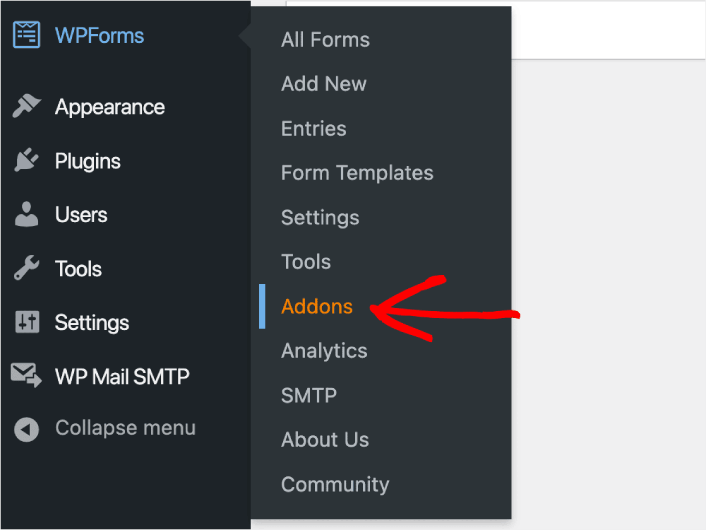
在您的WordPress仪表板中,导航到 WPForms » 插件。
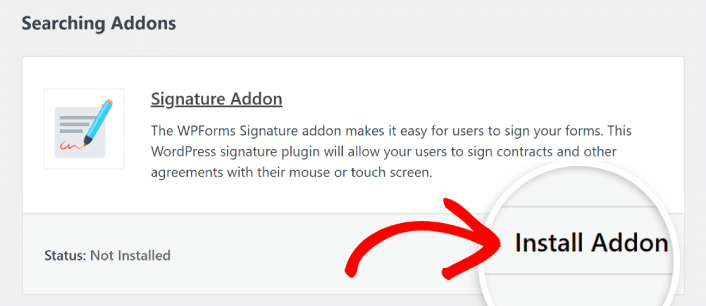
Now, search for the Save and Resume Addon by typing its name in the Search Addons field. Next, click on Install Addon.
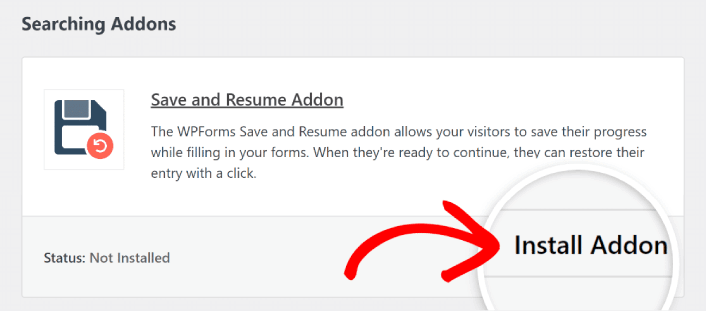
After the addon has been installed successfully, press the same button again to Activate it. And do the same thing for the Signature Addon.
现在 WPForms 已安装并激活,是时候创建您的第一个表单了。前往 WPForms » 新建表单:

这将打开 WPForms 的拖放式表单构建器。
Step #3: Select Expense Approval Form Template
要创建新表单,请为其命名并选择您的表单模板:
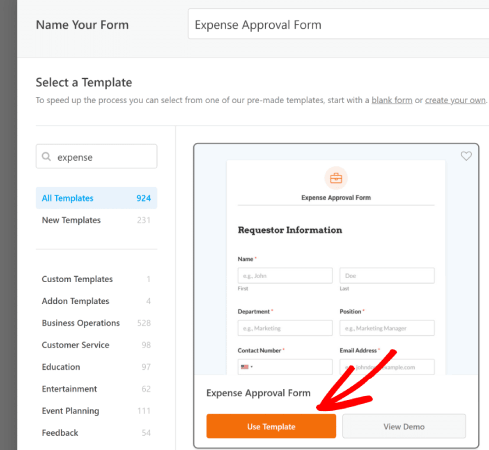
使用 WPForms,您可以获得大量预设计的表单模板,只需单击一下即可导入,然后根据需要进行自定义。要更详细地了解所有功能,您应该查看我们对 WPForms 的评测。
Step #4: Customize Your Expense Form
接下来,您将被带到带有已加载模板的表单构建器。
您可以直接使用现成的模板来收集客户反馈。但是,如果您想添加其他字段以收集更多客户详细信息和见解,可以随意修改此模板。
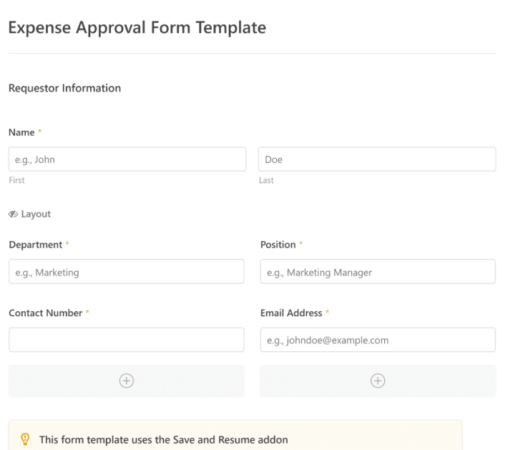
You’ll notice that this template is built with fields that automate capturing the requestor’s information, expense details, and approval via Signature.
If required, you can use WPForms’ intuitive form builder to easily add, modify, and arrange fields to tailor the form to your liking.
您还可以通过遵循我们关于如何在 WordPress 中创建多步表单的帖子的步骤来使表单看起来很棒。这是改善用户体验和降低购物车放弃率的好方法。但在此教程中,我们将坚持使用单页表单。
Step #4: Enable Save and Resume Settings
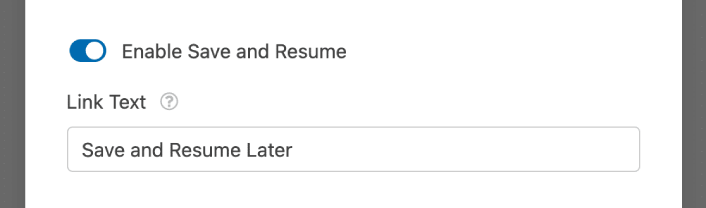
First, you’ll want to add the Save and Resume feature to your expense approval form. Go to Settings » Save and Resume from the form builder. To turn on save and resume functionality, toggle on the Enable Save and Resume option.
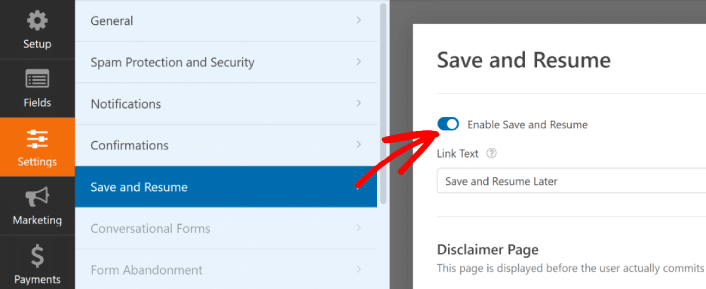
To begin, you can personalize the wording on the link that users will click to save their progress in your form.
You can change the text in the supplied field. By default, it says Save and Resume Later, but you can change it to anything you like.
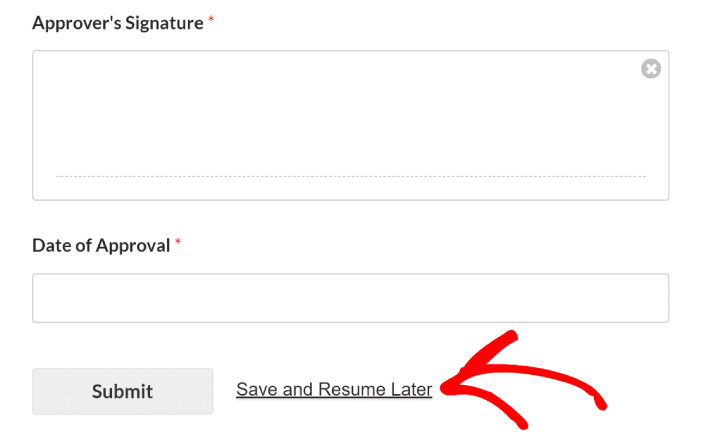
This link will show up at the bottom of your form, next to the button labeled Submit.
NOTE: The resume URLs will stop working after 30 days. So, make sure to add a disclaimer on your form that mentions this fact.
Step #5: Configure Your WordPress Expense Approval Form Settings
接下来,您需要设置通知和确认。
通知是有人填写表单时您收到的电子邮件。确认是为了提醒用户他们已成功填写表单。通常,这是一个“谢谢”消息,但您也可以将用户重定向到专用页面。
前往 设置 » 确认 以配置确认设置:

然后在同一菜单中,转到 通知 以配置您的通知消息:

默认情况下,通知会发送到 WordPress 管理员电子邮件。因此,如果您希望将电子邮件发送到其他地方,例如您的销售主管的电子邮件 ID,您可以在此处进行设置。
Step #6: Add the Expense Approval Form to Your Site
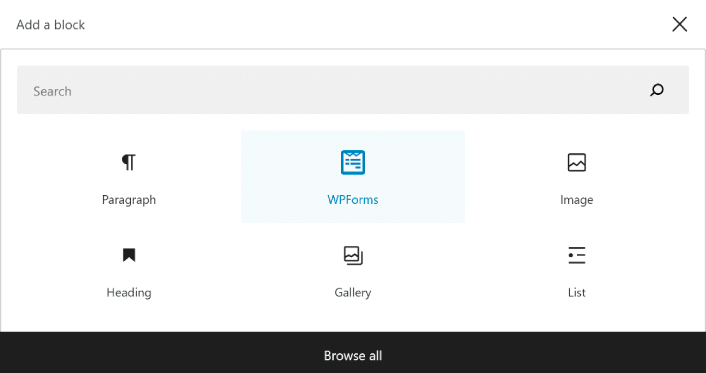
You can add the expense approval form on your site using the WPForms Gutenberg block:
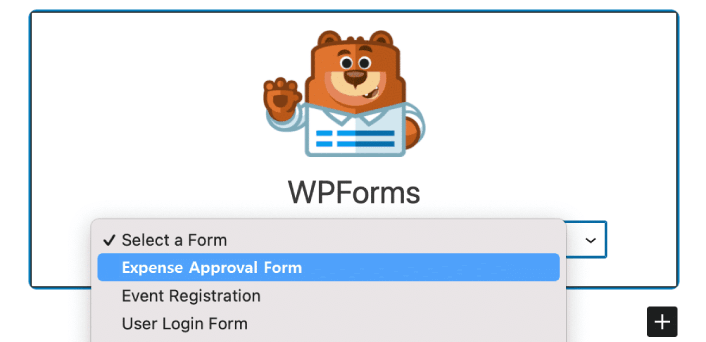
All you need to do is select your expense approval form.
If you’re satisfied with the way your form looks, hit the Update or Publish button, and your form will go live.

您就完成了!
How to Promote Your Expense Approval Form
好了,各位,本次分享就到这里!
By now, you’ve learned how to create expense approval form in WordPress. Next, you should set up form abandonment tracking to reduce your form abandonment rates.
之后,剩下要做的就是为您的网站产生流量,以便您的表单能够开始工作并开始转化。一种简单的方法是开始使用推送通知。发送推送通知是为您的网站产生重复流量的好方法。如果您对此感兴趣,也应该查看这些文章:
- 推送通知成本:真的免费吗?(价格分析)
- 如何为您的WordPress博客吸引更多流量(9种简单方法)
- 如何提高您的网络推送通知选择加入率(7 种方法)
- 如何为您的网站添加 WordPress 网站通知插件
我们建议使用PushEngage发送推送通知。PushEngage是全球排名第一的推送通知软件。因此,如果您还没有,请立即开始使用PushEngage。


