通知:この項目にはレガシー ドキュメントがありません。そのため、現在のドキュメントが表示されています。
ようこそ!WordPressでウェブサイトのプッシュブロードキャストを送信して、購読者とエンゲージする準備が整いました。
この記事では、購読者にブロードキャストメッセージを作成して送信する手順をステップバイステップで説明します。
注意:収集した購読者へのブロードキャストには無料キャンペーンをご利用いただけます。まだ行っていない場合は、[email protected]までご連絡ください。無料で作成いたします!
WordPressダッシュボードにログインし、「インストール済みプラグイン」リストに移動して、「PushEngageプラグイン」をクリックしてください。
次に、上部にある「キャンペーン」»「新規追加」ボタンに移動できます。

開始する前に
キャンペーンの作成を開始するには、ウェブサイトへのインストールが完了していることを確認してください。キャンペーンは、購読者を集めるまで誰にも届きません。まだ完了していない場合は、こちらのリンクを参照してインストールを完了してください。その後、キャンペーン作成に戻ることができます。
これまでに収集した購読者へのキャンペーン送信を開始できます。すべての購読者に送信されたメッセージ、またはセグメント化された購読者セットにブロードキャストできます。
セグメンテーションは、ビジネスプラン以上で利用可能です。
プッシュキャンペーンを手動で作成したくない場合は、WordPress自動プッシュ機能を使用して、キャンペーン公開時にキャンペーンを送信することもできます。
基本的なプッシュキャンペーンの作成
「キャンペーン」» 上部にある「新規追加」ボタンをクリックに移動する必要があります。
これで、プッシュキャンペーンのコンテンツを追加できます。
ブログ/投稿のコンテンツに合わせて、通知タイトルとメッセージを追加することから始めることができます。
後で、購読者がキャンペーンを受信してクリックしたときにアクセスする投稿リンクの通知URLを追加できます。これにより、ウェブサイトへのトラフィックが繰り返されます。
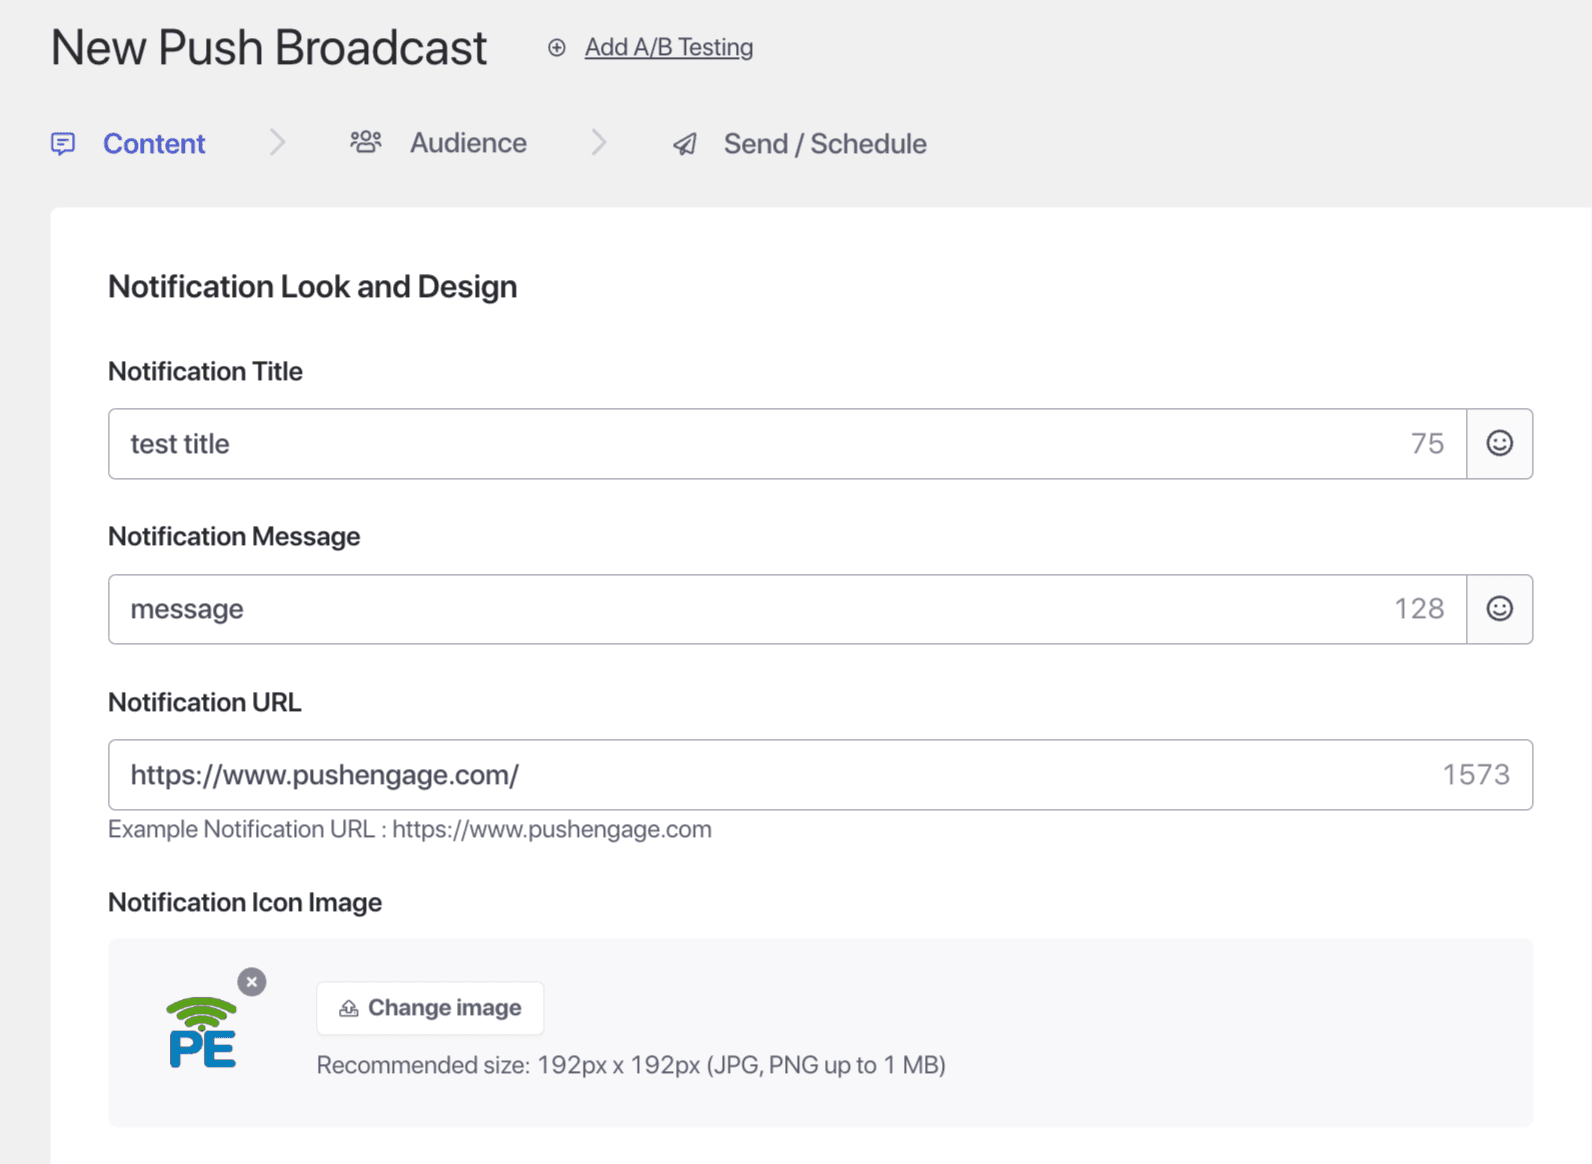
キャンペーン作成中に注意すべき点がいくつかあります –
- 絵文字😊を含む最大135文字のブロードキャストメッセージを作成できます。
- 最大85文字のタイトルを追加してください。
- サイズ240px X 180pxのラージイメージで、最大1MBの豊富な画像
- サイズ192px x 192pxの通知画像またはブランドロゴを通知画像として
プッシュキャンペーンのスタイリングオプション
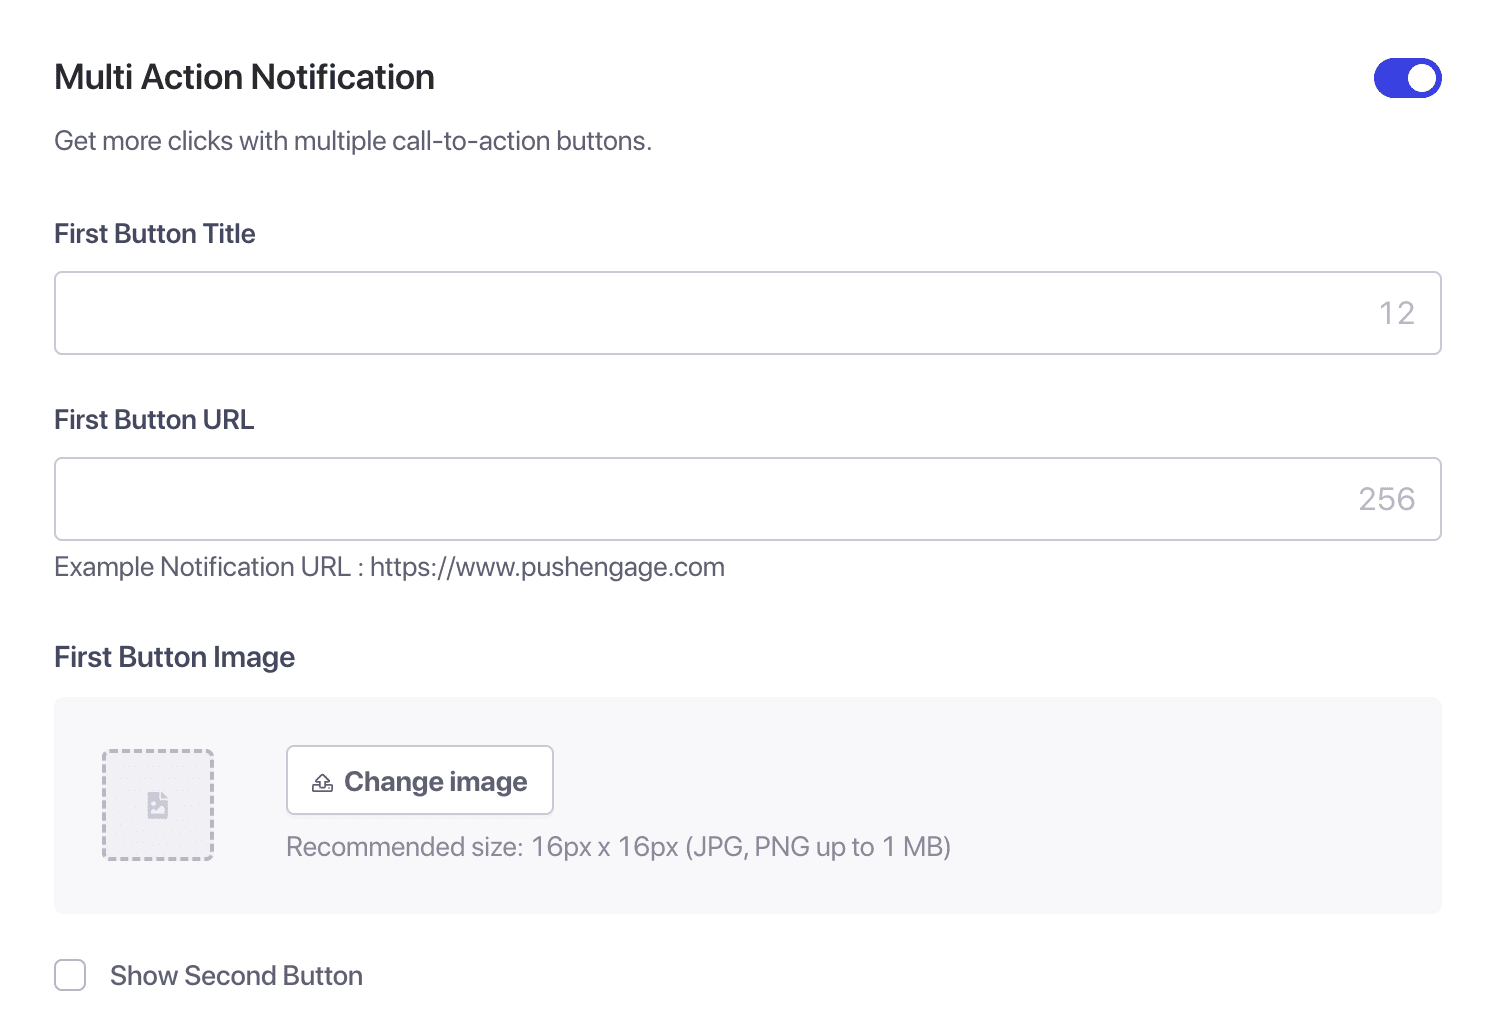
マルチアクションボタン:ボタンを有効にすることで、マルチアクション通知を作成できます。これらのボタンは、キャンペーンの追加のコールトゥアクションです。追加のコールトゥアクションは、キャンペーンのエンゲージメントを高めるのに役立つため、常に推奨しています。
キャンペーンに最大2つのボタンを追加でき、両方のボタンに異なるランディングURLを設定できます。
例としては、PIN ITボタンでPinterestページにリダイレクトしたり、他のソーシャルメディアチャネルや関連ブログ投稿にリダイレクトしたりすることが挙げられます。
ラージイメージ:通知送信中にラージイメージを追加すると、視聴者の注意を引き、クリック率を向上させることができます。ここでは、デスクトップの場合は最大360×180px、モバイルデバイスの場合は360X80pxのサイズの画像のみをアップロードできます。
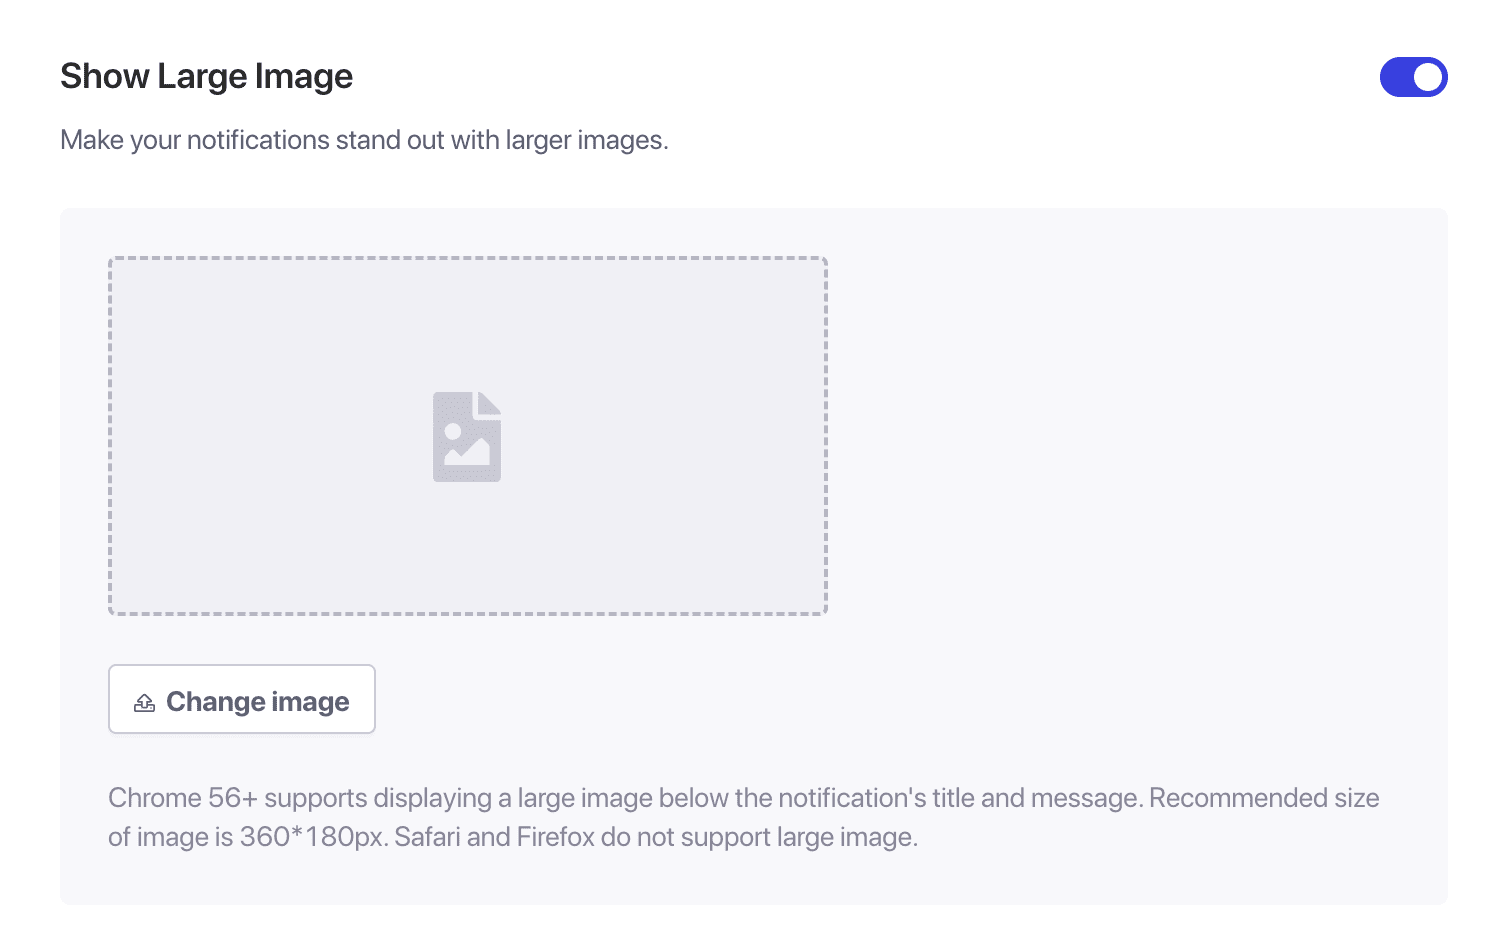
You can only see the Multi-action buttons or large images in selected operating systems and browser combinations. You can see that in the preview for the desktop; you will see it in Windows 10 and Chrome, and on mobile, you can see it only in Android, chrome.
Managing Campaign Behaviour & Tracking
Notification Duration: You need to set the Duration of all the notifications before sending them to avoid overwhelming your subscribers with notifications. This pours your subscribers with loads of notifications and paves the way to increased unsubscribed. We recommend having a shorter expiration time for better performance if you send 1 campaign a day, then 24 hours can expire.
You can set the expiry of the notification to a maximum of 28 days which is also the default expiration time, and we highly recommend changing that.
UTM parameters for Google Analytics Tracking: Adding UTM parameters lets you analyze data in Google Analytics. When you send out notifications, setting up UTM parameters will help to capture the data that populate in GA. You can mention the mandatory fields – UTM Source, UTM Medium & UTM Campaign.
Choosing Audience for the Campaign
This helps you to select the Audience is available in the Business plan & above. Selecting Audience lets you send targeted notifications, which in turn increases the views & clicks for the notifications sent.
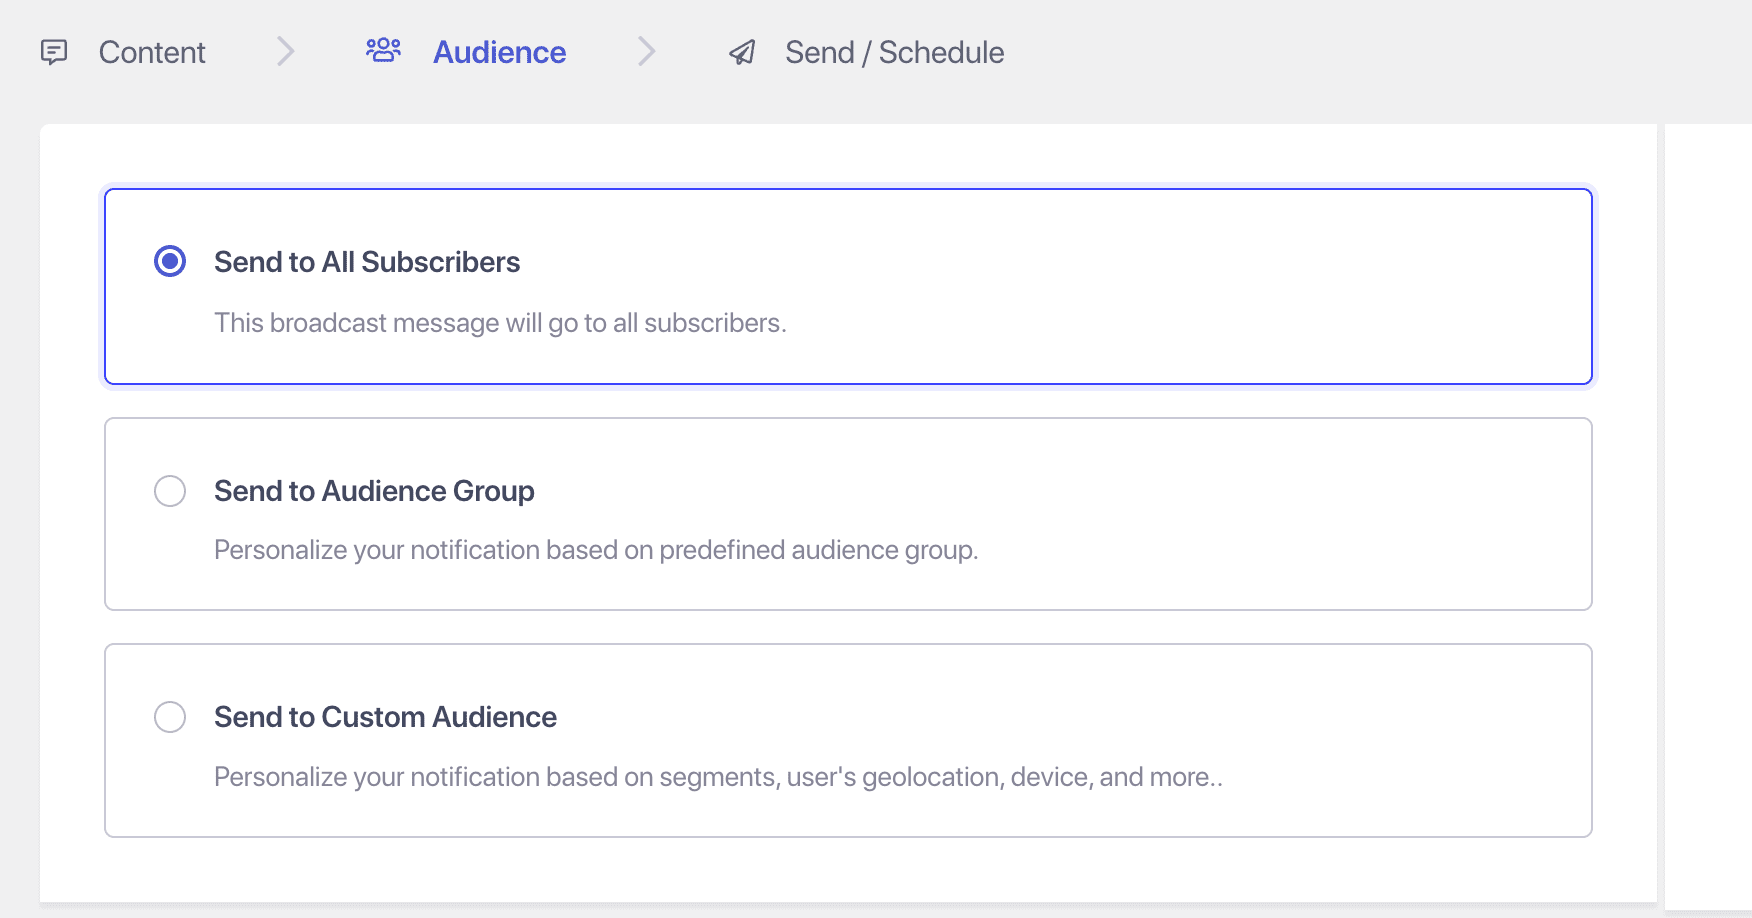
There are three options for you while choosing the audience –
1. Send to all Subscribers – This will send a broadcast to all your subscribers.
2. Sending to an Audience group. You can create the audience group and then send out push campaigns.
3. Send to Custom Audience. Here you can group various segments and reach out to a targeted audience instead of all.
Scheduling Options
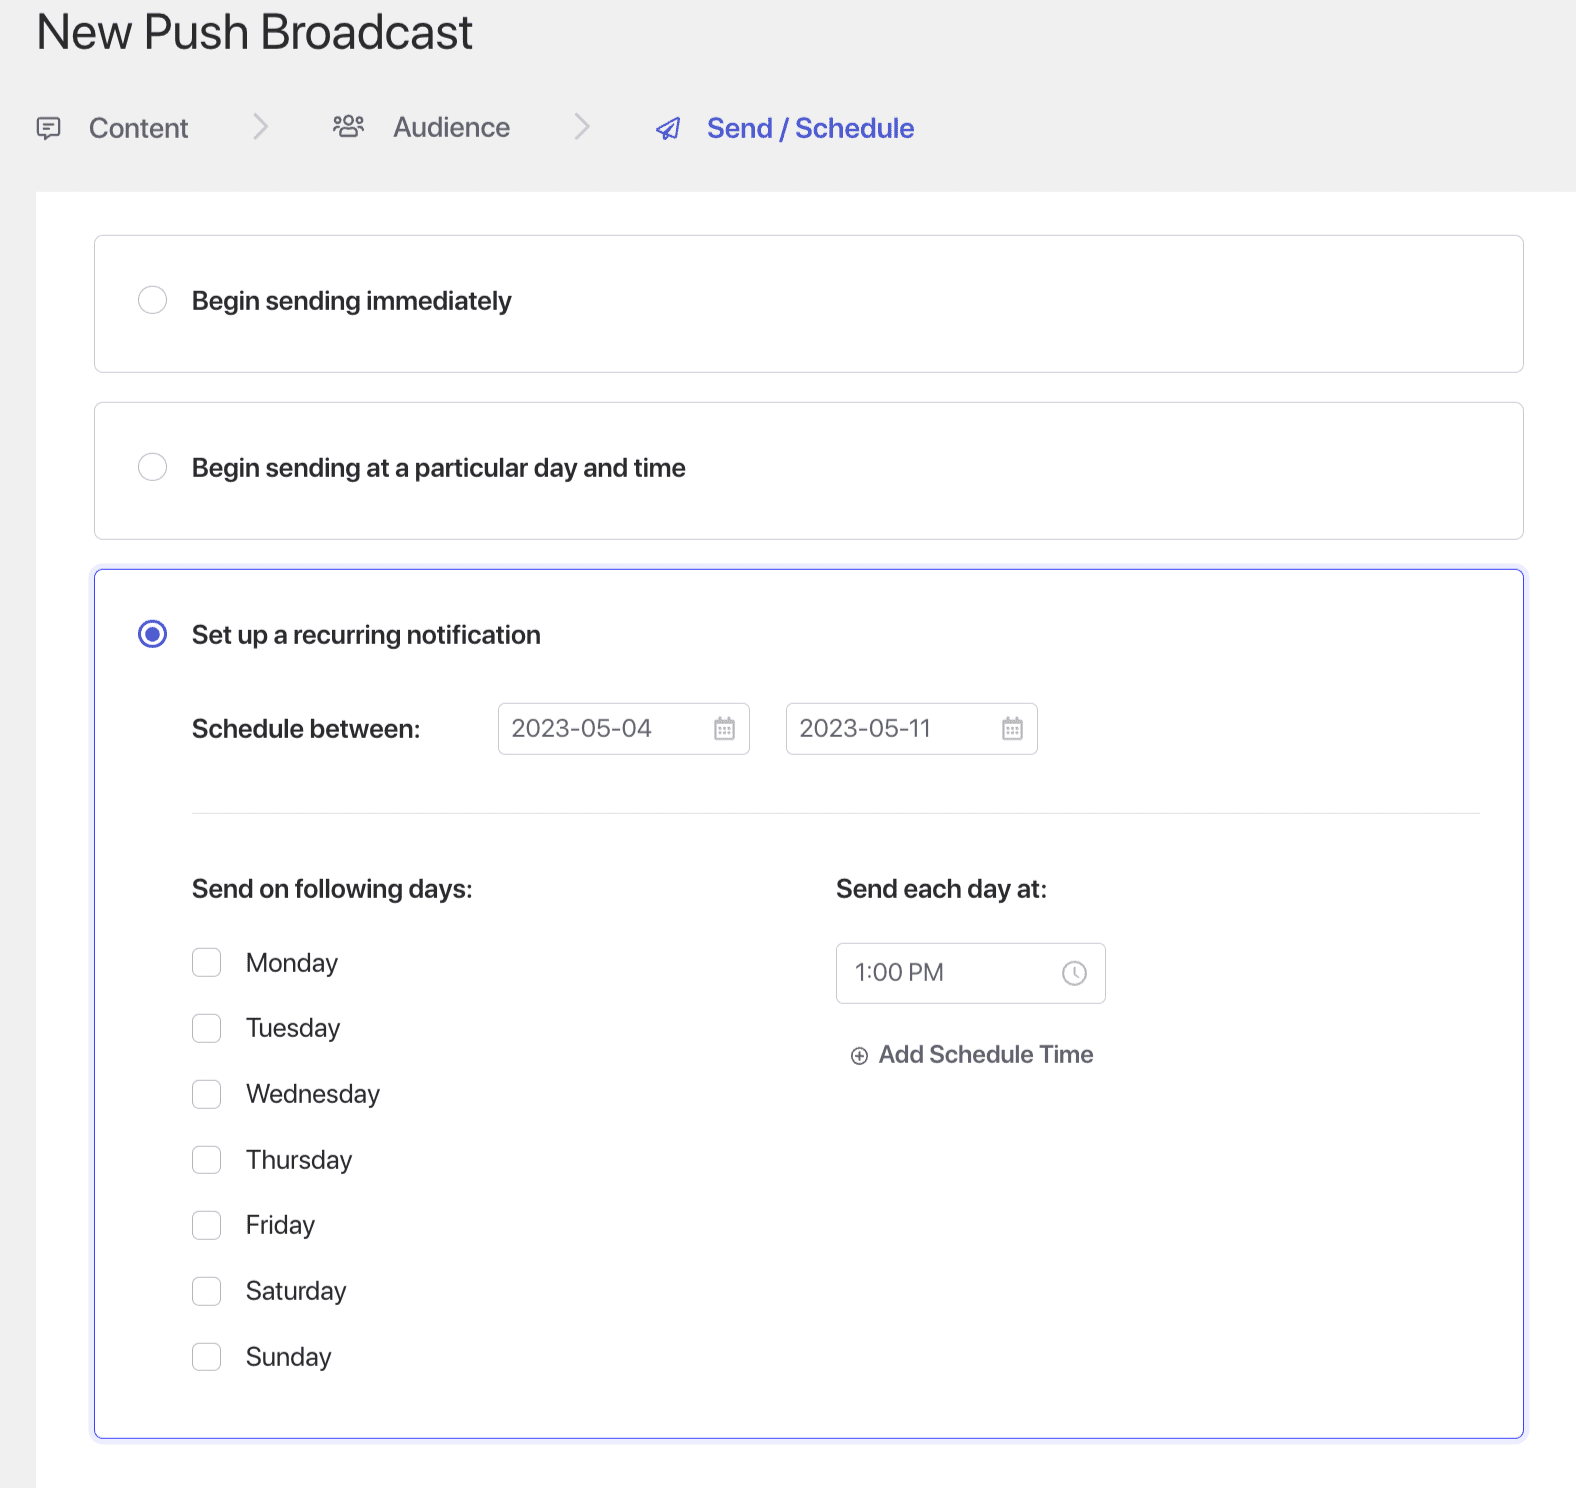
You can schedule the notifications to go out later, even when it is out of your working hours or you are enjoying your vacation. Also, the scheduling can be repeated by setting up the days in a week and setting the timing of the sending. Below are the options that you can select:
- Send Immediately
- Send on a particular day & time.
- Repeat Schedule campaign
テストキャンペーン
A Test send will show you what the broadcast would look like when sent to the subscribers. Navigate to the left side of the screen » scroll down & click on Test Send Notification. Make sure that you have Allowed notifications for PushEngage.
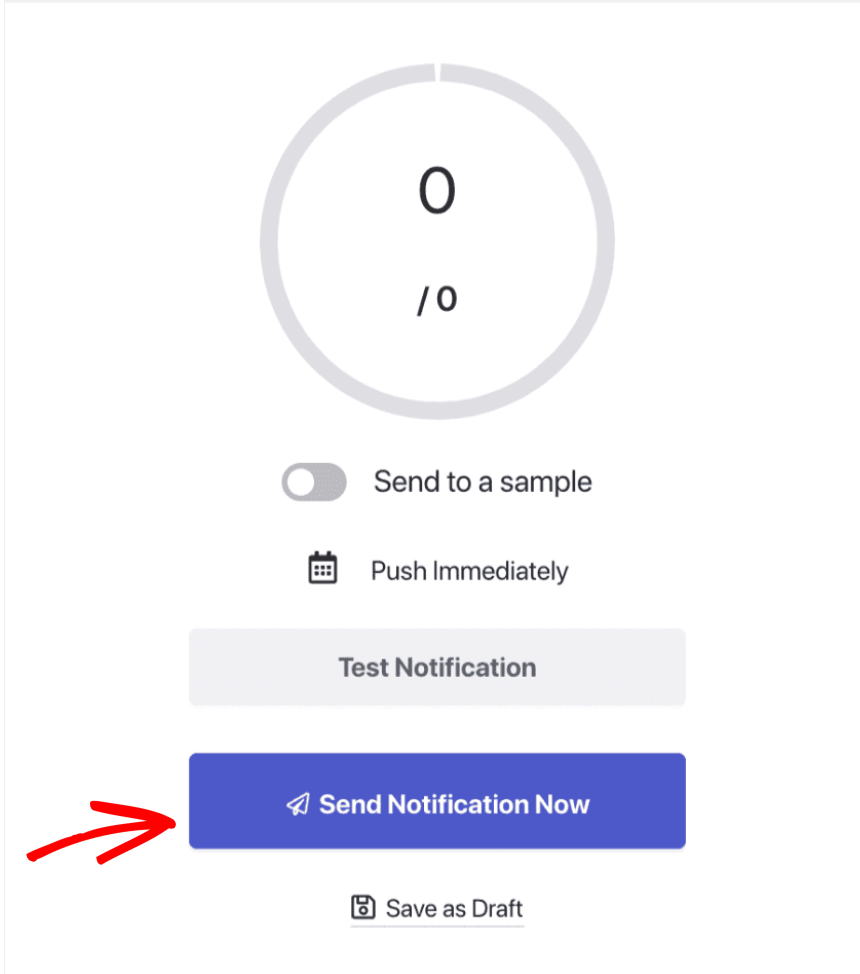
Once you are okay with the content and other details, you can schedule or send the campaign. You have sent a push broadcast campaign successfully!
If you run into any issues, please feel free to contact us by clicking here. Our support team will be able to help you.


