注意:此项目没有可用的旧版文档,因此您看到的是当前文档。
滴灌活动或滴灌自动回复器是 Web 推送通知中的一个新概念。我们将努力使任务更容易,并描述在 PushEngage 中运行这些任务的具体步骤。
You can enable a Web Push Notification Autoresponder campaign and send it to all subscribed users or to a list/segment of users in PushEngage. Segment your users into specific lists, which can happen on specific pages, or when the user subscribes to a curriculum of notifications.
开始之前
- You need a WordPress Account and access to the PushEngage Plugin.
- Drip Autoresponders are available in Premium Plans & above in PushEngage.
Creating Drip Autoresponders
Step 1 – Login to your WordPress dashboard and navigate to PushEngage Plugin > Drip. You can edit the existing Welcome Drip or create a new series as per your business case.
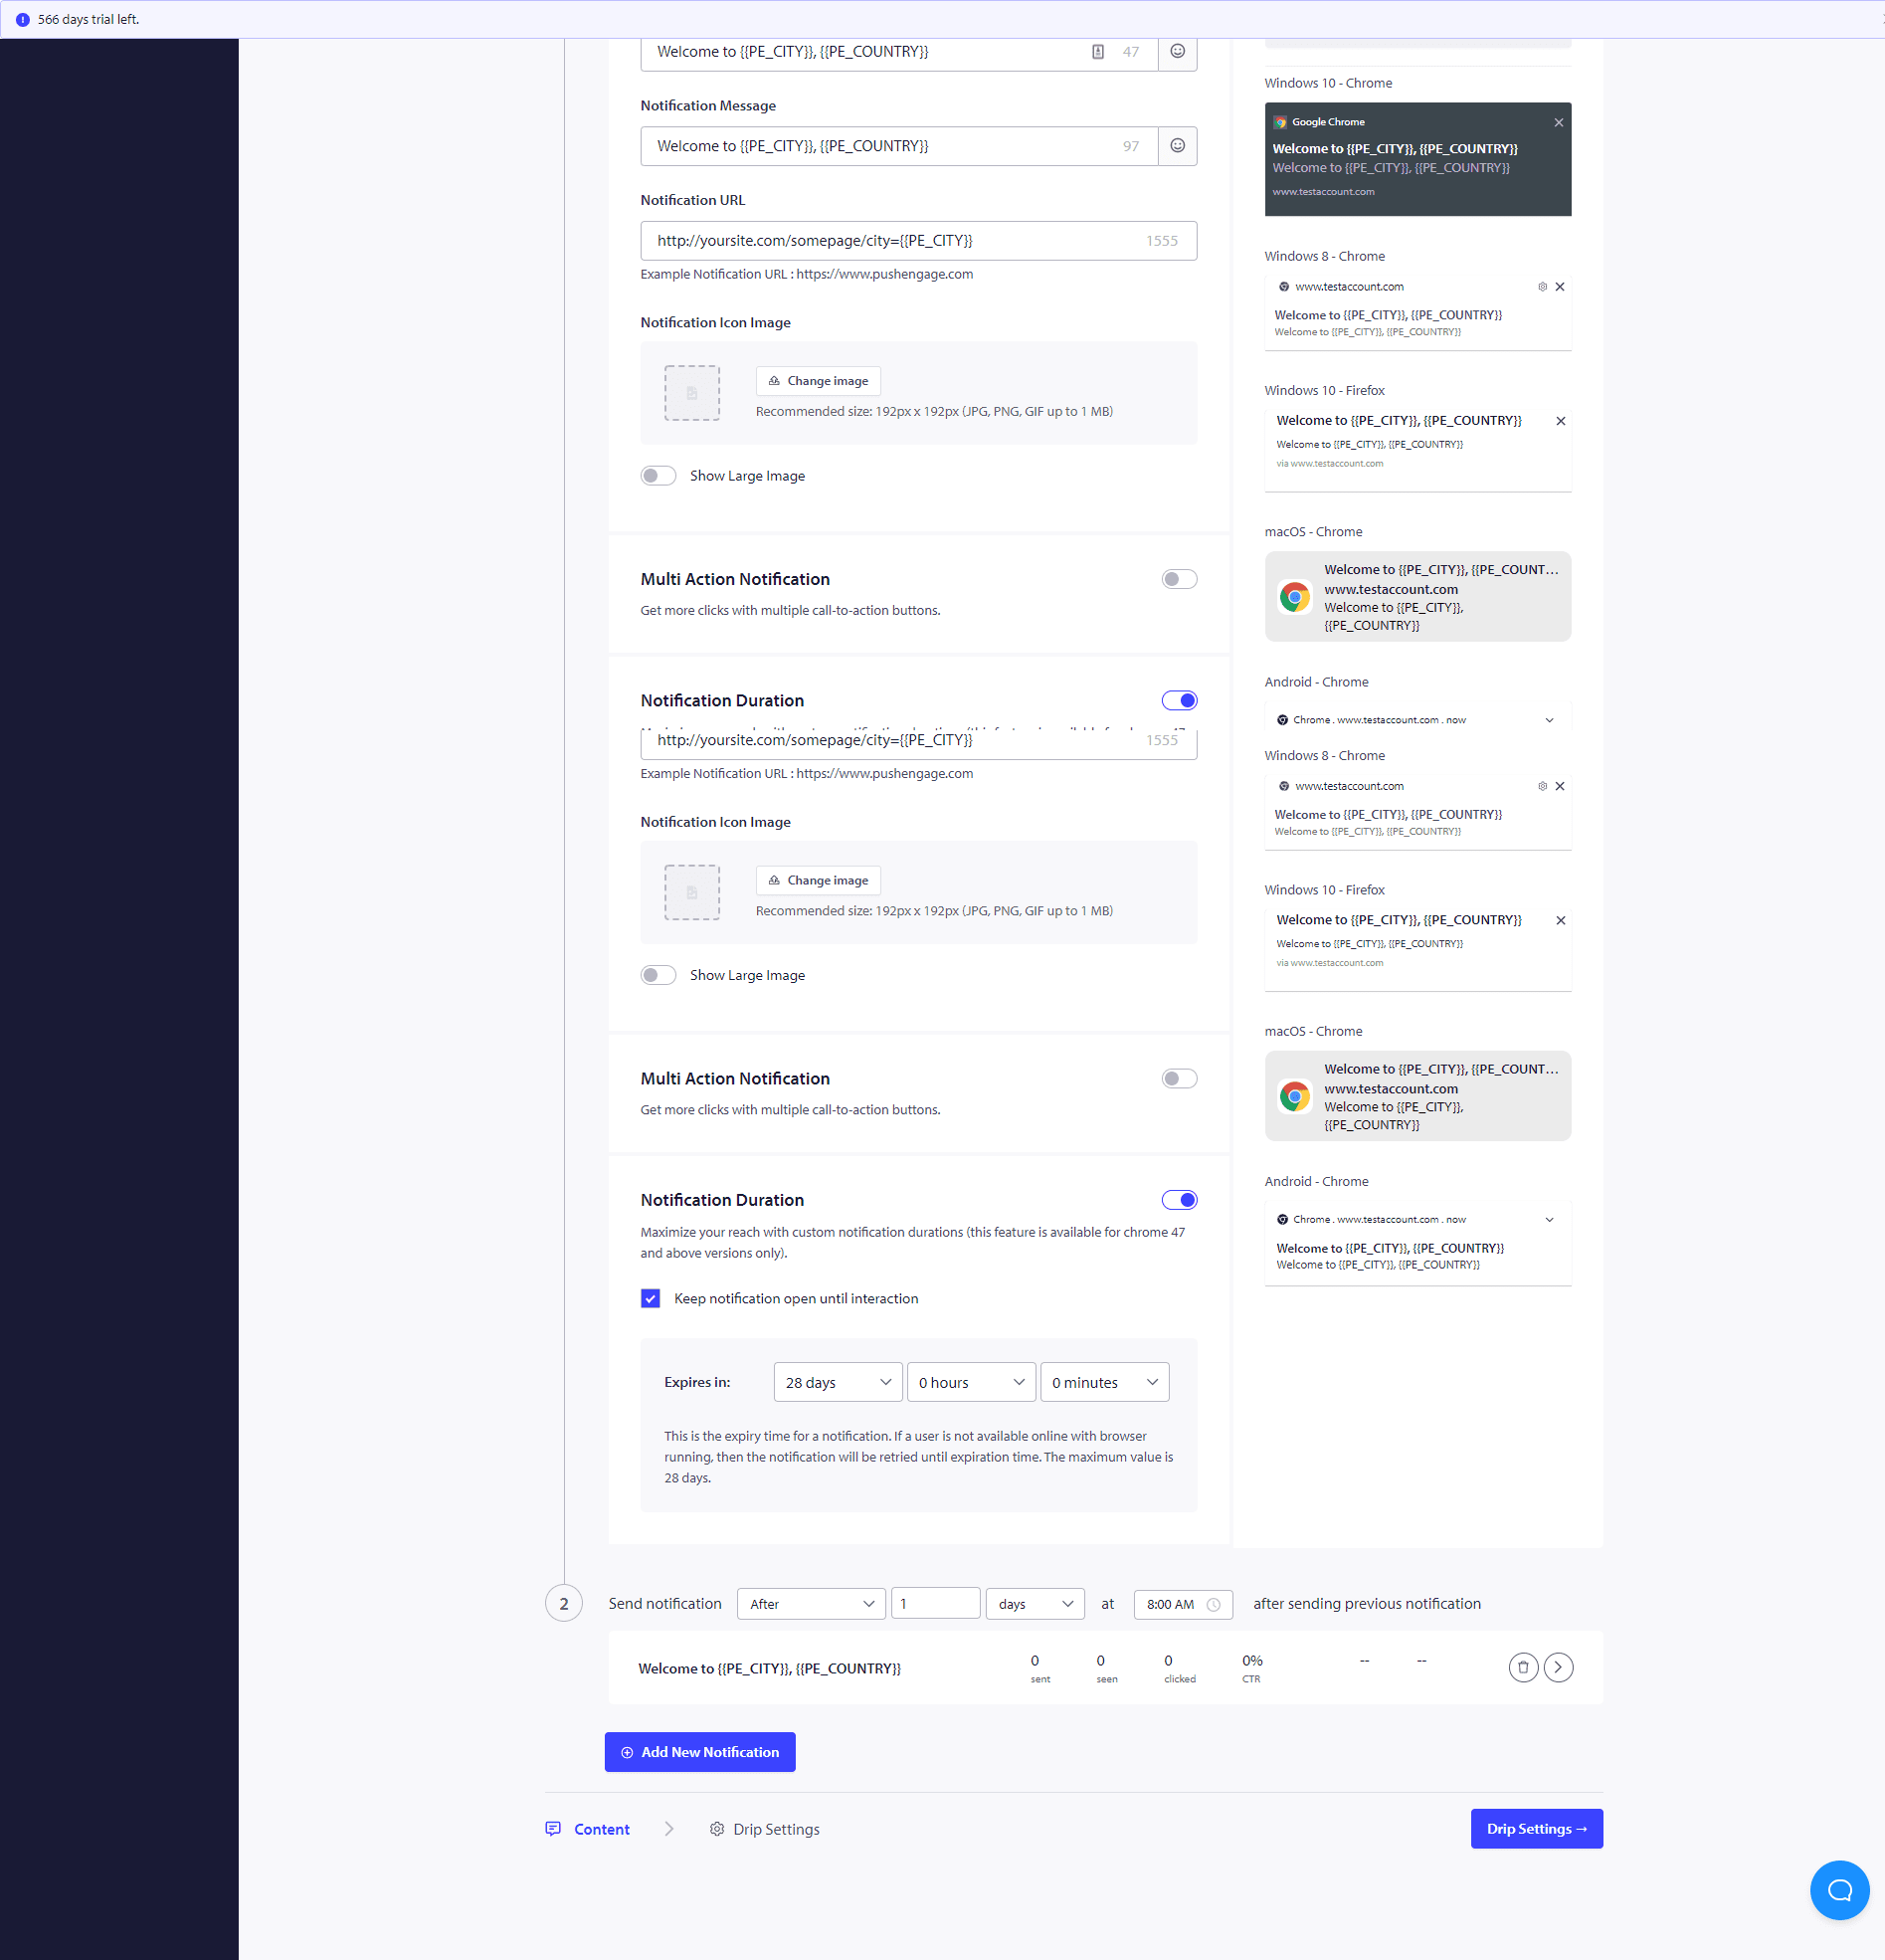
Step 2 – Now Create the Auto Responder Series by adding one or as many notifications as you are willing to have in the Series.
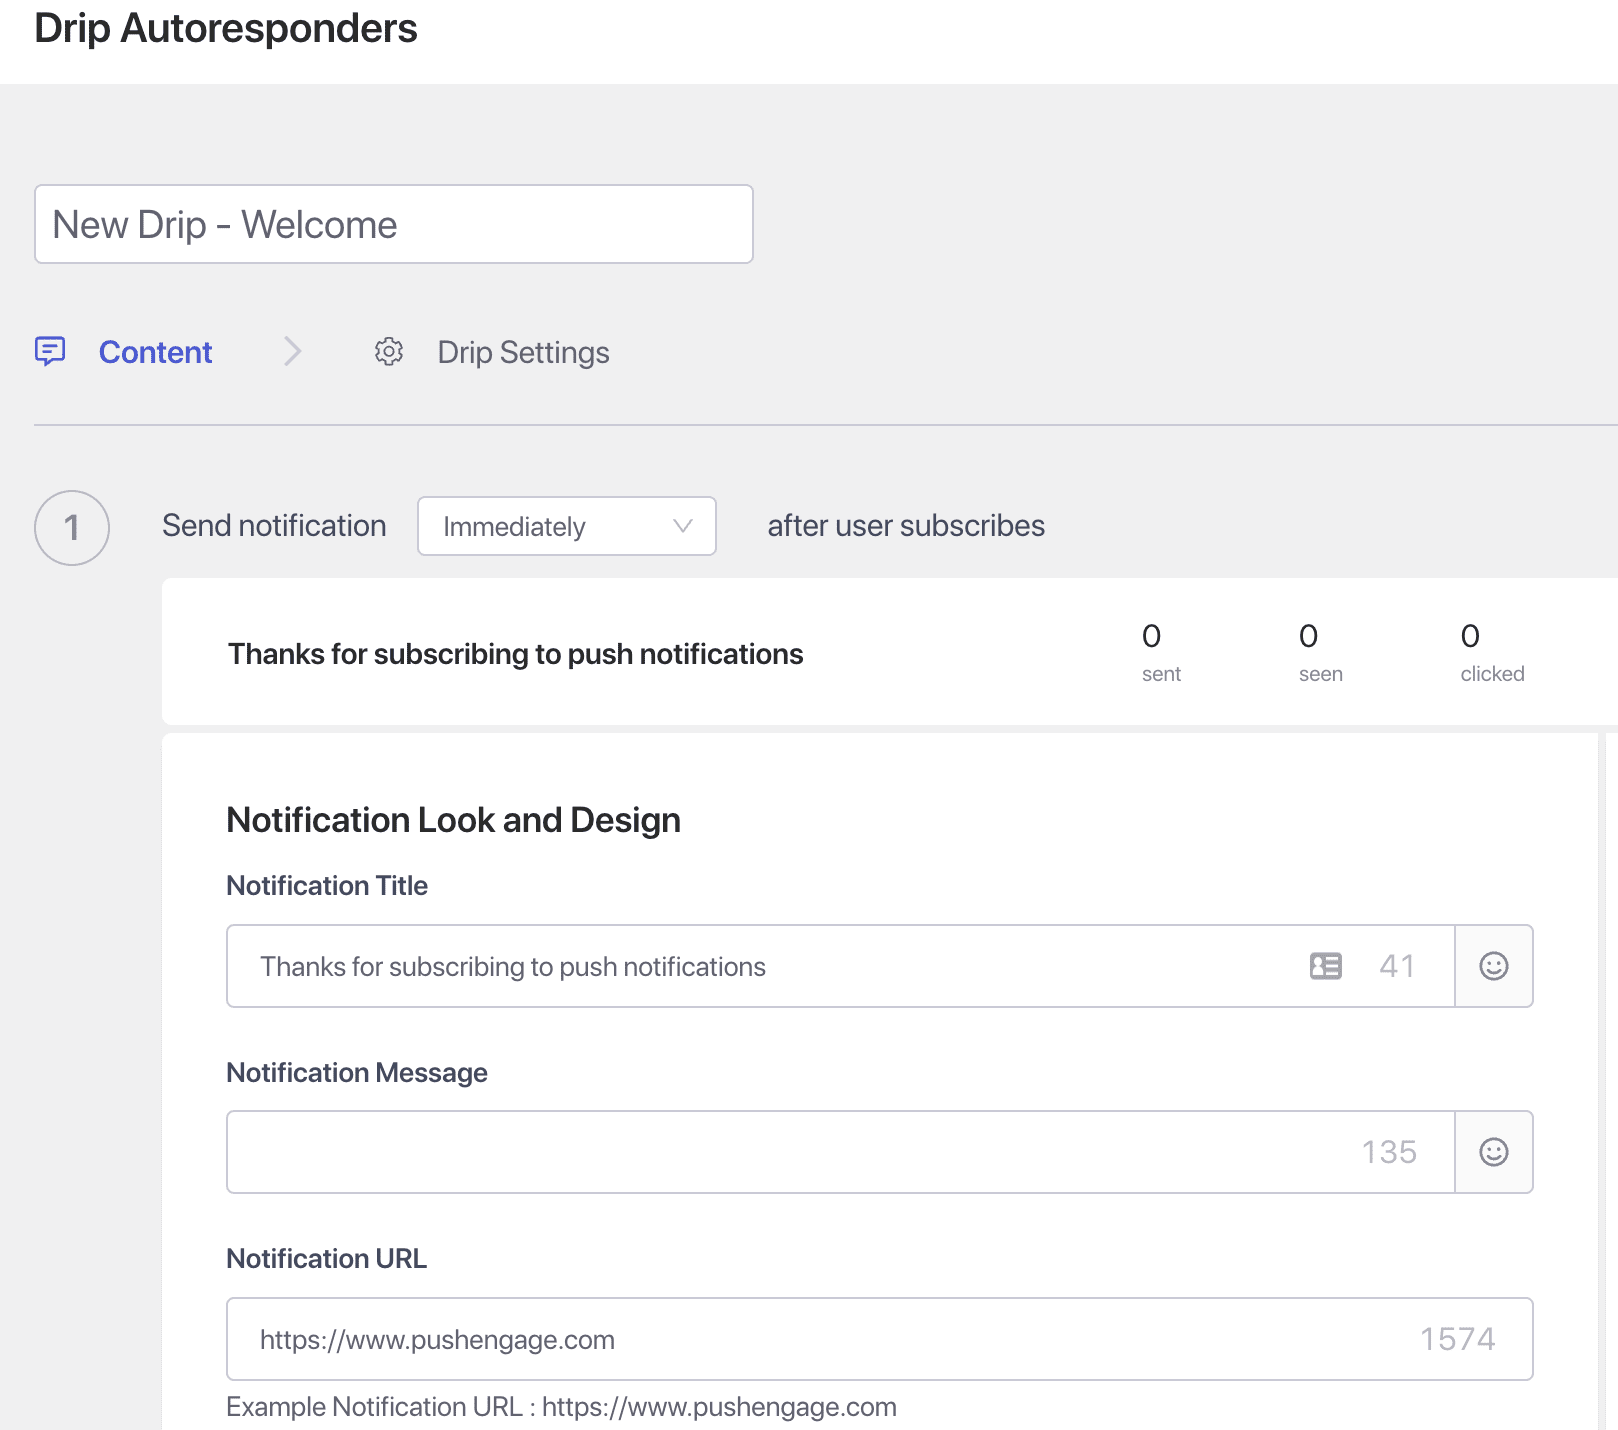
Step 3 – Set the Delay – Now Create series of Notifications to be sent after 10 mins or 1 hour and after 1 day as an example.
Once you have completed these Drip Campaigns, you would be interested in seeing how each of the notification stages is performing. For that Visit Autoresponder Analytics and Click on the Just Created Drip Campaign.
Your drip autoresponder is all set now. That is it, sit back and watch traffic increase and visitors engage and come back to your site with the Drip campaigns.
How to Personalize The Drip Campaign?
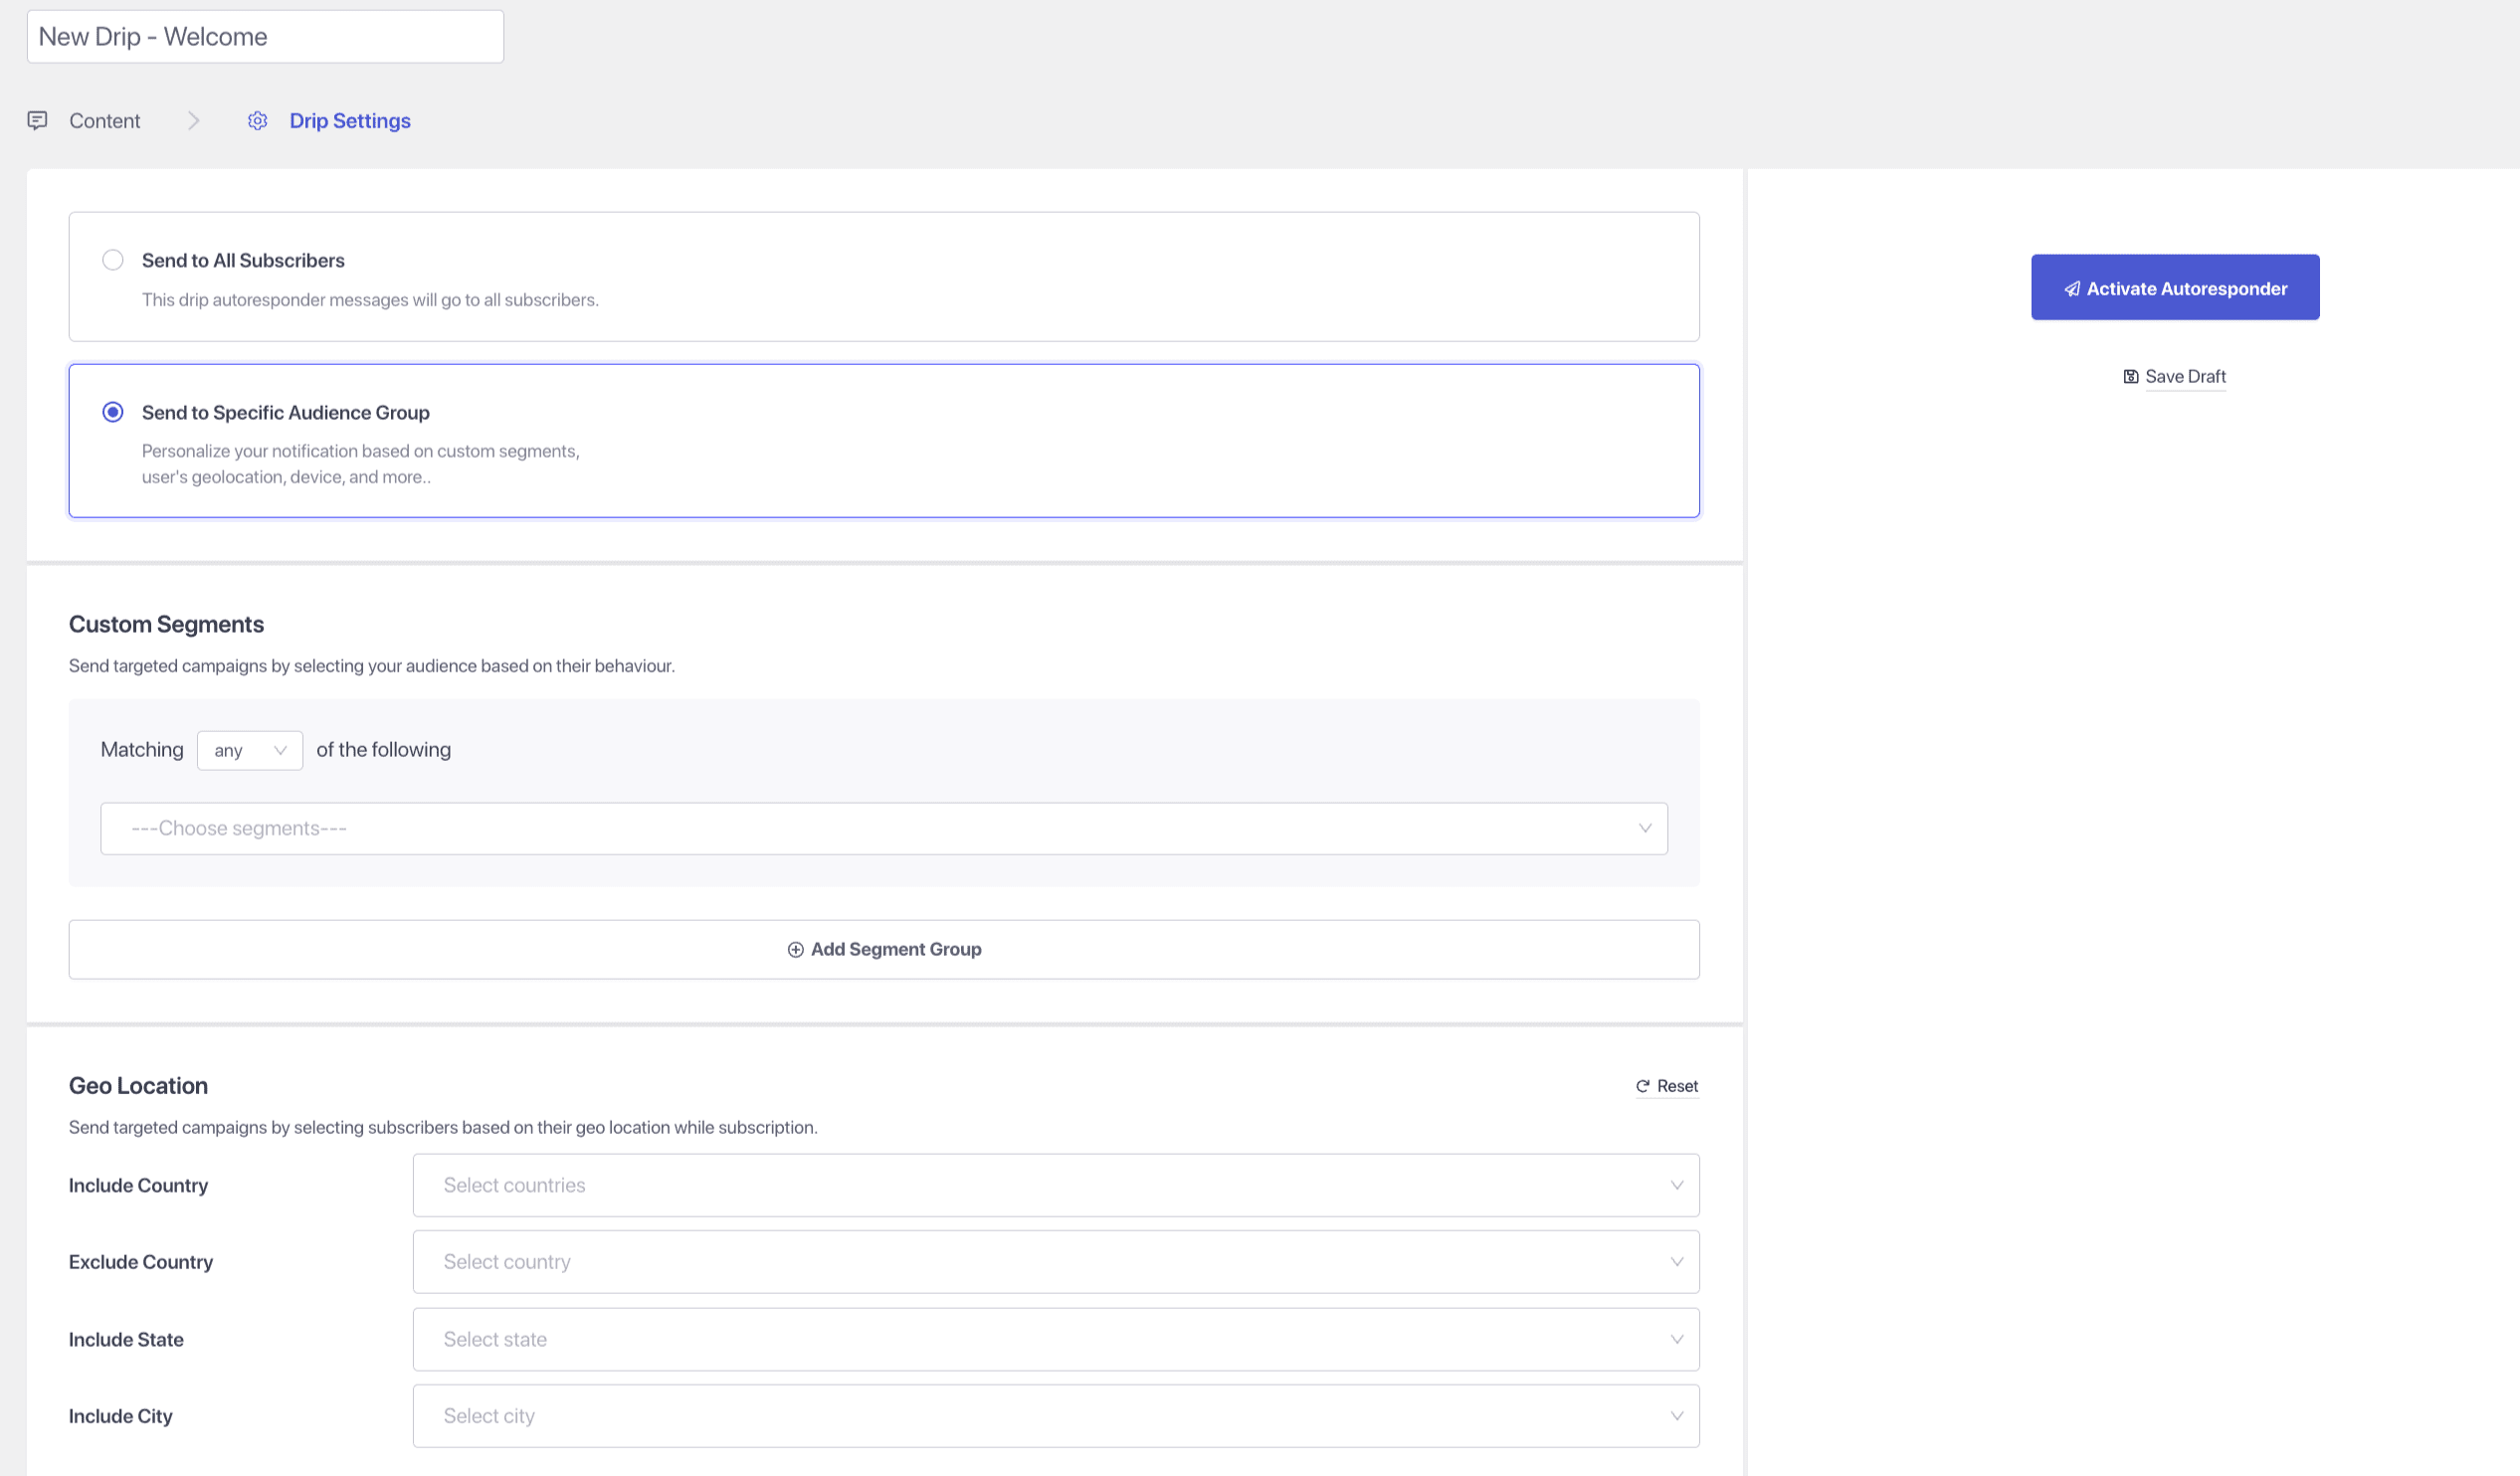
To personalize the drip or if you wish to send it to a particular group of people/segment or to geolocation, you can select the relevant segment name or the geolocation you wish to notify from the dropdown
Further, Drip campaigns can be used to build Form abandonment, welcome series, and cross-sell campaigns, cookbook series.
如果您遇到任何问题,请随时在此处单击联系我们。我们的支持团队将能够帮助您。


