注意:此项目没有可用的旧版文档,因此您看到的是当前文档。
PushEngage makes it easy to have multiple sites under one account. You can manage multiple sites with separate analytics, subscribers & campaigns.
In this article, you’ll learn how to add or remove sites in your account.
Adding a Site
There are two ways of adding a site to your PushEngage account.
Firstly, the Quick way:
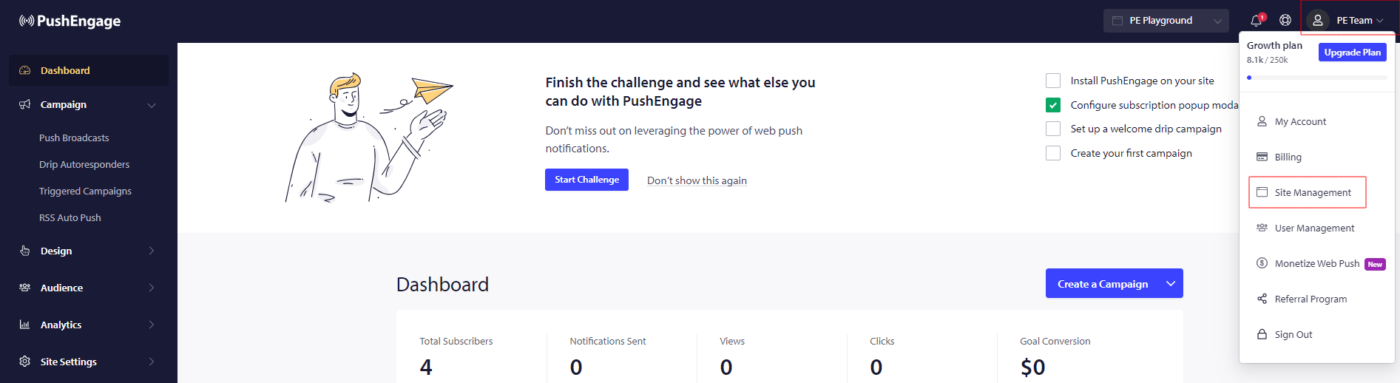
You can log in to your PushEngage account & navigate to the site name’s drop-down beside the Profile icon on the top right corner » Add New Site.

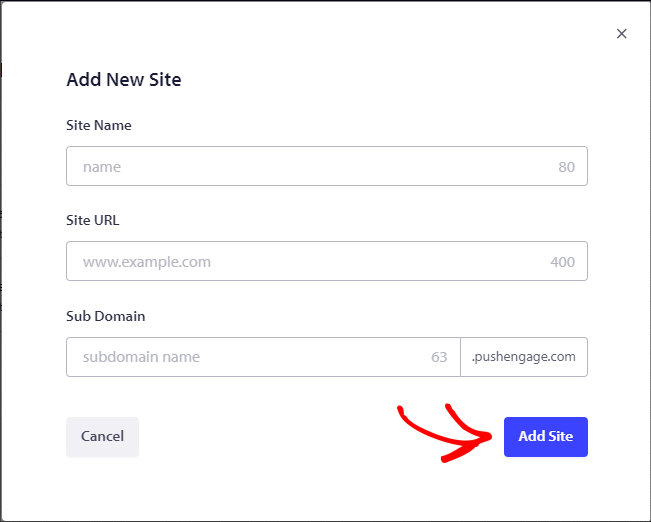
Enter all details to create a Site. The details in the text fields of the Site name, Site URL, Sub Domain & click on Add Site.
Sub Domain is used for internal purposes to enter your site name here. For example, if your website is https://www.yourdomain.com, your subdomain could be ‘yourdomain’.
The Second way :
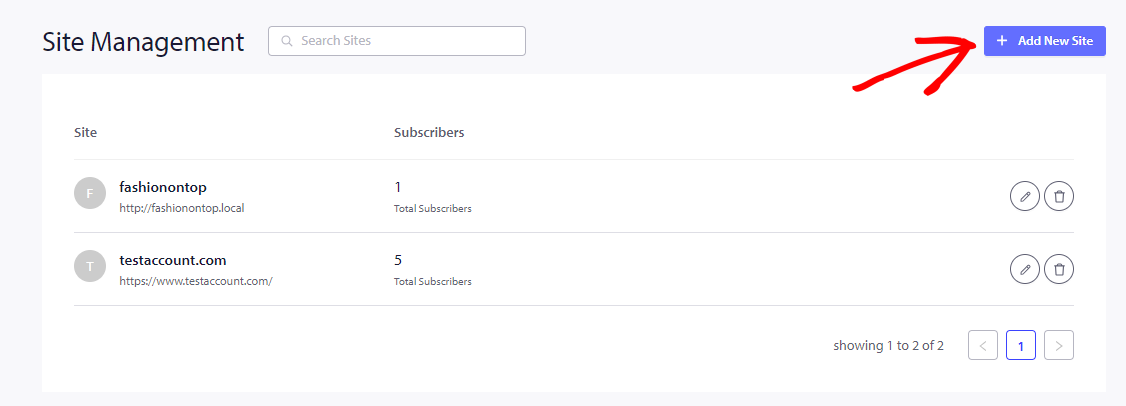
If you want to add or edit multiple sites, you can manage from the site management section.
Login to your PushEngage Dashboard & click on the Profile icon on the top right corner & click on Site Management.
You can then click on the Add New Site tab to add the details for a new site. Please enter the details in the text fields of the Site name, Site URL, and sub-domain & click on Add Site.

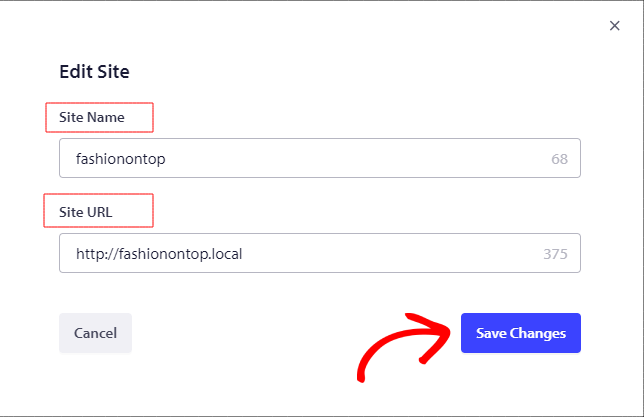
Editing a Site
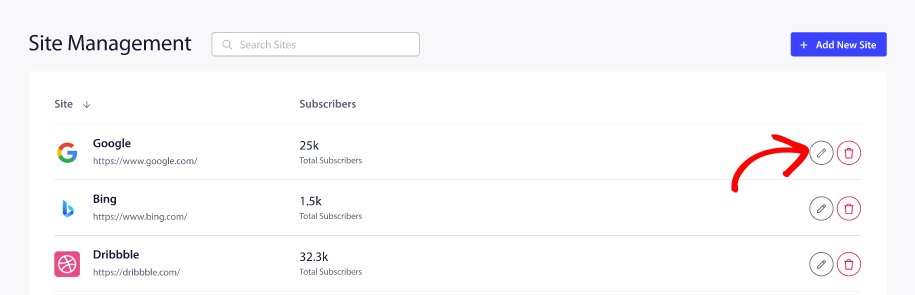
You can edit an existing site by clicking on the pen icon against the site. You can change the URL & name but not the subdomain.
Make the changes you need to & click on Save Changes.
Delete a Site
Similarly, you can also delete a site from the list of added sites by clicking on the Delete icon against the site to be deleted.
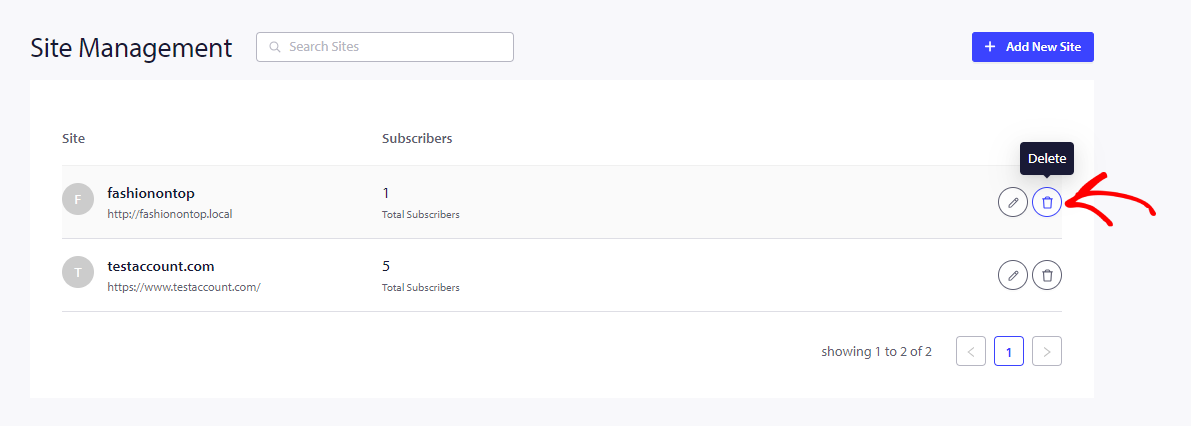
These steps will help you delete the site.
Note : Once you delete a site all the data, analytics and subscribers will get deleted. So please ensure you are only deleting sites that you do not need any longer.
如果您遇到任何问题,请随时通过单击此处 联系我们。我们的支持团队将能够为您提供帮助


