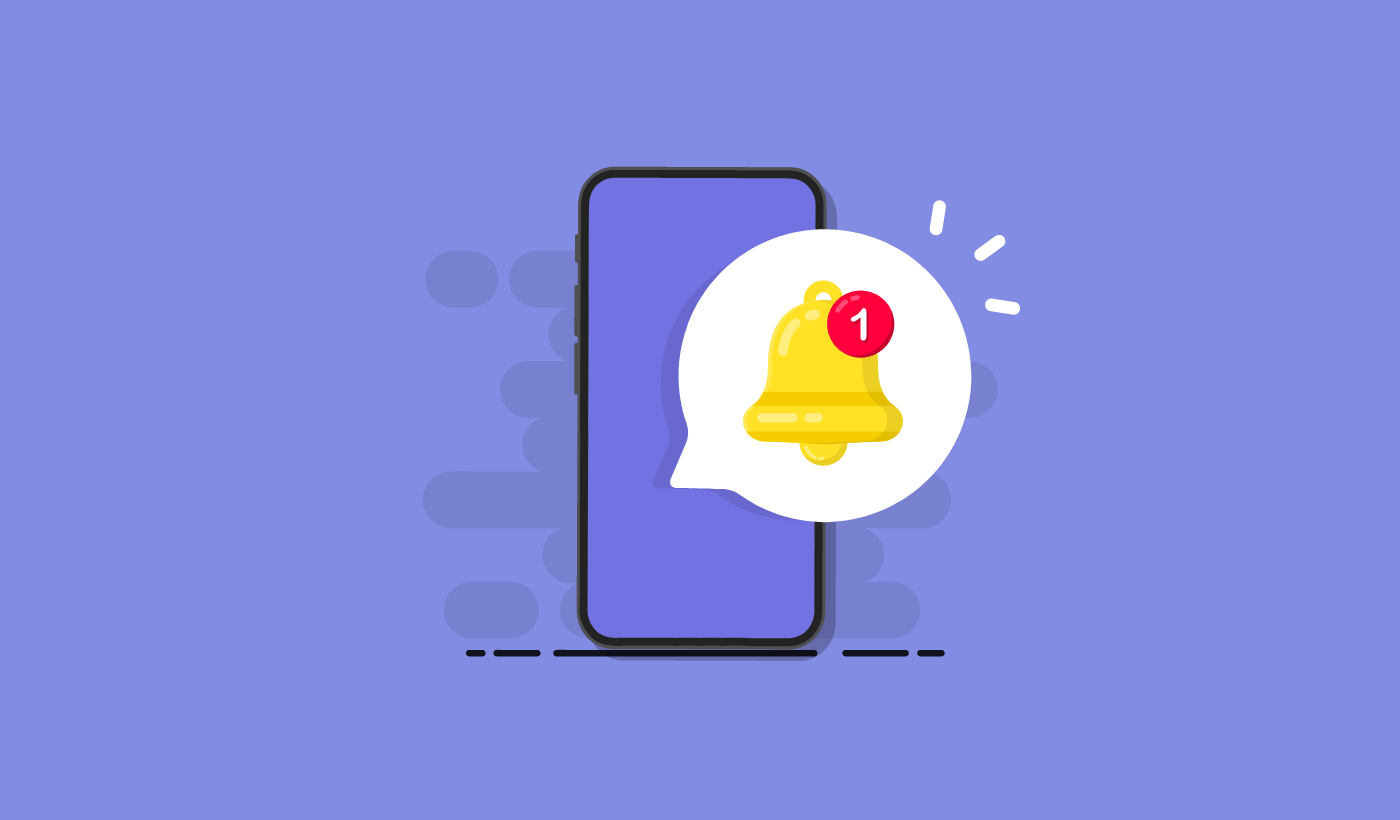
What are push messages?
Push messages are short, clickable messages delivered to a subscriber’s device even when they’re offline. You can easily send out any link to promote any part of your business using push messages from a simple, easy-to-use dashboard.
Here’s the most awesome part: Push messages are a super-easy way to get repeat visitors to your site on autopilot even if…
- Ξεκινάτε τώρα και η βάση των θαυμαστών σας είναι ακόμα μικρή
- Ακόμα κι αν… διαχειρίζεστε ένα κατάστημα ηλεκτρονικού εμπορίου με εκατοντάδες προσφορές κάθε μήνα
- Ακόμα κι αν… έχετε ένα τεράστιο blog που ήδη παράγει πολύ οργανική επισκεψιμότητα
Σε αυτό το άρθρο, θα σας δείξουμε πώς να έχετε άμεσα επαναλαμβανόμενους επισκέπτες κάθε φορά που δημοσιεύετε:

Μπορείτε να ξεκινήσετε δωρεάν αυτή τη στιγμή. Μόλις αρχίσετε να βλέπετε αποτελέσματα από ένα δωρεάν λογισμικό ειδοποιήσεων push, μπορείτε να αλλάξετε ή να αναβαθμίσετε για να αποκτήσετε περισσότερες λειτουργίες που θα σας βοηθήσουν να αναπτυχθείτε ταχύτερα.
But first, let’s understand a little more about push messages and how they work.
What Are Push Messages?
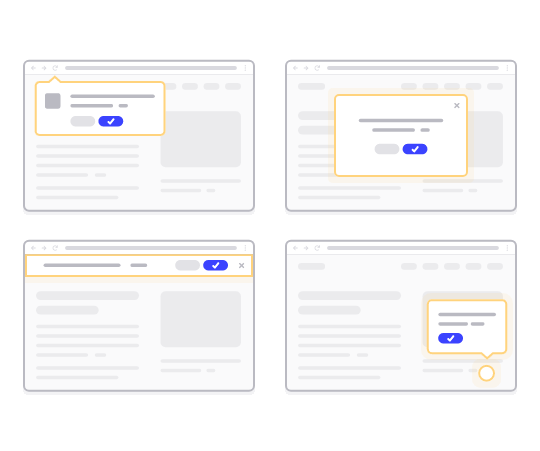
A push message is a short, clickable popup that you can send to a subscriber to promote offers and other content:
The best part is that the messages will get delivered even if your subscriber isn’t using a browser. It’s like an email blast, but with a web push message, your subscribers don’t need to be using an app to see your message. And unlike social media websites, there is no algorithm reducing your reach to get you to pay for ads.
The coolest part about web push messages is that you can use them to complement your lead magnets and email opt-in forms.
We recommend using PushEngage to get started with push messages for free. The simplest push message you can send for free is an RSS push message. In an RSS push, every time you publish a blog post, PushEngage automatically sends out a broadcast message to all your subscribers.
How to Add Push Messages to Your Website
Before you get started with push message campaigns, you’ll have to get a service to send push messages.
Σας συνιστούμε να ξεκινήσετε με το PushEngage. Το PushEngage είναι ένα από τα καλύτερα πρόσθετα ειδοποιήσεων push για το WordPress. Φτάνετε άμεσα έως και 200 συνδρομητές μόνο με το δωρεάν επίπεδο. Εάν ο ιστότοπός σας αυξηθεί σε περισσότερους από 200 συνδρομητές, μπορείτε να κλιμακώσετε γρήγορα αναβαθμίζοντας το πρόγραμμά σας.
Ας δούμε πώς μπορείτε να χρησιμοποιήσετε τη δωρεάν έκδοση του PushEngage για να ξεκινήσετε την αποστολή μηνυμάτων push.
Βήμα #1: Δημιουργήστε έναν Δωρεάν Λογαριασμό PushEngage
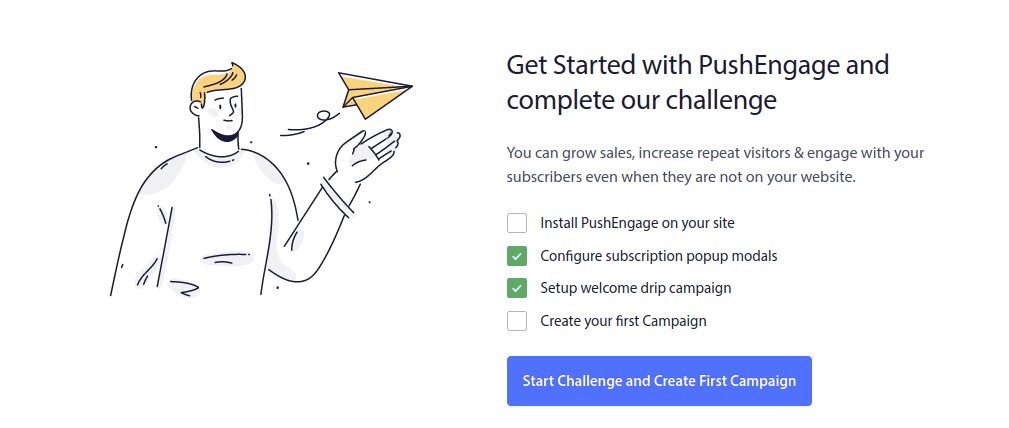
Head over to PushEngage and click on Get Started:

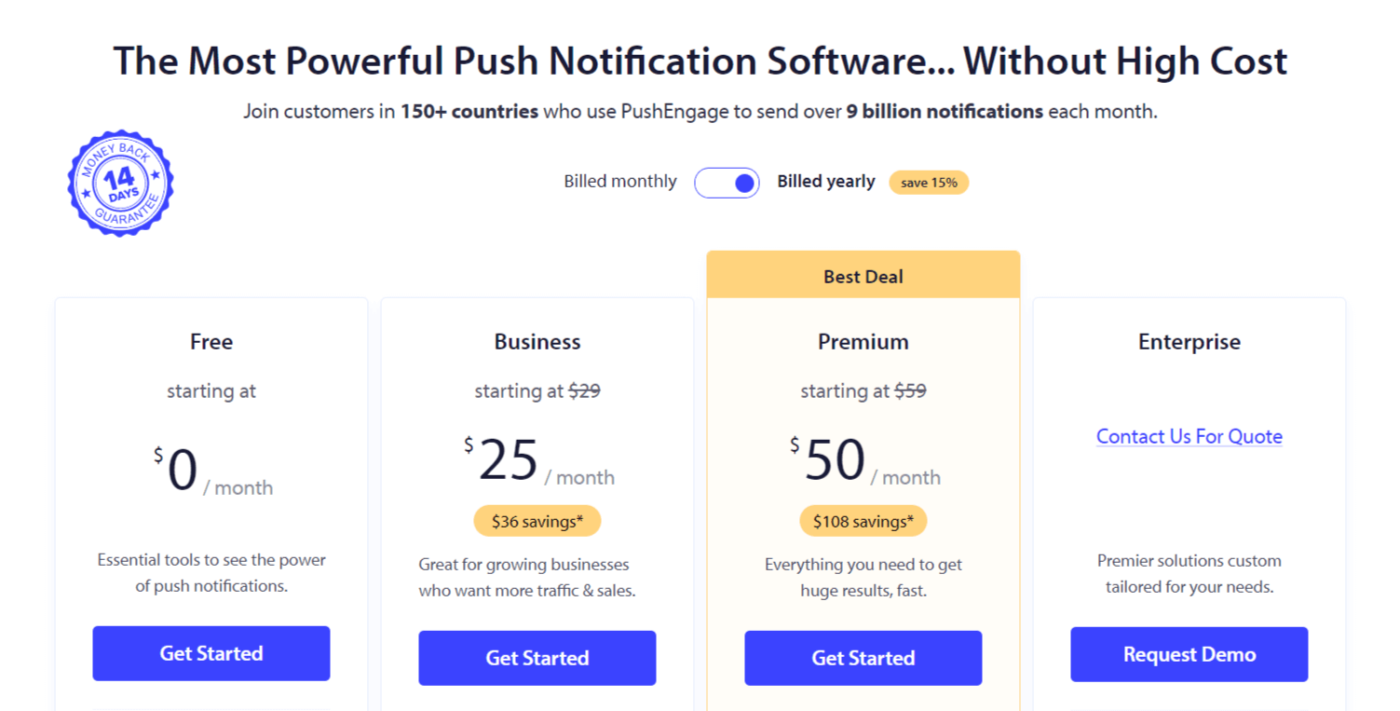
Next, select the plan for your PushEngage account. You can get started for free but if you’re serious about growing your business, we recommend getting a paid plan to unlock more advanced campaigns.
Βήμα #2: Εγγραφείτε στο PushEngage
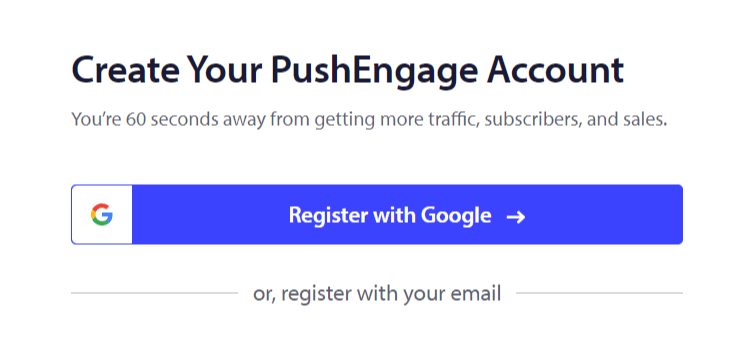
Sign up for the plugin with your user details or your Gmail ID or your email and password:
And just follow along with the instructions and finish setting up your account.
Step #3: Install PushEngage to Your Site
Once you sign up, you’ll be taken to the PushEngage dashboard:
The process to add push messages to your site is different for different platforms. So, we’ve created detailed, step-by-step guides for the most popular platforms for you:
- Εγκατάσταση ειδοποιήσεων push στο WordPress
- Εγκατάσταση ειδοποιήσεων push στο WordPress (χωρίς plugin)
- Εγκατάσταση ειδοποιήσεων push στο WooCommerce
- Εγκατάσταση ειδοποιήσεων push στο Wix
- Εγκατάσταση ειδοποιήσεων push στο Blogger
- Εγκατάσταση ειδοποιήσεων push στο Zoho
- Εγκατάσταση ειδοποιήσεων push στο Volusion
- Εγκατάσταση ειδοποιήσεων push στο Weebly
- Εγκατάσταση ειδοποιήσεων push στο ClickFunnels
- Εγκατάσταση ειδοποιήσεων push στο PrestaShop
- Εγκατάσταση ειδοποιήσεων push στο OpenCart
- Εγκαταστήστε ειδοποιήσεις push στο CS-Cart
- Εγκαταστήστε ειδοποιήσεις push στο Drupal
- Εγκαταστήστε ειδοποιήσεις push στο Squarespace
- Εγκαταστήστε ειδοποιήσεις push στο X-Cart
- Εγκαταστήστε ειδοποιήσεις push στο BigCommerce
- Εγκαταστήστε ειδοποιήσεις push στο Jimdo
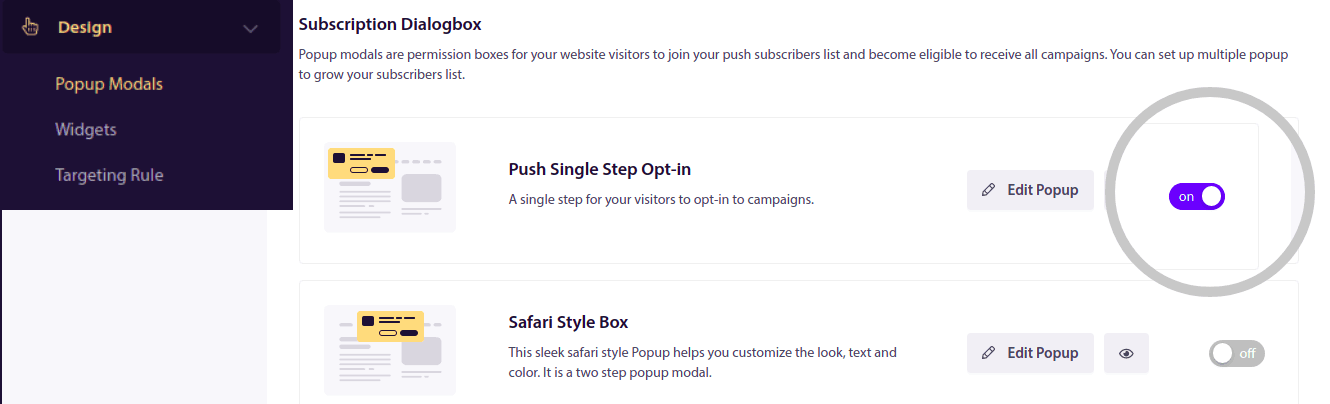
Step #4: Set Up the PushEngage Opt-In
Once you’re done installing PushEngage to your site, head back to the PushEngage dashboard and go to Design » Popup Modals and select an optin to collect subscribers:
Από εδώ, μπορείτε να προσαρμόσετε την εγγραφή σας για ειδοποιήσεις push. Αν χρειάζεστε βοήθεια με αυτό, θα πρέπει να διαβάσετε αυτό το άρθρο σχετικά με το πώς να δημιουργήσετε μια προσαρμοσμένη εγγραφή για ειδοποιήσεις push.
If you need some inspiration, you can check out this article on high-converting push notification opt-ins.
Remember: You need to install an SSL certificate on your website to be able to use single opt-ins. But you can install two-step opt-ins even without a secure website. So, if you have an SSL certificate installed, use single opt-ins. If not, check out this article on how to install an SSL certificate on WordPress websites.
Και αυτό ήταν!
You have successfully set up push messages on your website.
How Do Push Messages Work?
Let’s check out how push messages work.
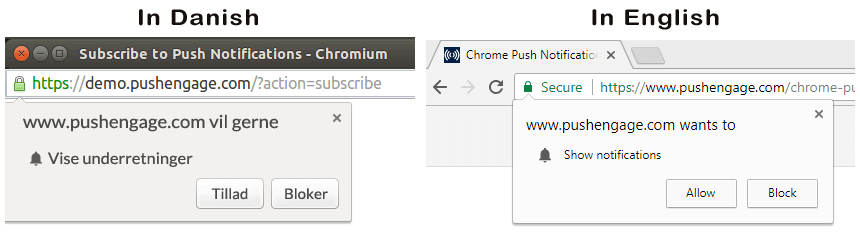
The short version is that every time a new visitor enters your website, they get prompted to become a push notification subscriber.
Next, you use a web push notification service like PushEngage to create and schedule the messages you want to send out to your subscribers. You can either send out a single push message manually or set up an automated sequence of push messages:

Also, you can choose to either send it to every subscriber on your list or to specific segments of your subscribers. Finally, your subscribers receive your messages when their device comes online and take the suggested action.
To PushEngage and our servers, your subscribers are a unique hash number generated based on your subscriber’s device and browser. Besides, the server can also store the geolocation of your subscribers. No personal or identifying data is stored for any of your subscribers.
The beauty of it all is that you don’t need to know anything about coding or how to maintain the original servers. We take care of all that for you. All you have to worry about is setting up your campaigns and making a profit!
By now, you’re probably wondering how personalized push messages work if the servers only store a hash number and no personal details. This is where the service provider API comes into play. For you, that would be the PushEngage Javascript API. You can use this API and connect it to any other CRM or database you might have.
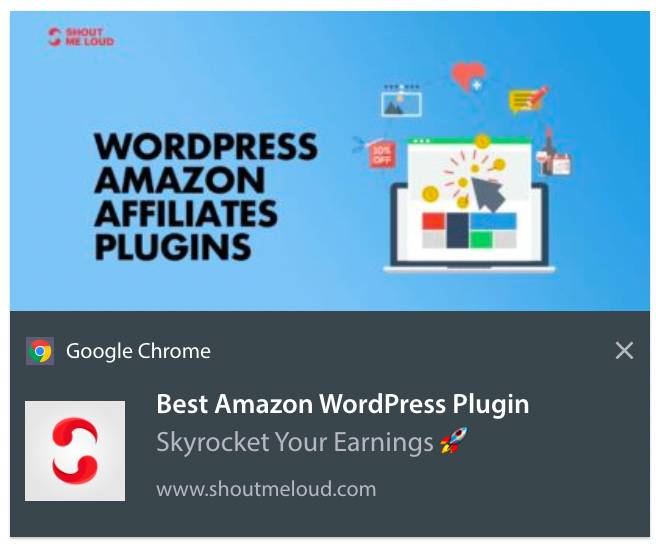
This allows you to use the personal details of your subscribers to send them personalized push messages like this one:

You can also send out advanced eCommerce campaigns such as cart abandonment campaigns without using the PushEngage API.

Τι ακολουθεί;
That’s all for this one.
Αν μόλις ξεκινάτε με τα μηνύματα push, δείτε πώς να δημιουργήσετε το πρώτο σας μήνυμα καλωσορίσματος χρησιμοποιώντας το PushEngage. Ένα μήνυμα καλωσορίσματος είναι ιδανικό για την επανενεργοποίηση και την προσέλκυση επαναλαμβανόμενων επισκεπτών στον ιστότοπό σας.
Πιστεύετε ότι είναι δύσκολο να βρείτε ιδέες για καμπάνιες; Δείτε αυτούς τους καταπληκτικούς πόρους:
- 75 Επικά Παραδείγματα Ειδοποιήσεων Push που Μπορείτε να Κλέψετε Τώρα
- Πώς να χρησιμοποιήσετε μηνύματα push εγκατάλειψης φόρμας για να ανακτήσετε χαμένα leads
- Πώς να στείλετε εξατομικευμένες ειδοποιήσεις push με χαρακτηριστικά Drip
- 10 Παραδείγματα καταστημάτων eCommerce που χρησιμοποιούν καλά τις ειδοποιήσεις push
- 8 Εξατομικευμένες Ειδοποιήσεις Push που Λειτουργούν [Με Βάση Δεδομένα]
Και αν δεν το έχετε κάνει ήδη, ξεκινήστε με το PushEngage σήμερα!


